
Showing posts with label WIP. Show all posts
Showing posts with label WIP. Show all posts
Sunday, January 25, 2015
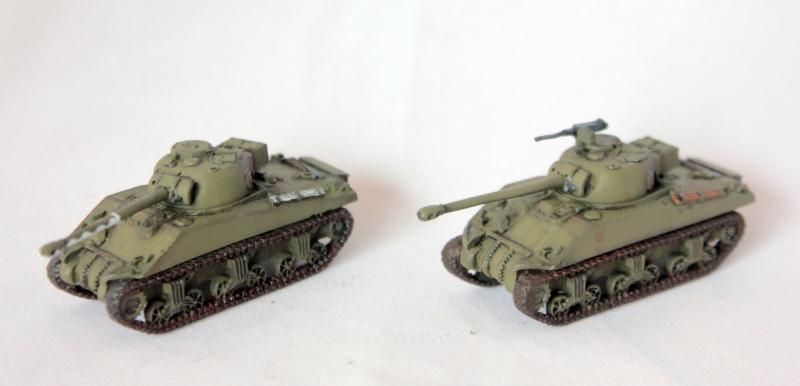
Sherman Fireflies

Wednesday, December 31, 2014
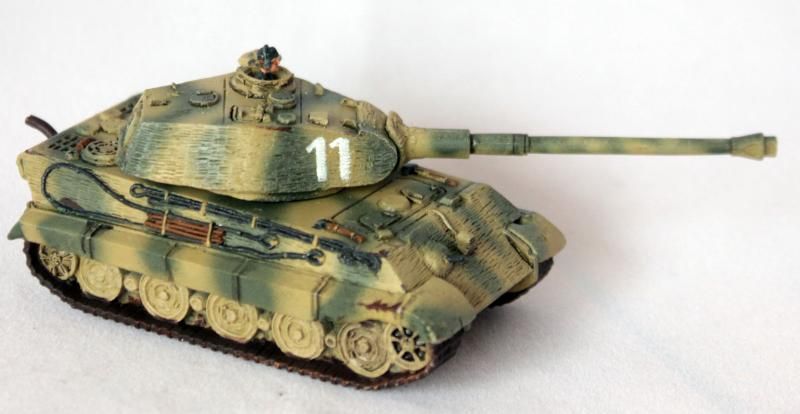
Königstiger Rescue, Part III
Friday, December 19, 2014
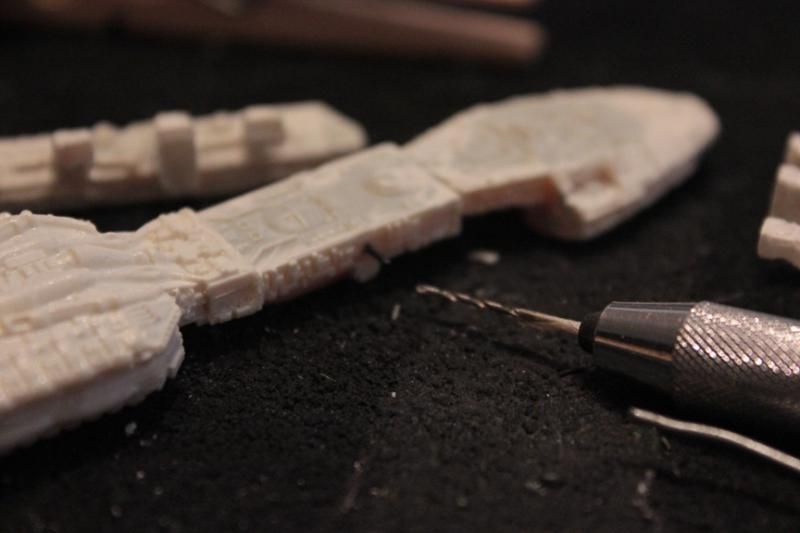
Battlestar Galactica part I
Wednesday, November 26, 2014
Happy Tanksgiving!
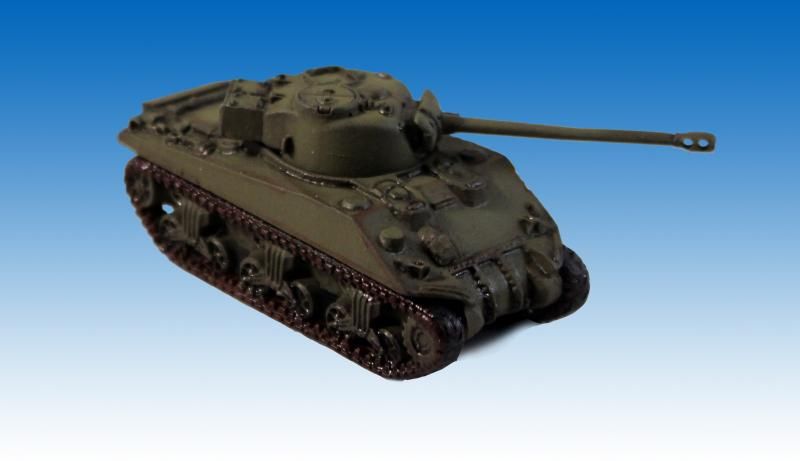
I just wanted to take a moment to wish all of you a very Happy Tanksgiving! And thank you for reading!
Sunday, September 21, 2014
2nd Detachment of Marines (Perry Plastic Redcoats)
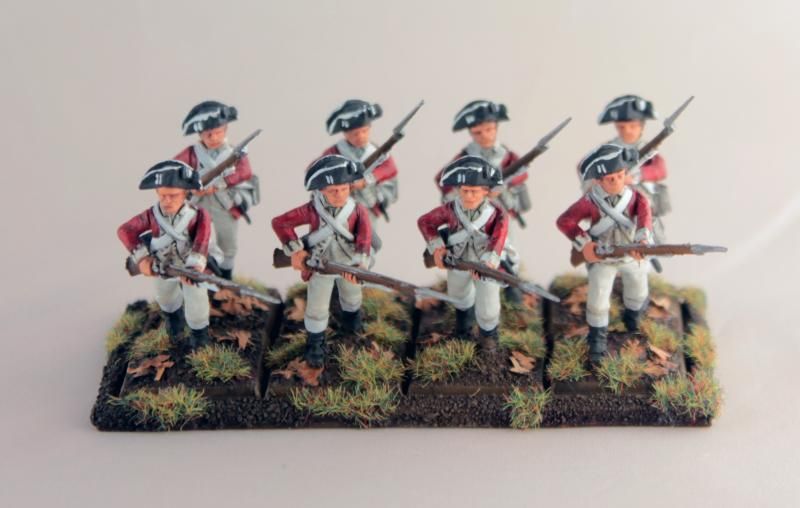
Now for a quick progress update on my ongoing AWI British Marines project.
Saturday, August 16, 2014
Navy Basing Update!

While my paints were out for the Marines, I also worked to resolve the now long-standing beach basing conundrum. My previous attempt (and 1st prototype) did not fully convey the mediterranean shore as well as I would have liked. Rather that jumping straight into a major overhaul, I tried to see if I could work with the existing basing and correct it toward my originally intended look. This was accomplished by tinting the water with a dark blue & green mix, blending it out lighter toward the shore, and then applying a thinned layer of my wet sand color (British Uniform) on top to mute it down a bit. it might be a little unrealistic to have such a deep color so close to shore, but I believe it balances the minature and gives some much-needed contrast on the base while also mirroring the deep blue of the sailor's short coat.
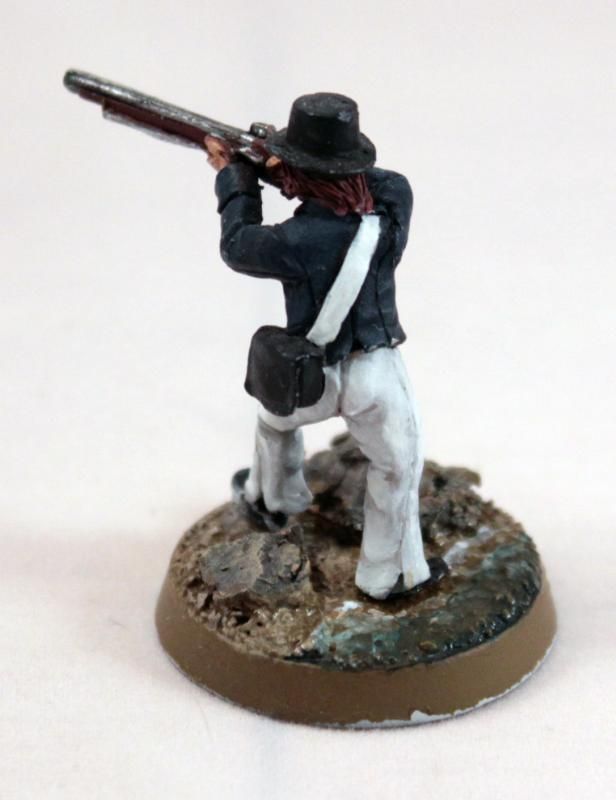
This is a lot of words to say that adding a little sea green really makes the scenic base read visually more as a beach. Further changes down the road would be darkening the seaweed and rocks to increase contrast to the sand, but I may save those for the next figures...(And of course there are some edges to clean up...)
Thursday, June 26, 2014
Portable Game Table: Flora
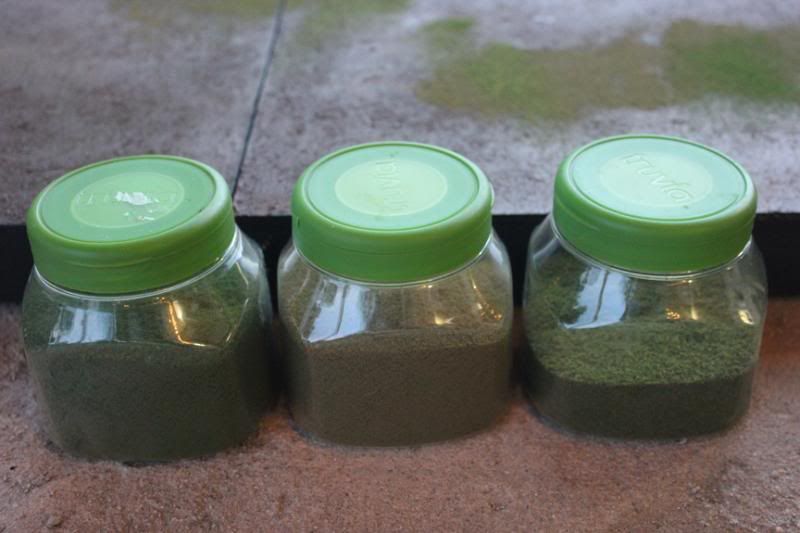 Entering the final stages of the Portable Universal Gaming Surface (PUGS), it is time to flock some base-layer greenery onto the folding table.
Wednesday, June 11, 2014
Portable Game Table: Painting
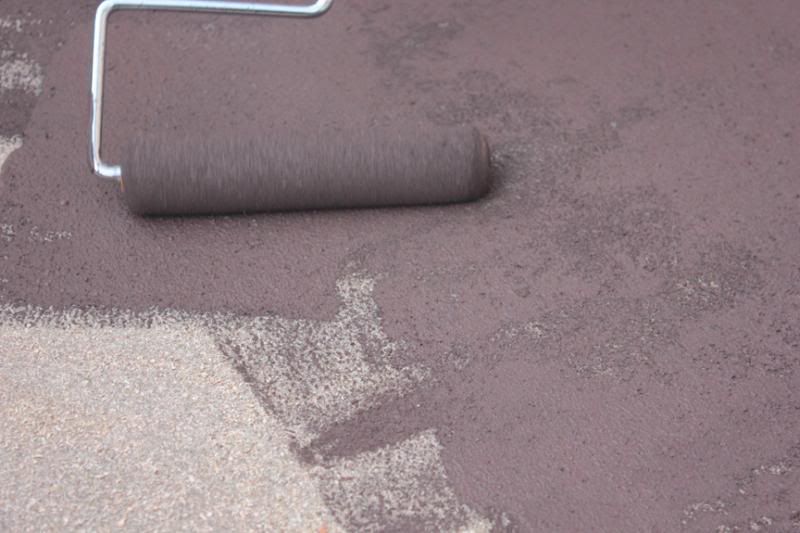
Returning to the Folding Game Table project, the time has finally arrived to paint the textured surface, and begin to bring the board to life.
Friday, April 18, 2014
Portable Game Table: Texture
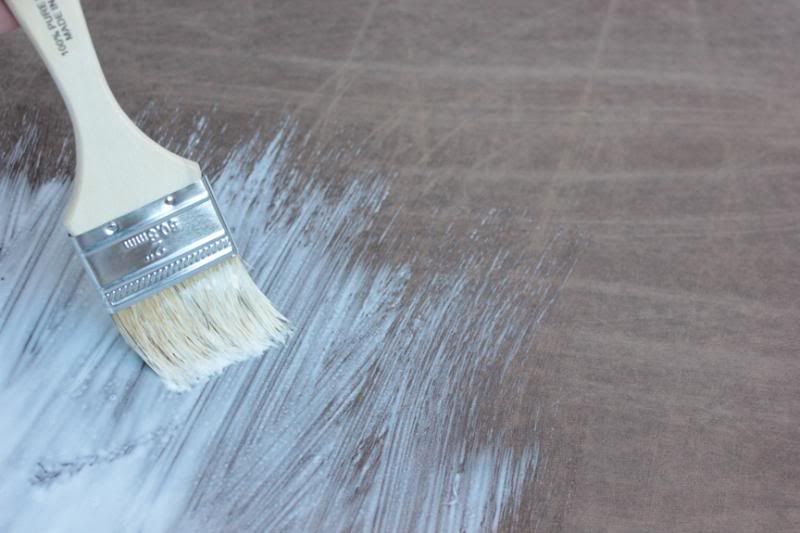
Having finally gotten the structure operational, I am free to move on to the fun cosmetic aspects of my folding game table project.
Wednesday, March 26, 2014
Portable Game Table Update
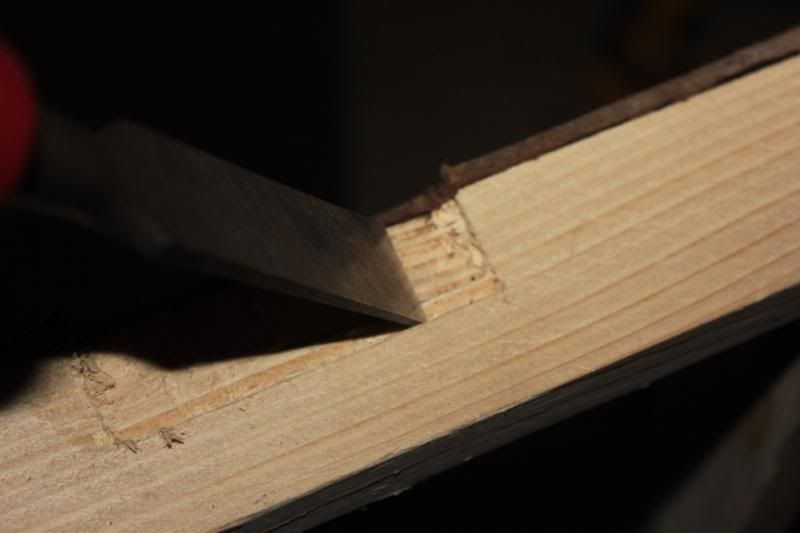
After some serious gaffs and carpenterial humbling, I've set off again to try and complete my dream of a portable gaming surface.
Sunday, October 27, 2013
Sharp Practice Blinds (Hidden Movement Markers)
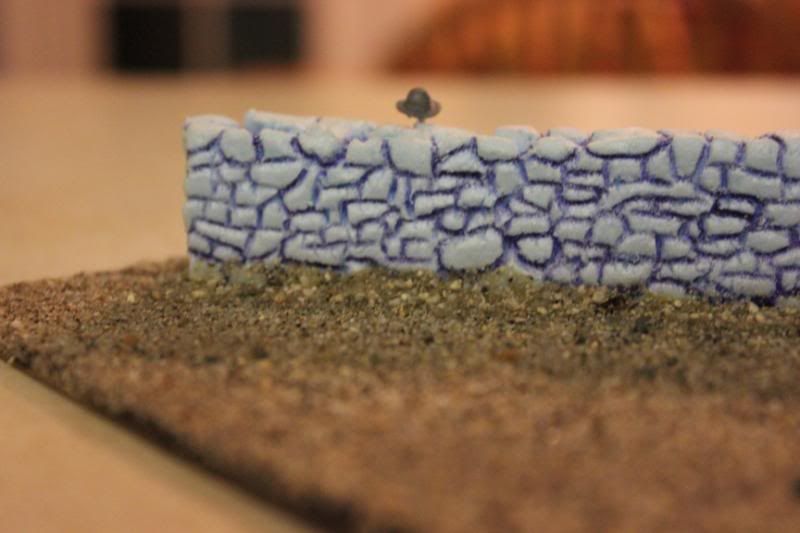
After playing a few games of Sharp Practice, I was convinced that something more photogenic than cards was needed to represent the movement of hidden troops within the fog of war.
Thursday, September 26, 2013
Giving in to the [Grim] Dark Side
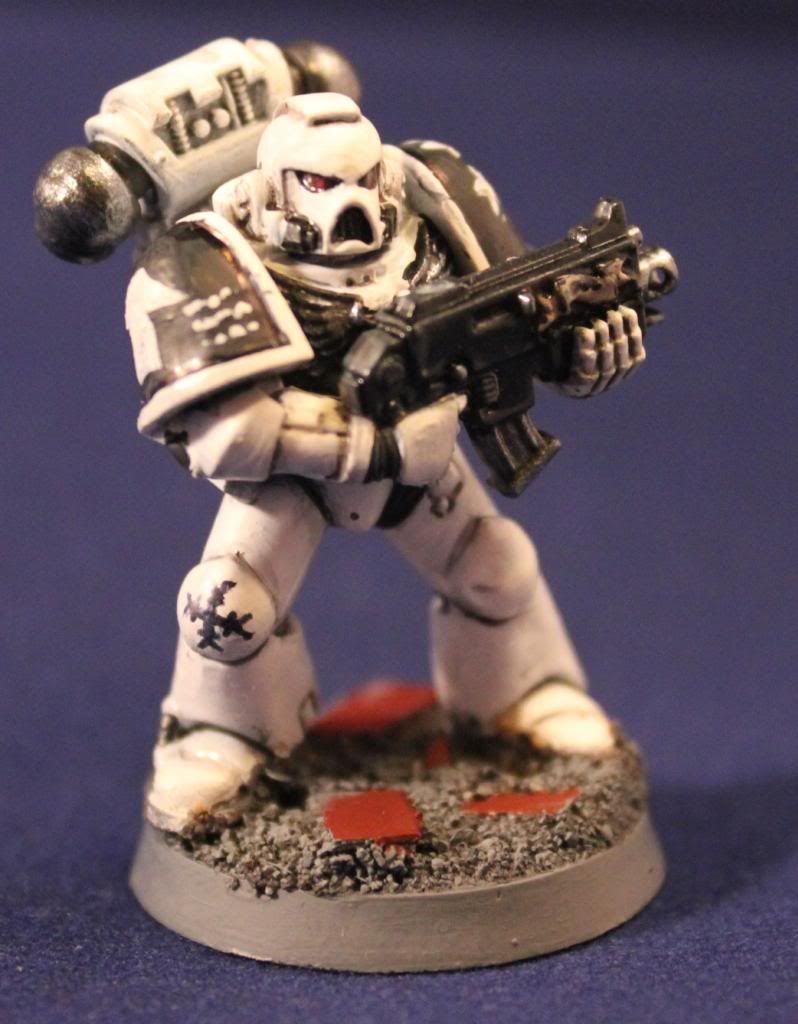
Well, I have finally gone and done it. After years resisting, I have started to work on some Warhammer 40k Space Marines.
Sunday, August 4, 2013
Arming the HMS Sophie part 1

Sunday, July 21, 2013
HMS Sophie Part 6 - Aft Cabin Renovation
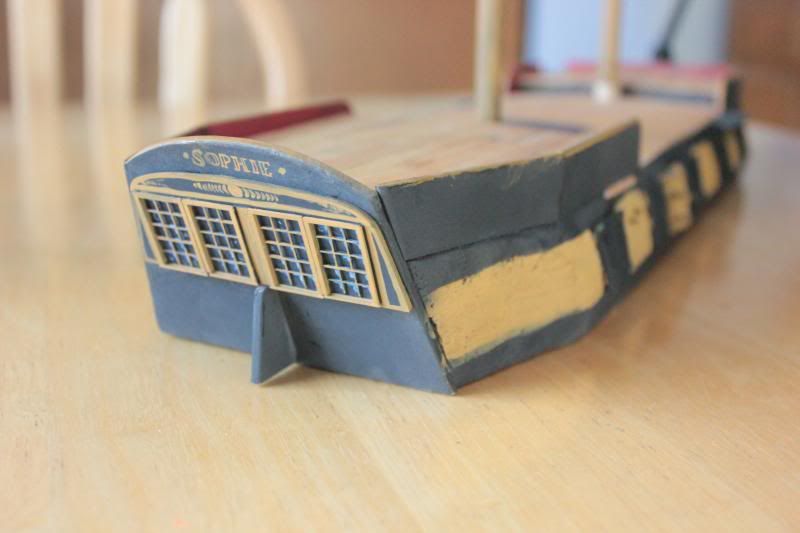
Finally jumping back into my 28mm Royal Navy Brig project, it is time to revise the windows for the aft cabin. I feel my current version detracts from the rest of the model, so I am removing the part, and adding windows based on examples of 18th C. warships, and simplifying them to fit the look and scale of the ship.
Tuesday, June 25, 2013
Don't forget your Old Shipmate (Navy basing part 1)
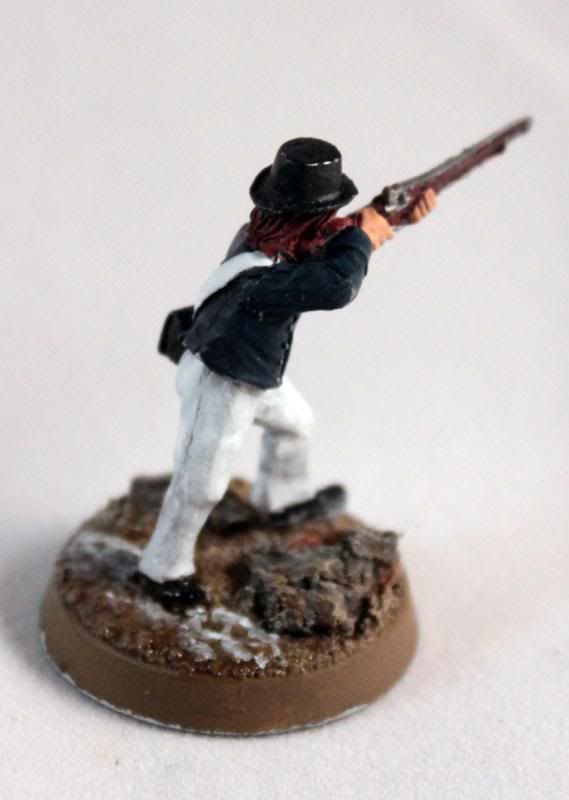
Having completed painting the uniforms of my Royal Navy Landing Party, it is time to give some attention to their bases.
Monday, June 3, 2013
8th Regiment of Foot, 1812 (WIP)
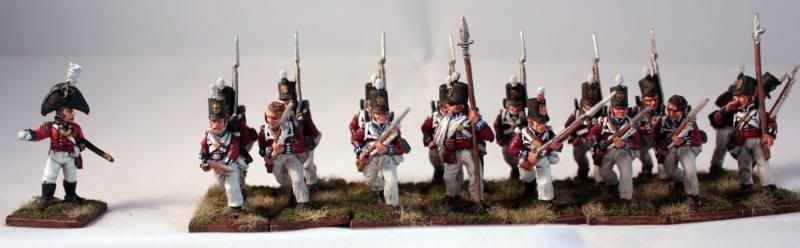
Having completed my test model, I have been working on my commissioned 1812 British regiment.
The force is a part of a series of figures I have been painting for my friend for gaming the War of 1812 using Sharp practice ruleset. The models here represnet the 8th Regiment of Foot, which fought in America during the war. They wear the blue facings of a royal regiment, and fielded in the earlier stovepipe shakos. The models are still WIP, but nearing completion.
Friday, March 8, 2013
British Line infantry, War of 1812 (Test Figure)
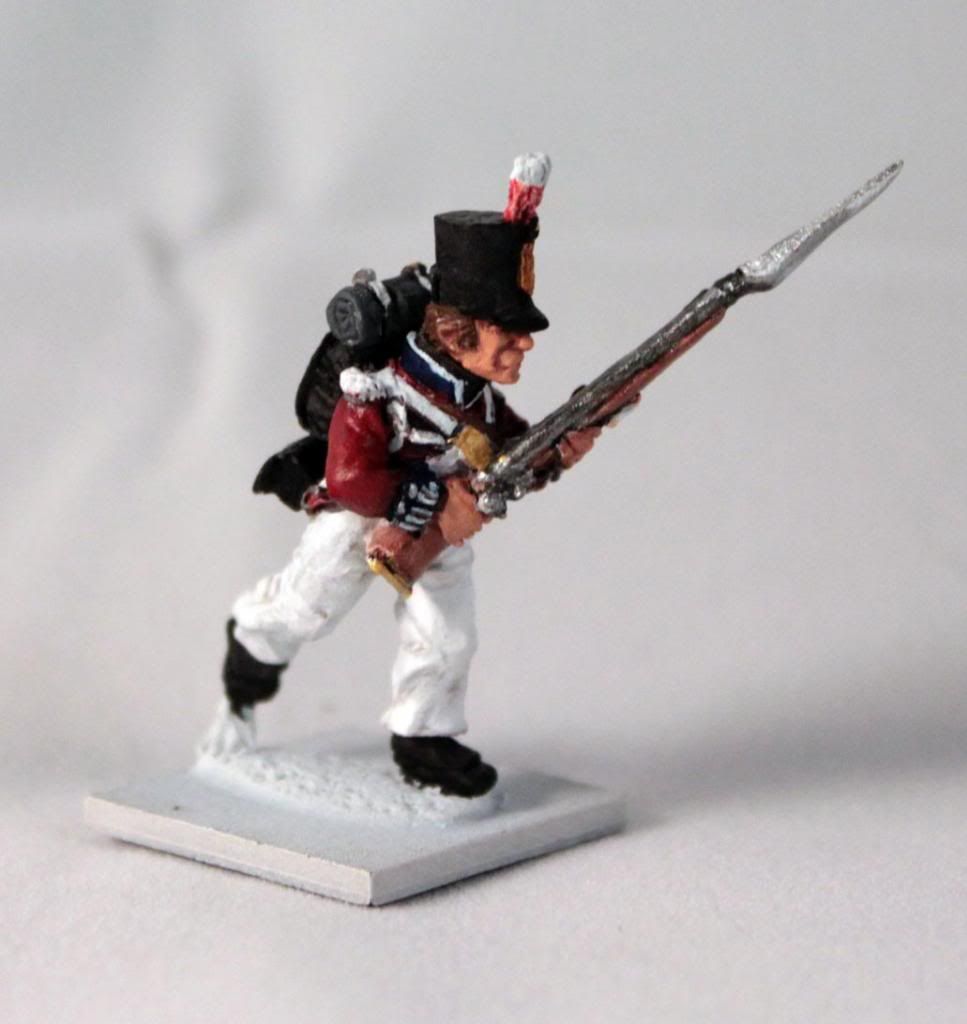
Allow me to present the first of a small British army from the war of 1812. This force will be a group of 38 infantrymen in early war stovepipe shakos sculpted by the illustrious Wargames Foundry, and serve as opponent to the 1st US Infantry.
Saturday, December 29, 2012
Königstiger Rescue, Part I
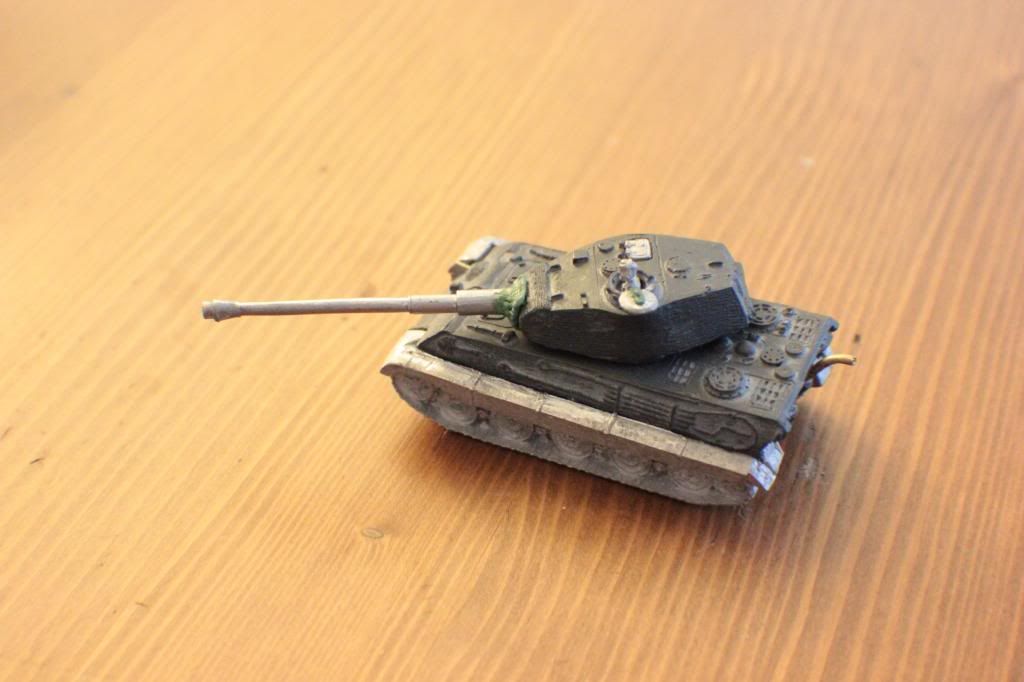
My friend ZE Whitlow has given me a rescued Tiger II for Christmas. He had acquired it second-hand, and it had some issues, which he figured I could correct. The original model is a Panzer VI Tiger II, with a Porsche turret. However, the turret was missing all hatches, the radio operator's machine gun was missing, the exhaust system was destroyed, and, oh yeah, the previous owners had glued the wrong gun onto the front!
Tuesday, December 11, 2012
Monday, December 3, 2012
Imperial Guard Trenchline WIP
Warhammer 40,000 6th edition allows for fielding your army with fortifications as a part of your list. The one that seems the best deal for my Imperial Guard is the Agis defense line, which is a low wall that provides cover to infantry and vehicles behind it. The official model looks quite nice, but does not really fit into my more retro aesthetic that my Valhallans enjoy. This is also a good terrain piece on a tight budget, as I purchased nothing for the scenery.
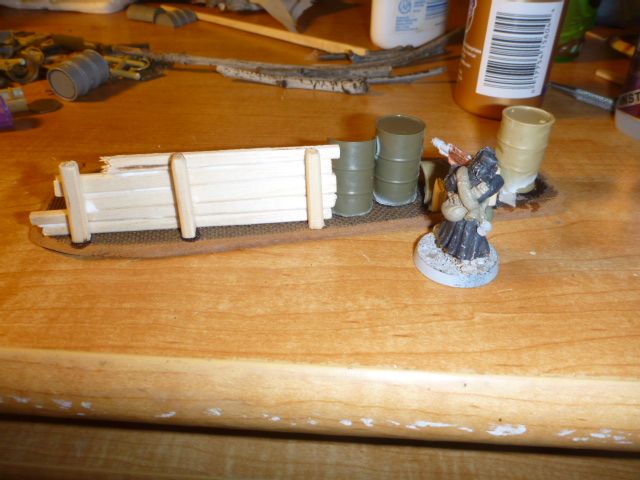
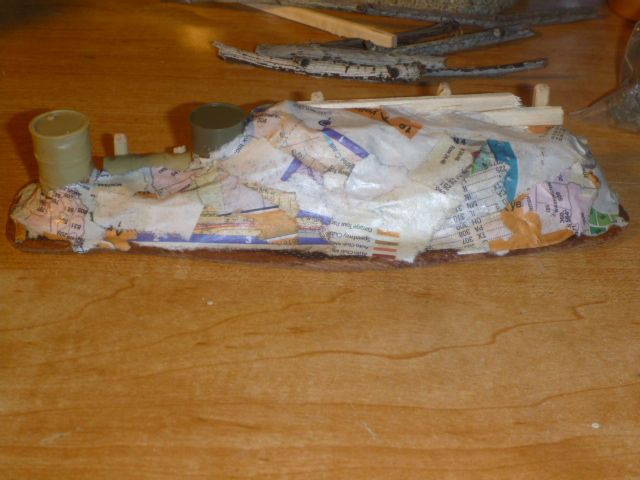
To build these, I started by cutting and sanding some masonite, as I did for the 15mm walled town, then glued objects (mostly coffee stirs and chopsticks) as free-standing walls, keeping a guardsman around for scale. I built up a slope on the far side to meet the top of the duck boards. Other details include barrel bits that were a gift from a friend a few years ago.
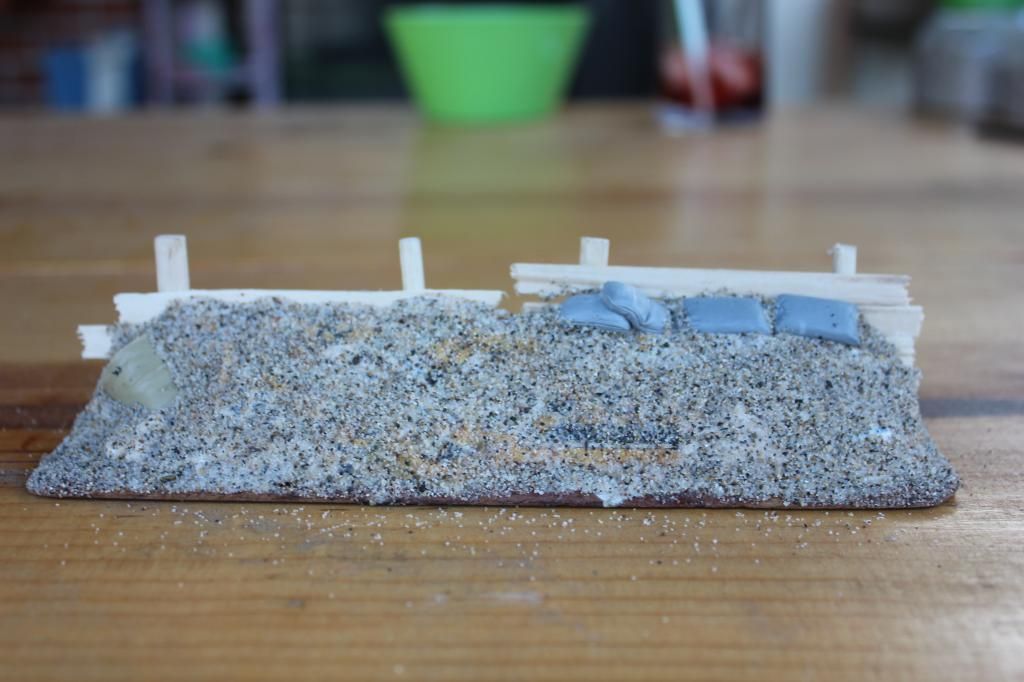
On top of this, I glued sand down for texture, and some light debris and sandbags. These not only add some visual interest to the side of the earthworks defenses my opponents will see, but also hide rare-earth magnets that hold some removable barbed wire onto the glacis.
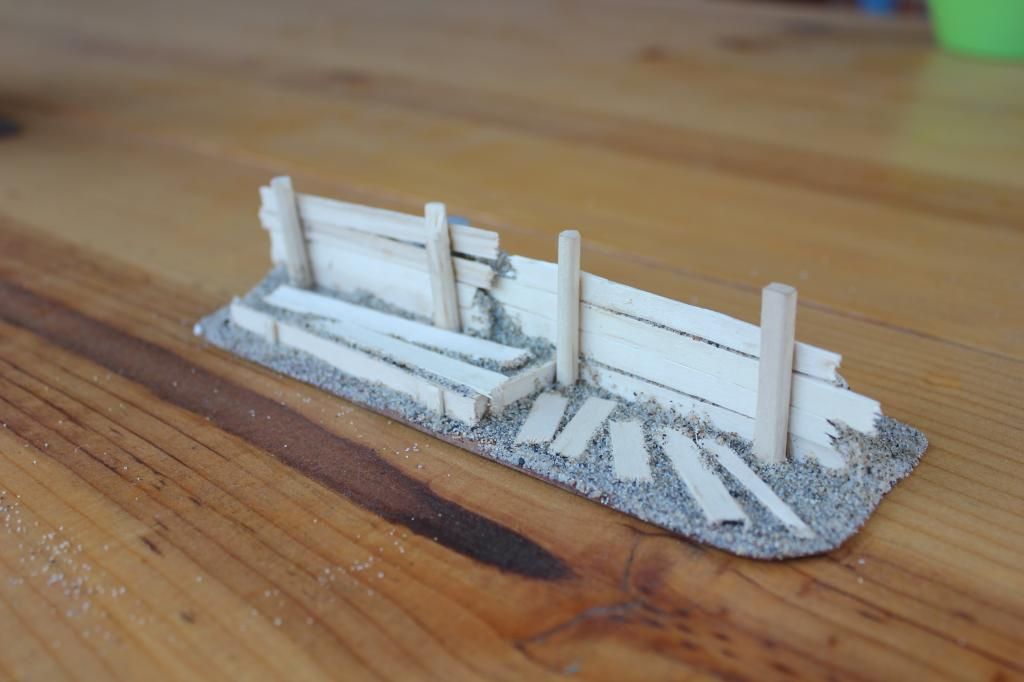
To build these, I started by cutting and sanding some masonite, as I did for the 15mm walled town, then glued objects (mostly coffee stirs and chopsticks) as free-standing walls, keeping a guardsman around for scale. I built up a slope on the far side to meet the top of the duck boards. Other details include barrel bits that were a gift from a friend a few years ago.
On top of this, I glued sand down for texture, and some light debris and sandbags. These not only add some visual interest to the side of the earthworks defenses my opponents will see, but also hide rare-earth magnets that hold some removable barbed wire onto the glacis.
Looking at the inside of this particular section, you can see that the retaining walls are different heights, and the higher section has a firing step, just wide enough for a Games Workshop small round base to fit comfortably. With size a constraint on this project, the firing step detail is purchased with a much steeper slope to the earthen mound on the other side that I would ideally like, but I think it's a worthwhile trade.
At this point, I wait for the glue to dry so I can get to priming!
Subscribe to:
Posts (Atom)
