
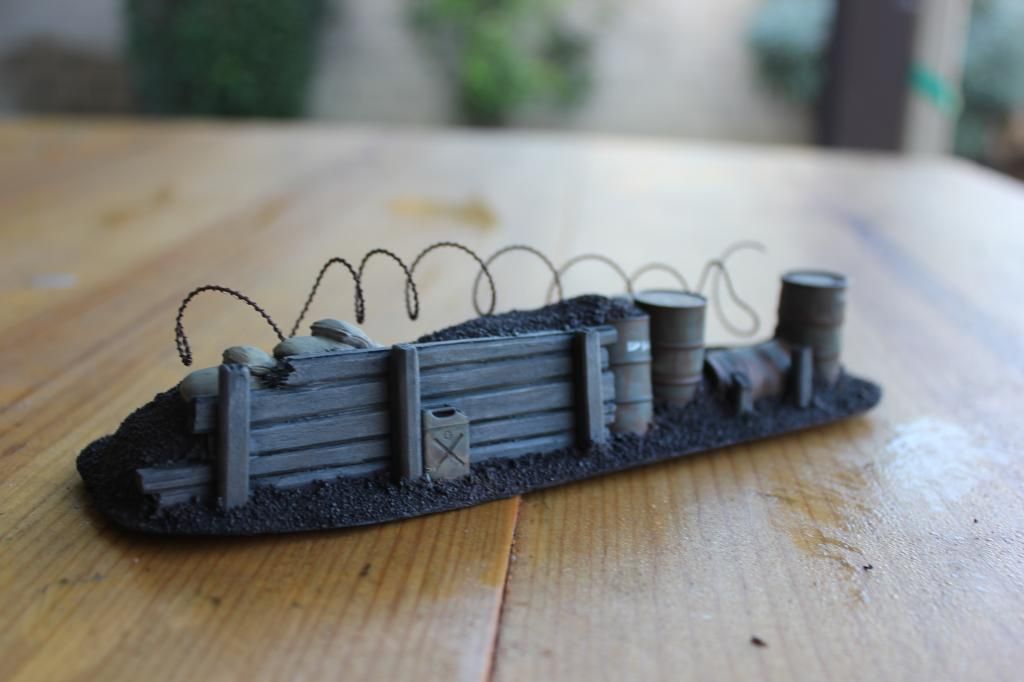
I painted the earthen mounds in a dark brown Plaid craft acrylic that closely matched scorched brown. I used the craft paint because it is cheaper for large area application, and because being cheaper, that almost always means (and it did in this case) that its binder is much thicker than the finer modelling paints. Since binder is essentially a form of glue, I took advantage of the paint as another layer of adhesive to help hold my texture sand in place.
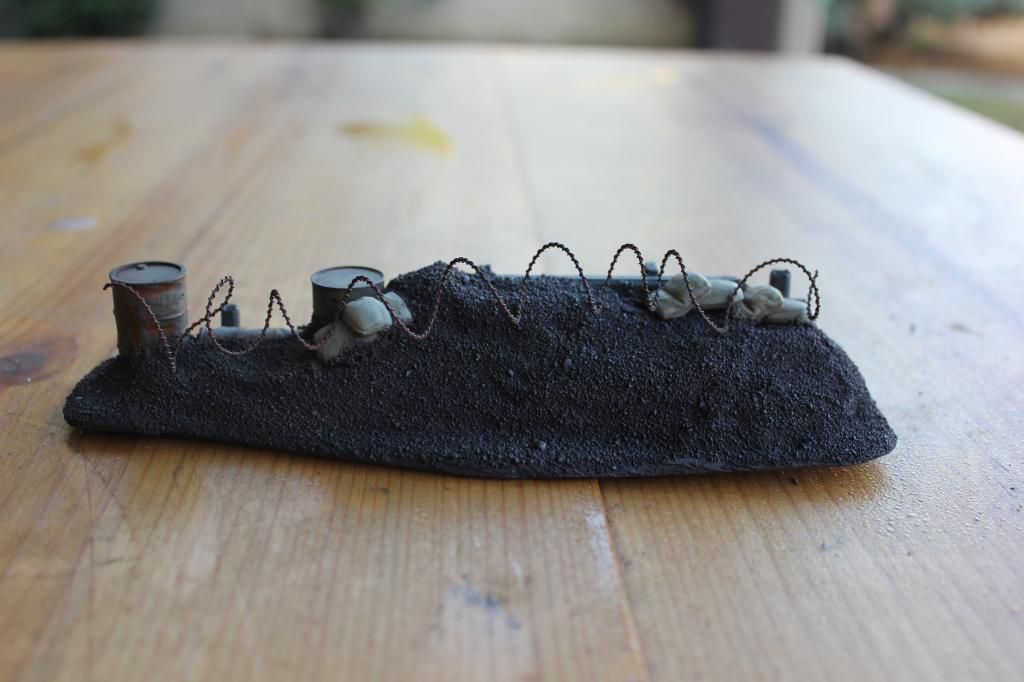
Though a fine starting color, the chocolate brown was a bit warm and bright for my application, so when it was dry, it got a liberal ink filter. For this I used a watered down india ink. In some cases, this is less than ideal on miniatures, since it sometimes pools on highlight areas rather than in the cracks (mixing it with other liquids tends to help this some), but since I was more interested in changing the color brown than actually accenting highlights and shadows, it worked great.
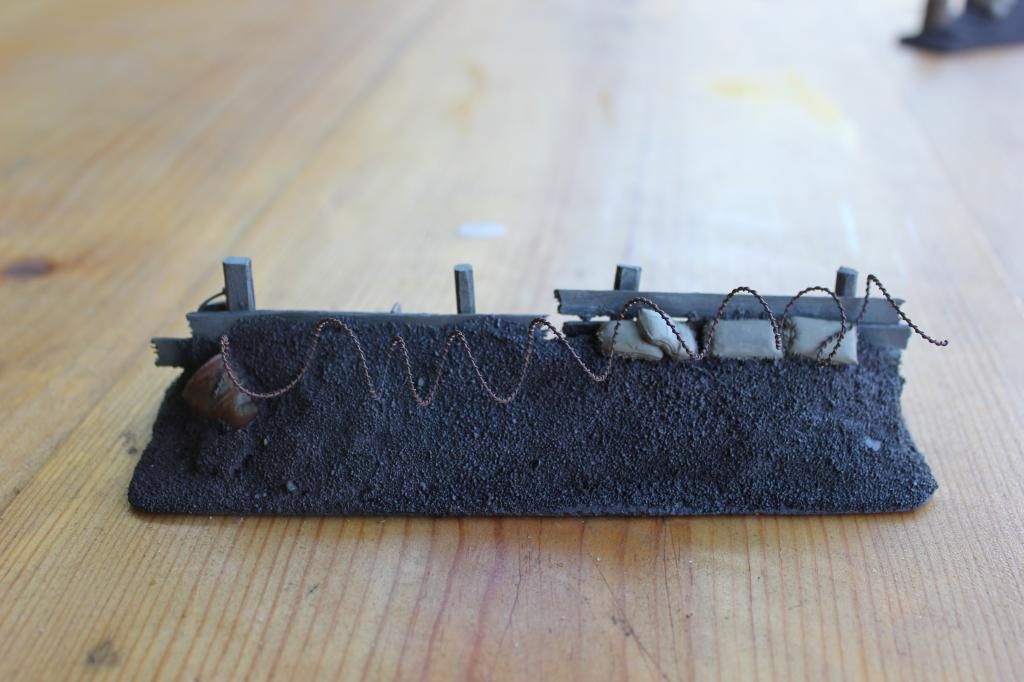
After scrutinizing old pallets at my workplace, I settled on a color scheme for the planking on the trench walls. Starting with Stormvermin Fur (I guess this is the new Charadon Granite, though it is much lighter and grayer...), I gave a series of dry brush layers, with progresssively lighter mixes of VMC Field Drab and Citadel Bleached Bone. On the very top of these I gave another ink wash, that soaked nicely into the wood and brought out the texture.
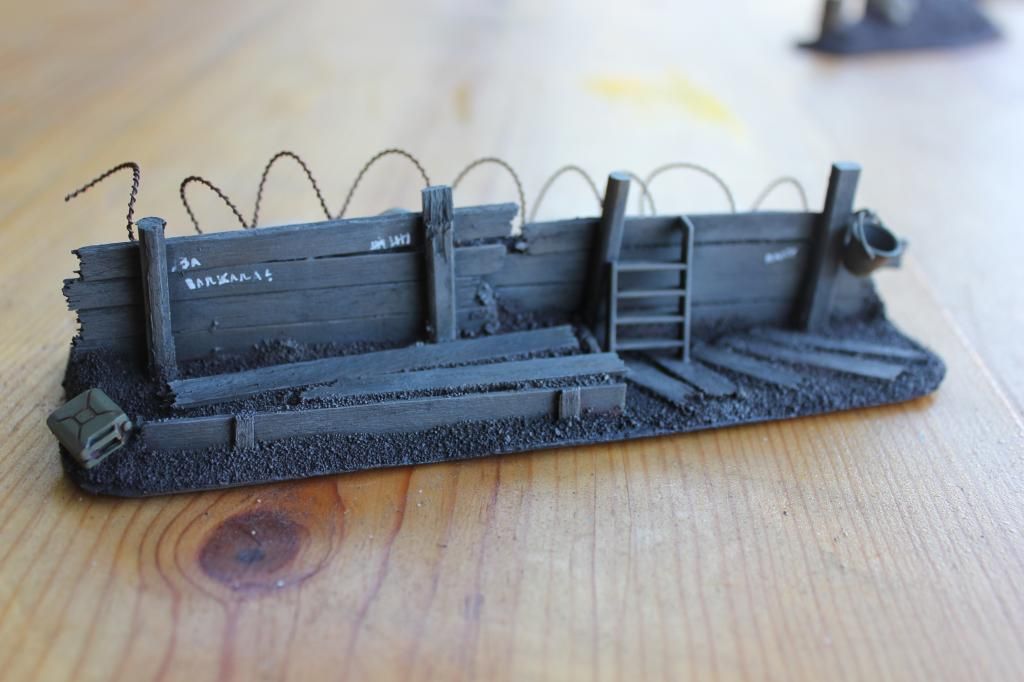
Further details like jerry cans and fuel drums were painted similar to my tanks for the same army: a base of US Dark Green, highlighted with WWII Russian Uniform, and washed with Dark Flesh and Vermin Brown for rust discoloration.
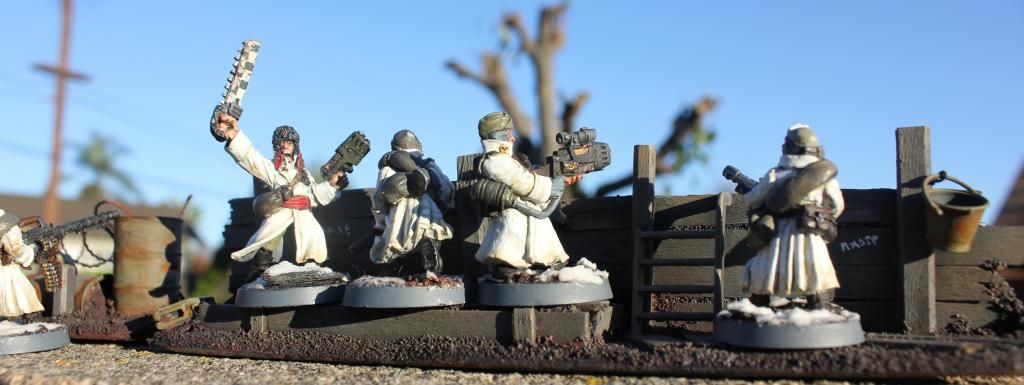
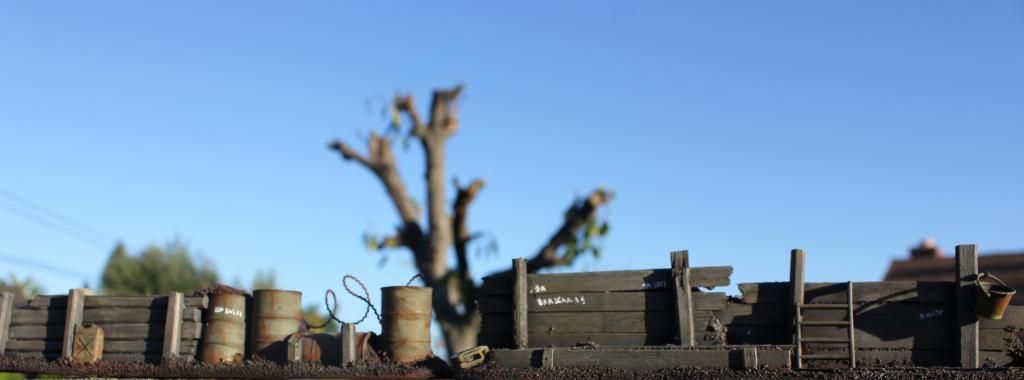
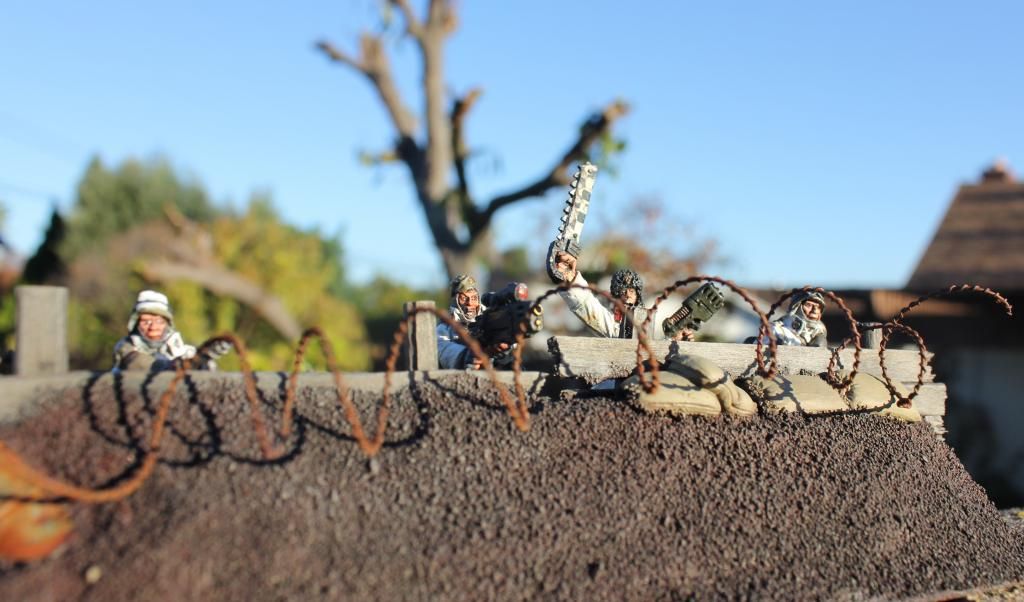
Populated with my Valhallan veteran squad, you can get a sense of the sale of the set.
Not complete even now, the next steps will be to add further debris and equipment in the trench and on the glacis, and finally to add some water effects (what's a trenchline without mud?) and snow flock.
3 comments:
Were the pictures supposed to show the painting progression?
Great Post, beautiful model.
To Erik: well spotted. I appreciate that you are really reading this! I had written much of this content in advance, intending to show the progressive painting steps, but somehow the WIP photos got erased off the camera before I could upload. I may go back and edit this entry to better reflect the images i do have.
To Darren: thanks!
Post a Comment