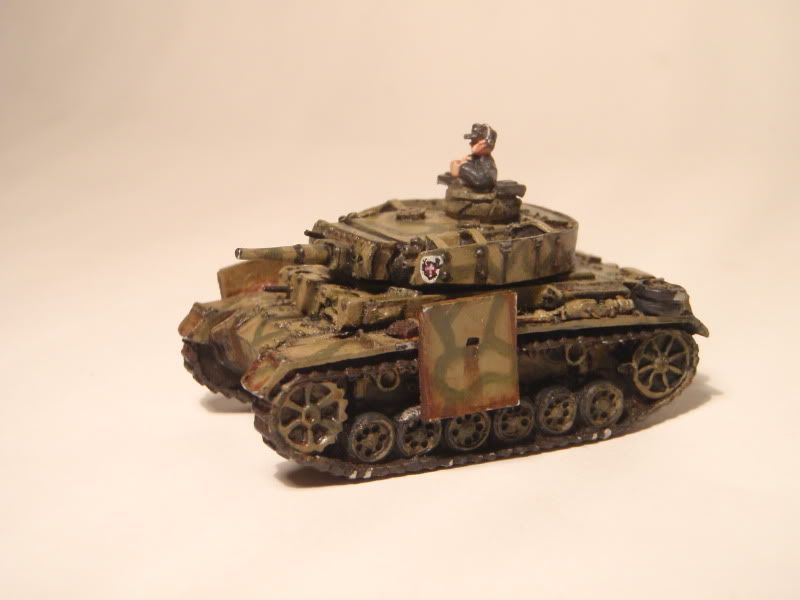
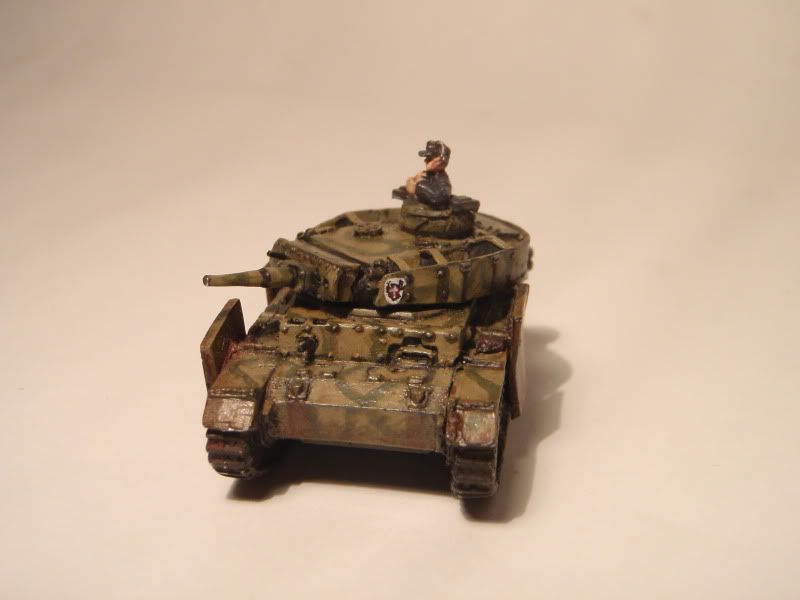
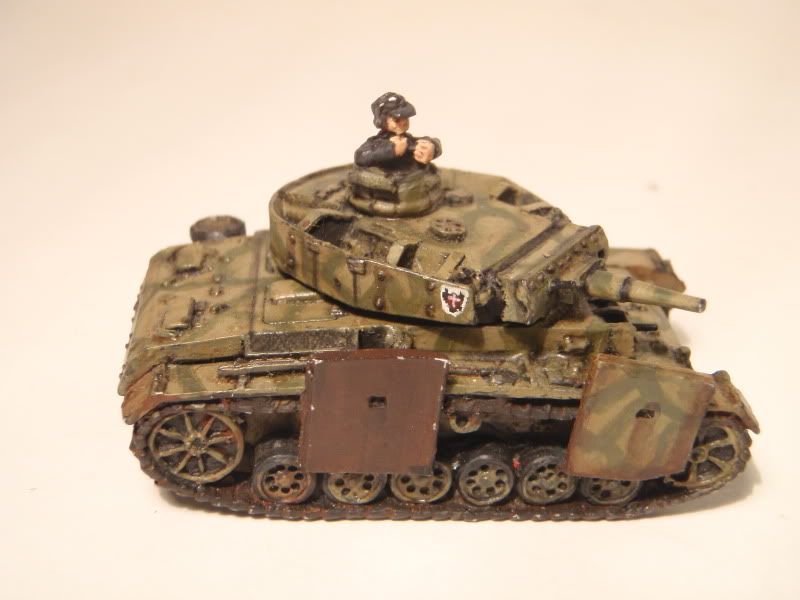
A lucky score at a used miniatures bin at my FLGS leaves me in possession of a Panzer III. While not in my planned army list, I could not resist the opportunity. The model came primed black, with the side skirts attached. I've removed some, partially for the "on campaign" look, and partially done to add some interest to the model. After doing some research, I've settled on a paint scheme based on a vehicle at the great battle of Kursk.
The green stripes of the pattern were applied over the finished dunkelgelb tank, using a similar series of extremely thinned layers. The base was mixed with the final highlight color of the khaki, and worked toward a darker and more opaque green.
By limiting the pallet to a simpler 2 color camo, I was able to keep brown tones as accents applied as weathering, both dirt and rust. These give a great contrast to the overall greenish vehicle.
I am pleased with the results.


No comments:
Post a Comment