
So I blatantly misused my wife's Easter egg decorating party to test out a technique I've been dying (dyeing??!??) to try...
For years I've been eyeballing tutorials on how to achieve a realistic and aesthetic camouflage net effect. (The best resource I found was here: Missing Lynx) Since I have a tradition of painting an egg or two rather weirdly each year, this year I opted to create an expert level egg hunt, and to try my hand at a hessian tape camouflage without the threat of ruining a finished armor model.
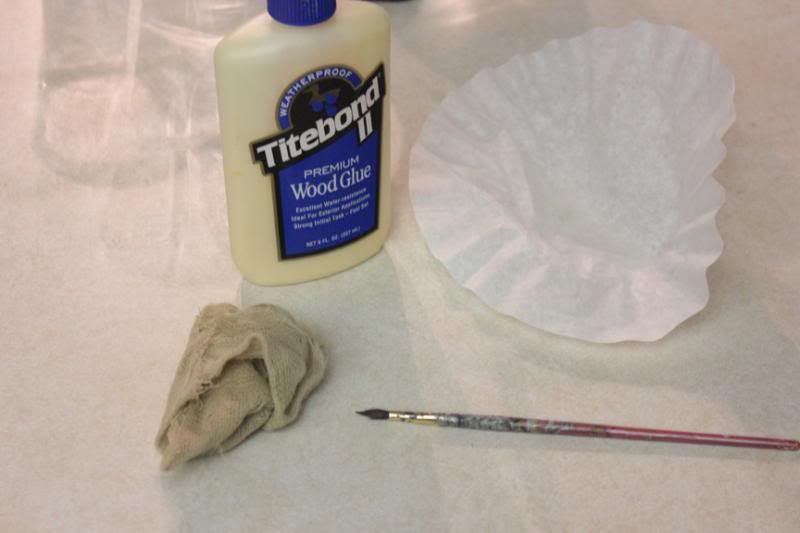
Since the process has already been catalogued in detail, I will present the simplified steps, though the technique is not nearly as difficult as it seems. The hardest part is finding a suitable netting, since you need cotton, and most gauze is now an awful polyester fluff similar to decorative spider webs that come out every halloween. In this case, I actually used Pegasus Hobbies camo netting because it comes pre-dyed, saving some trouble later on.
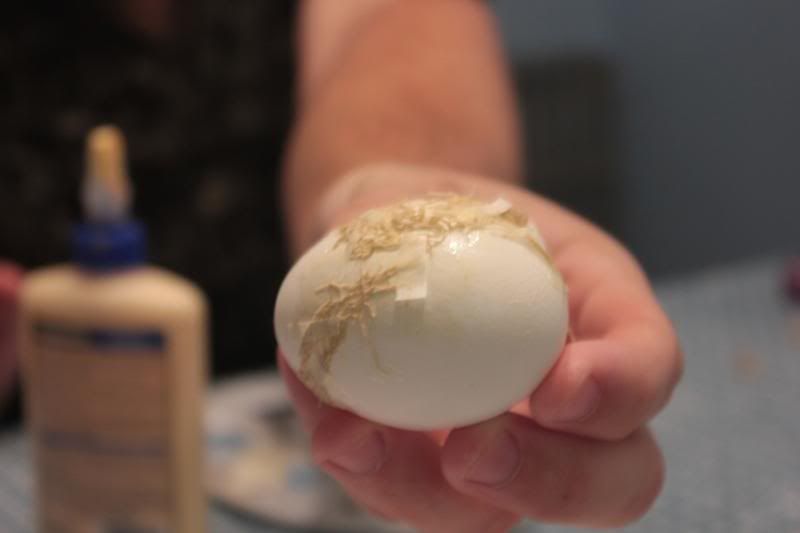
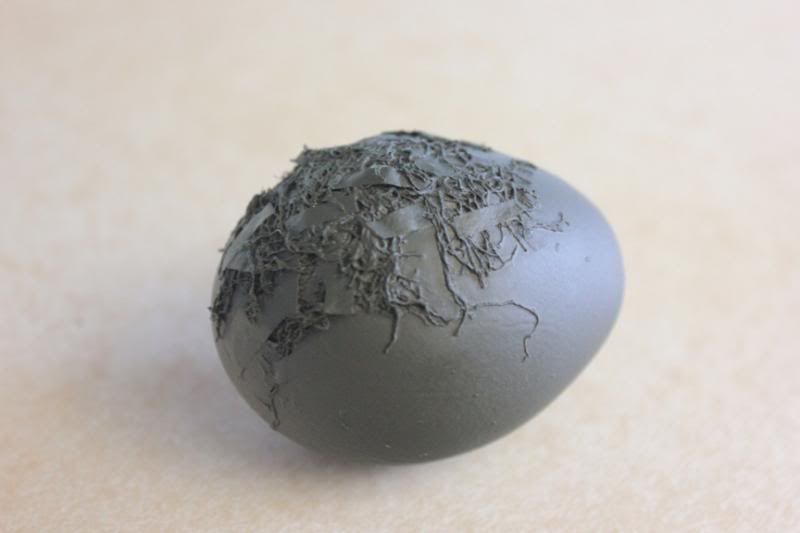
Taking an egg that had cracked in the hard-boiling process, I painted wood glue onto the area I wanted to add netting to, and applied small cut pieces of the gauze netting

I then added small strips of coffee filter as miniature strips of burlap in the net. On top of this went two more layers of net and strip.
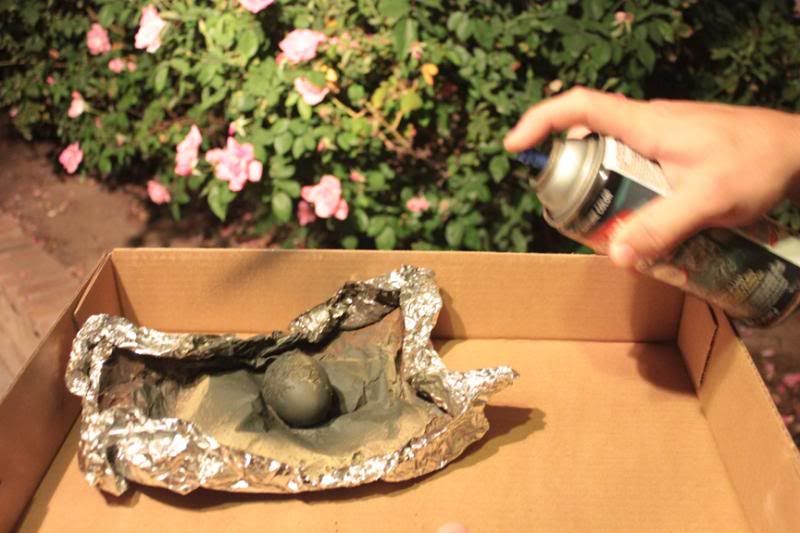
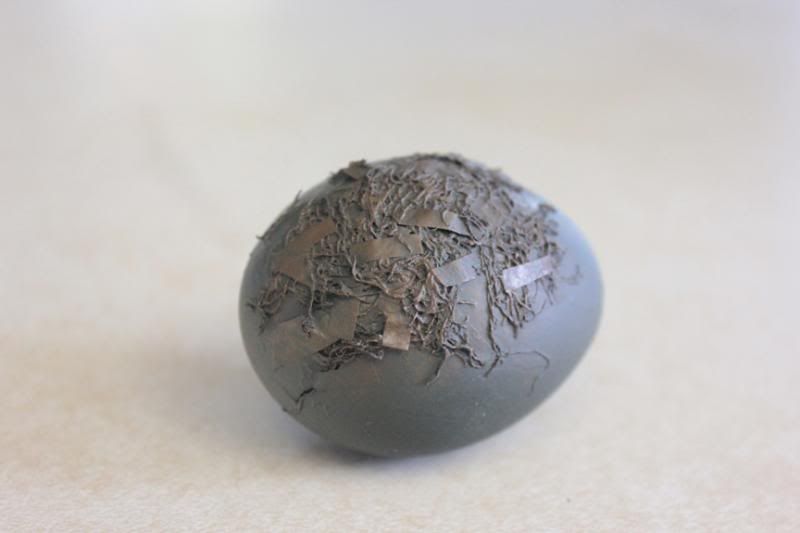
once dry, the egg was primed with OD spray paint.
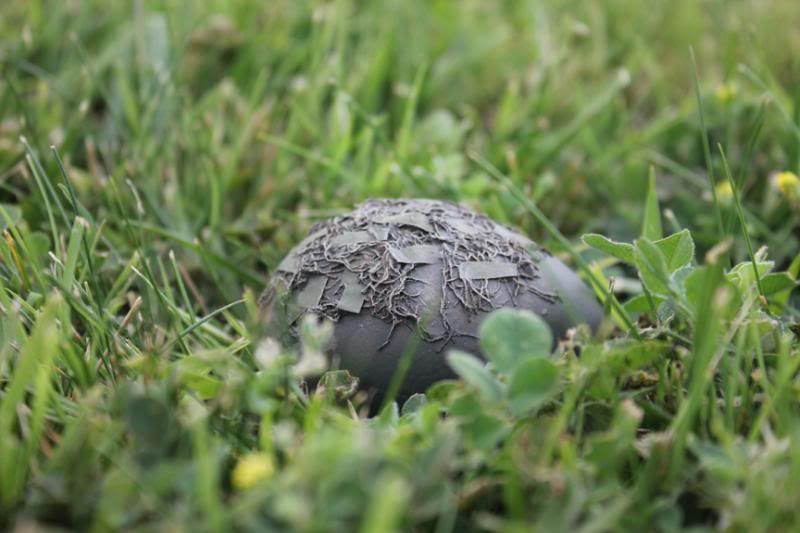
The netting was painted with a dry brushing technique.
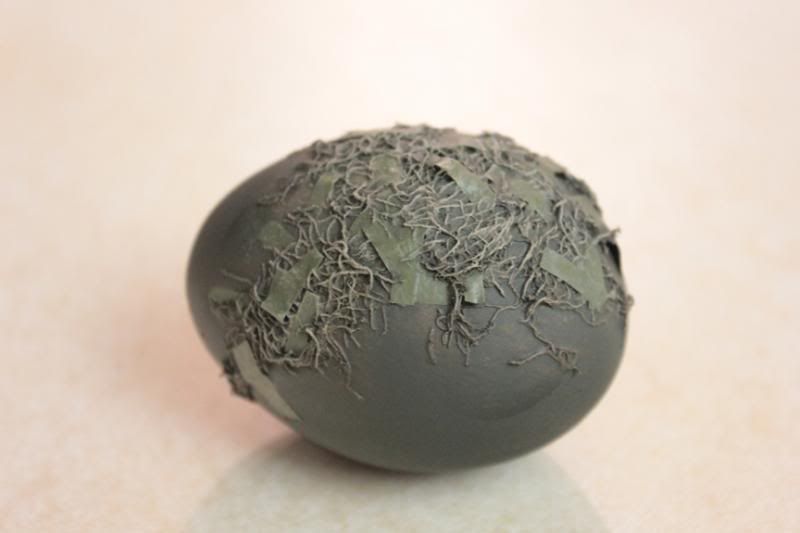
Then the camouflage strips were picked out in green paint and highlighted.
Now that I know how this works, I'll start to apply it to some armor!
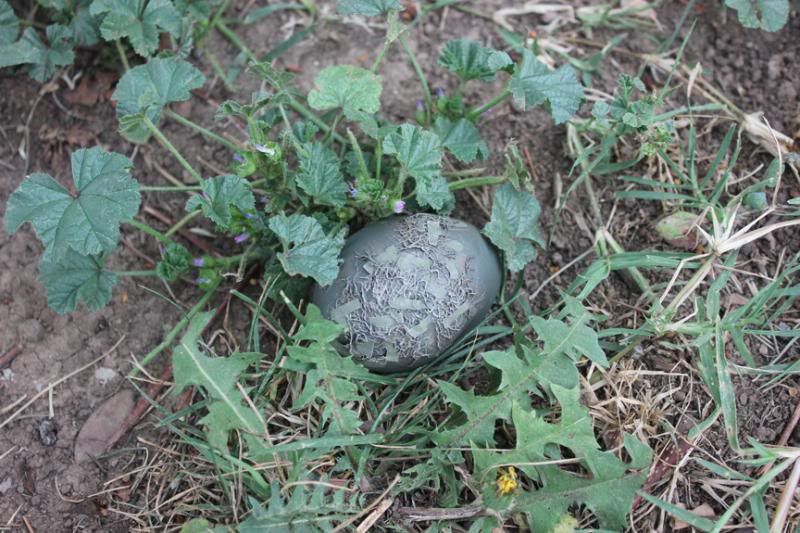
Let's see the kids find this one! (Evil Laugh)
1 comment:
Brilliant!
Post a Comment