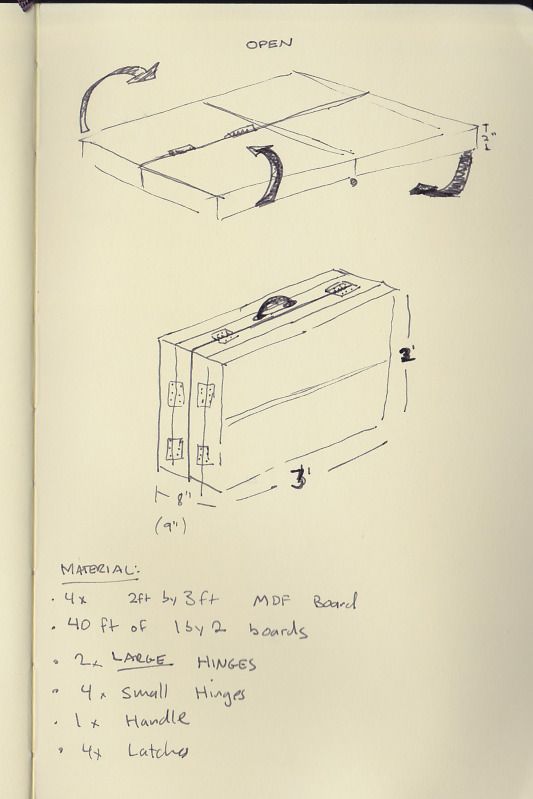
I have been sketching out some solutions to the storage crisis of not only various terrain pieces that I plan on constructing, but also the standard 6ft by 4ft gaming surface that so many miniature games share in common.
The design I have settled on building is a 6x4 game table with a 2 inch lip/support stretcher all around. The board will fold in half twice, creating a 3ft by 2 ft box, with two internal compartments, where I intend to store trees, hills, crop fields, and buildings. I have some specific plans for terrain that can span several of my main games, but that will be for a separate post. Originally I started on a design that folded in half, minimizing hardware needed, but 3ft by 4ft is bigger than it sounds. I abandoned this plan when I realized that it would be larger than my drafting table! Also important that this fits into my car, or the whole "portable" thing is lost, and my trunk is only 3ft wide at the opening.
Sketchbook in hand, I sped to the local hardware store and purchased one 8x4 piece of MDF hard board. (I may have the exact name of this material wrong), and had the friendly staff there cut it down int the 2x3 sections, with a 1ft strip left over, which will likely serve as a base for future terrain pieces. Supports will use 1" x 2" strips of pine, needing 40 ft total. The most expensive part of the project so far has been the hardware end. Even though I only need 6 hinges, that easily took up the lion's share of the budget. I would suggest scavenging them from preexisting boxes or other found sources if possible.
 |
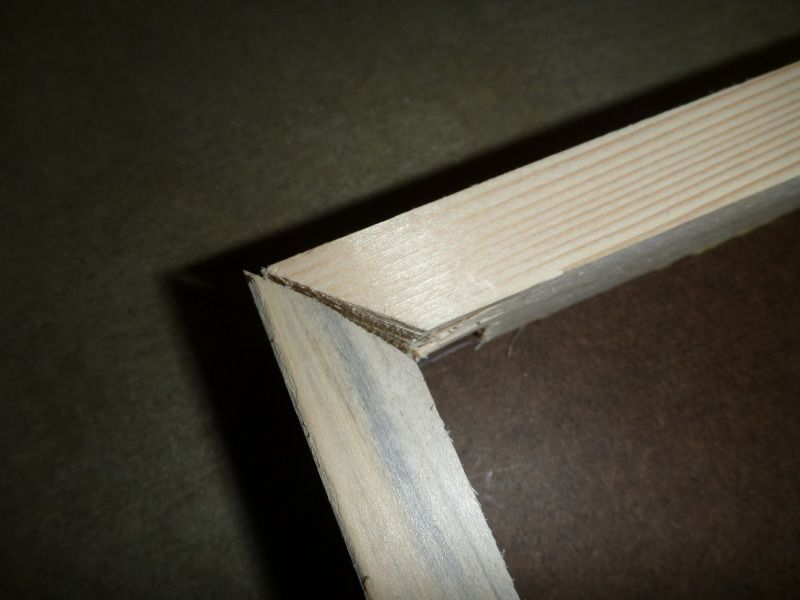
| Measuring the Miter |
Back home, I measured out my frame using the hardboard surface itself as my template, to ensure as good a fit as I can manage. Though not strictly necessary, I opted for a slightly better finish, and mitered the corners for a prettier join. On the sections that finished properly, this looks really nice. I did, however, have some difficulty with my hand saw and mitrebox at some points.
 |
| In need of a shim. |
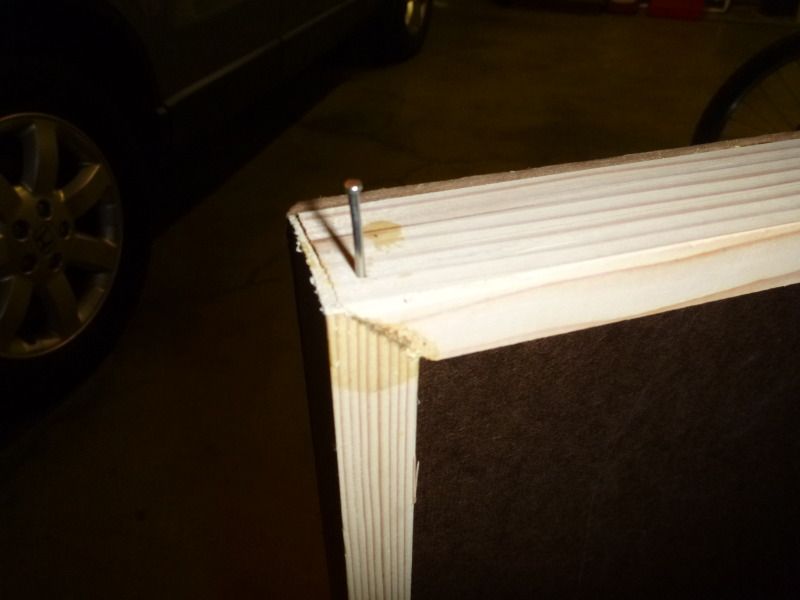
After I started to make better use of my C–clamps, the corners started to turn out better. The board surface is attached to frame using small brass tacks and carpenter's glue. I;m a little wary of the tacks being strong enough, but anything more splits this wood, since I went for the "normal" wood and not the "premium" wood.
 |
| Strengthening the corners by putting some larger tacks into the long board. |
Having completed my first board, I'm considering my methods, and preparing to hopefully do a better job on the next 3.


No comments:
Post a Comment