
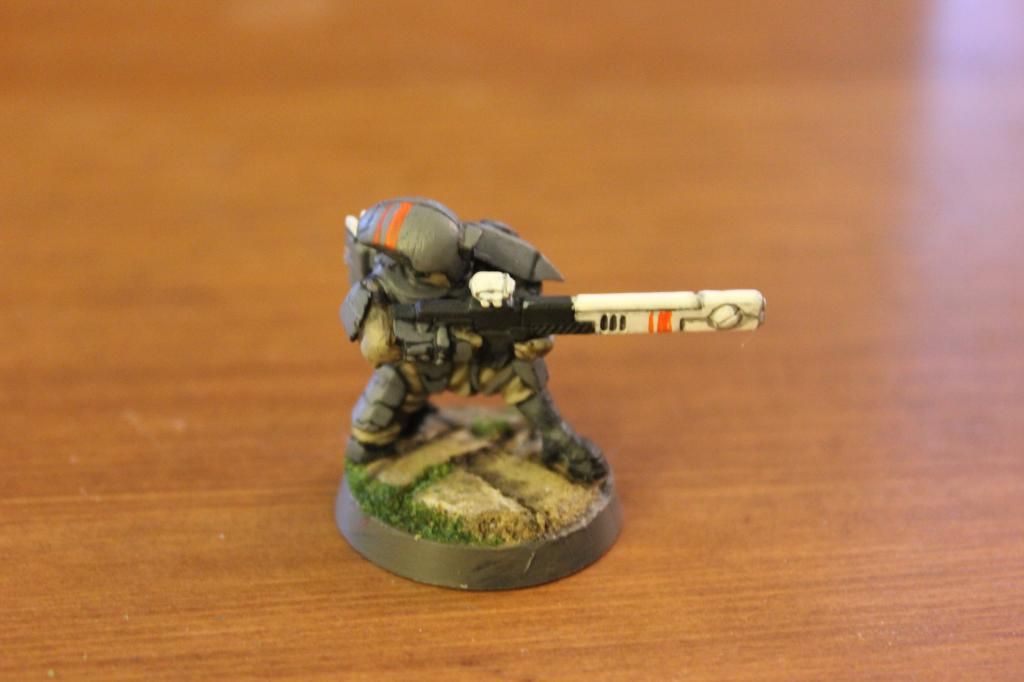
This is a brief tutorial on creating temple ruin bases. I am using them on my brother Dan's Tau army. The aesthetic we are attempting is that of the sci-fi ancient temple world, as seen in many computer games, not the least of which being the old Marathon series, and its successor, Halo. This project is also intended to warm up my foam skills so I can do my Flames of War Paratrooper bases.
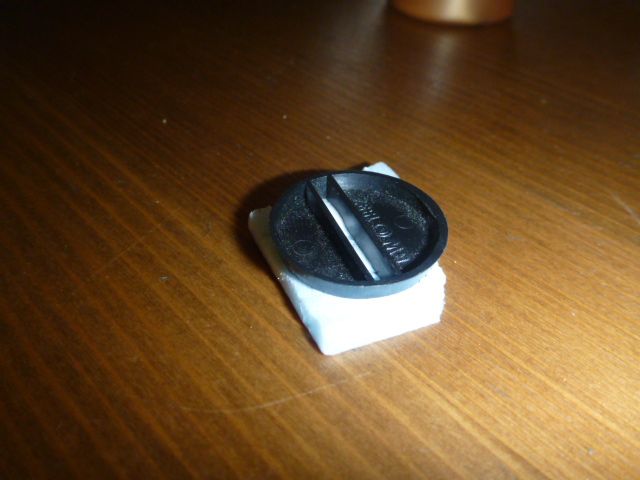
Tools and materials are bases (duh), high density foam, white glue, an exacto knife, ballpoint pen, pin-vise, hobby clippers, superglue and a small sewing pin.
For this model, I temorarially glued the Fire Warrior to the base using white glue to make him easier to paint. When he was nearly complete, I removed him and got to work on the base.

Taking a cue from Flames of War basing techniques, I scored the plastic base with my hobby knife. This is to help my white glue have enough of a texture to grab onto, since the foam I will work with here melts to superglue. I went a bit overzealous, and you can see that I went over onto the smooth edge.
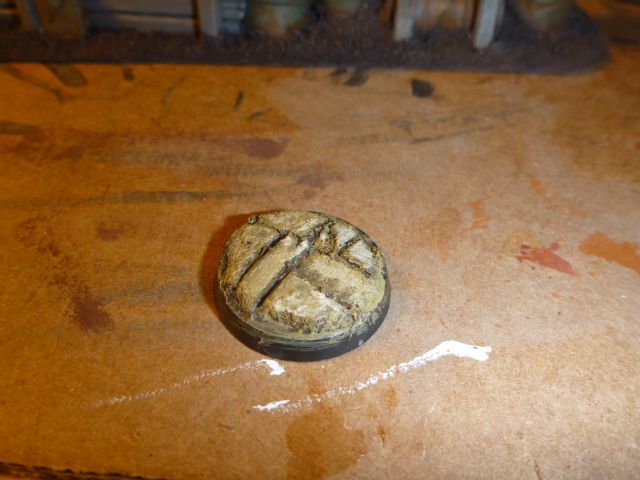
Next, I glued the blue foam to the base. I have precut a chunk just a little larger than the base. Doing this face-down allows the set-up to be weighted for a better bond between texturing foam and plastic.

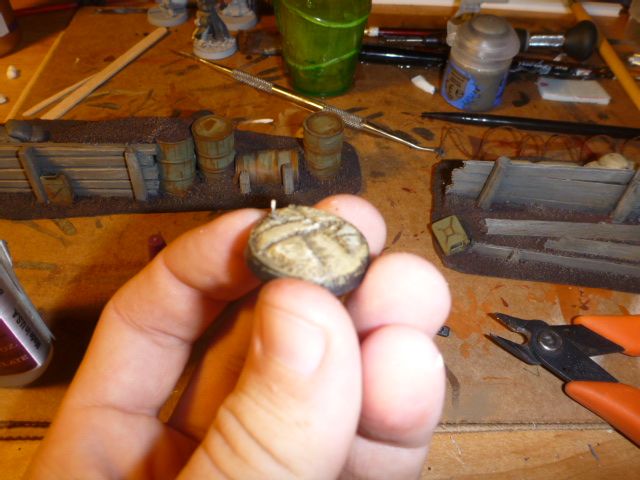
When the glue dried, I flipped the assembly over, and cut the edges of the foam down to a little smaller than the base, and also trimmed it down to be a bit thinner. (I'll start thinner on the next one!). Then I created the stone floor texture by cutting grooves into the foam with the hubby knife and by scoring the shallower ones with the pen. I then rolled a rough-textured tool handle over the surface of the foam to give it a more stoney surface, and painted white glue over it to seal the foam.
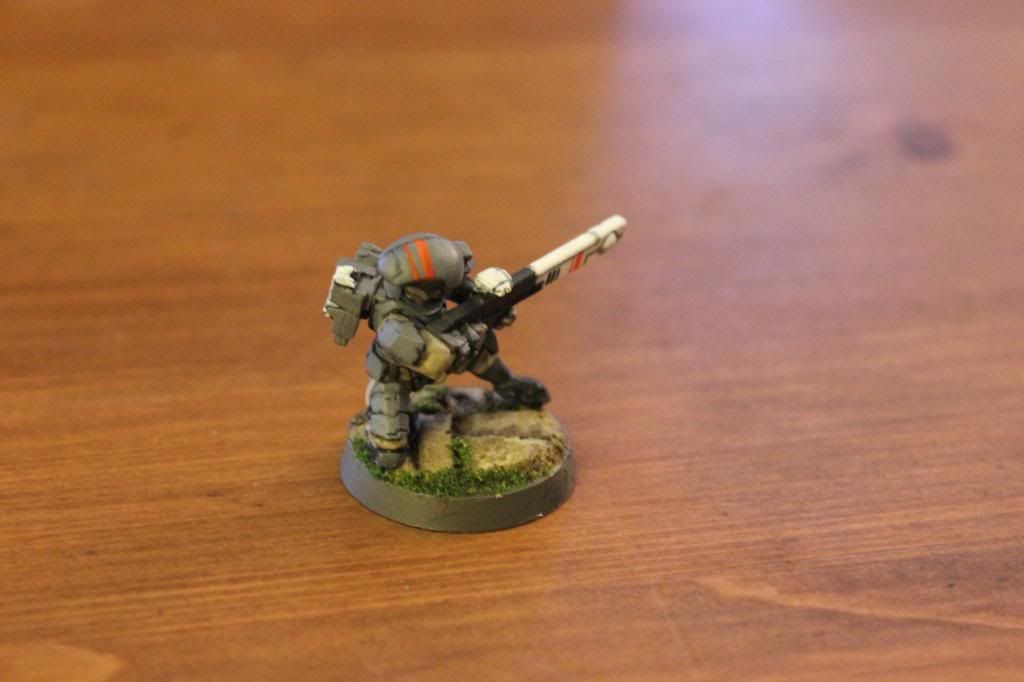
Now the fun part! When the glue dried, I painted up the base to a good sand-stone color, using a progression of Vallejo Burn Sienna base coat, Khaki Grey, and a Bonewhite highlight. The cracks were then washed with black india ink. It's starting to look like the vision!
Time to attach the figure! I drilled a hole through the base and foam, and superglued a cut-down pin through it.
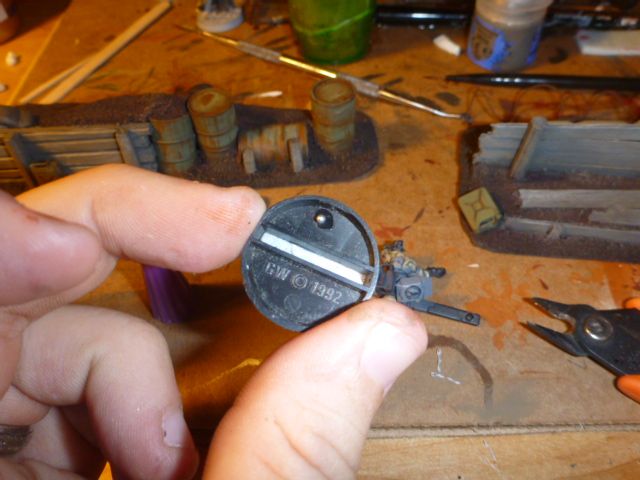
And the bottom! The pin is important because i am essentially going to glue the figure to the blue foam, and that would not be too sturdy on its own. Since the base was already sealed with white glue and paint, the superglue attaches to that layer instead of melting the foam.

Also note that I can get away with this because the Fire Warriors are plastic. For a metal kit, you'd want to glue to something more solid. The final stages are to finish the last painting details on the figure, dull-coat the whole thing, and glue some flocking material to the base. I recommend Woodland Scenics ground foam (or something similar) since it resembles moss or small growth better. Sticking to cracks between the stones gives the ruins base a more overgrown look.
2 comments:
Love the basing. Once the (<7 days away!) Wife and I get settled, I hope to revisit my Tau. I should start thinking about my basing theme...
A good base really makes the model, doesn't it? I might try your technique out with my Eldar.
Post a Comment