
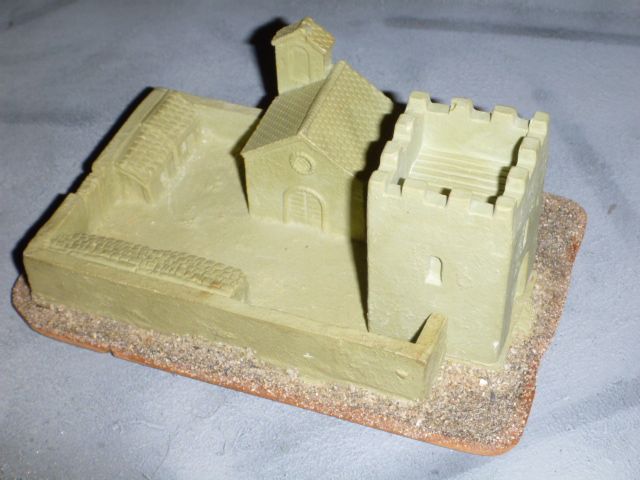
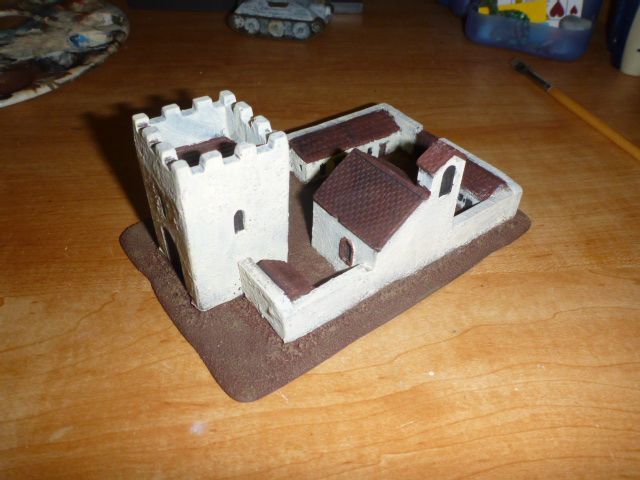
We last left the 15mm town affixed to a piece of cut masonite. After this, I textured the surrounding base using playground sand.
After this, the real fun began! I primed with black spray primer, and then basecoated the large areas of color. For the earth, I used "Chocolate" colored craft acrylic (The closest I could find to GW's old Scorched Brown) instead of my ususal Vallejo color since it needed to cover a large mostly flat area. As a bonus, the thicker paint also helps keep the sand glued in place and gives it a bit of a cushion so that it doesn't scratch models as badly should they fall or rub against it.
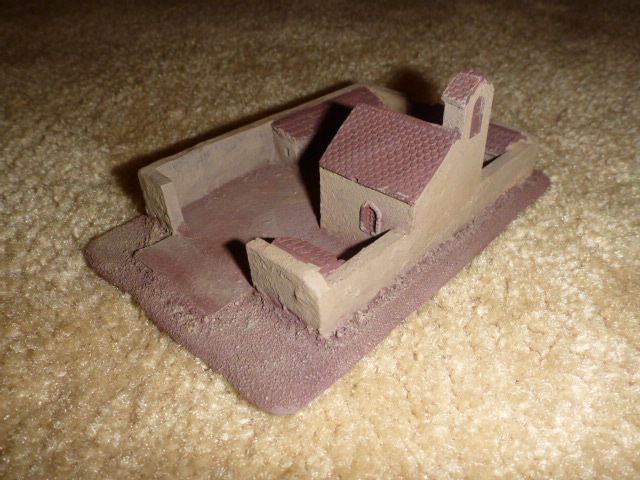
After the base of dark brown, I used a medium earth-brown (VMC US Field Drab) as a dry brush highlight to the ground, and as a basecoat on the plaster walls of the town. Roofs at this point are left undercoated dark brown.
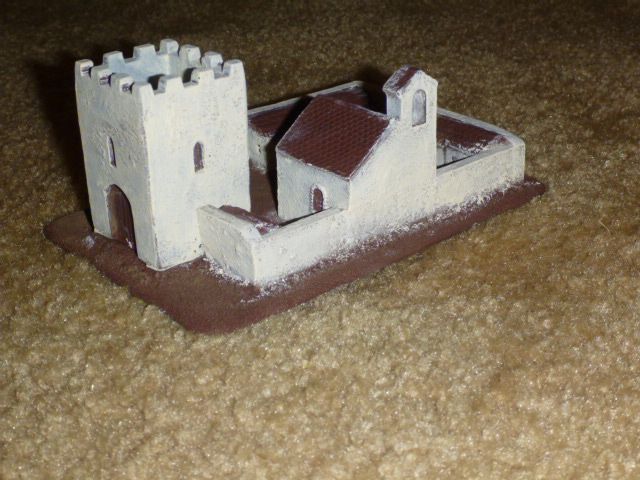
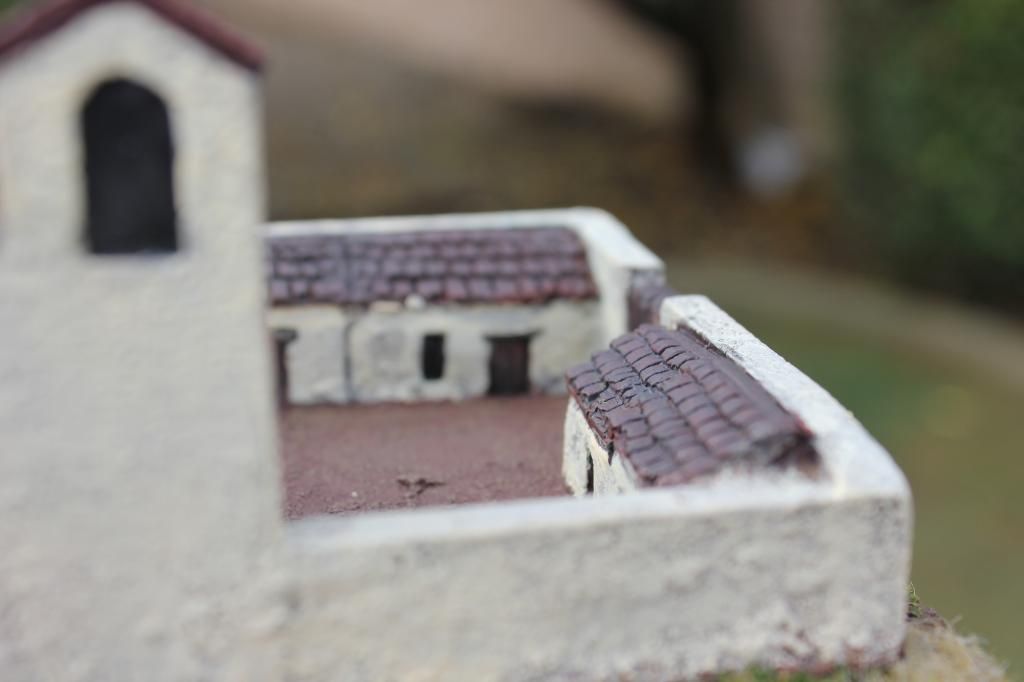
Next (you guessed it!) I went about cleaning up the mess I made with the off-white, and also started to darken up door frames and windows with a heavy black wash.
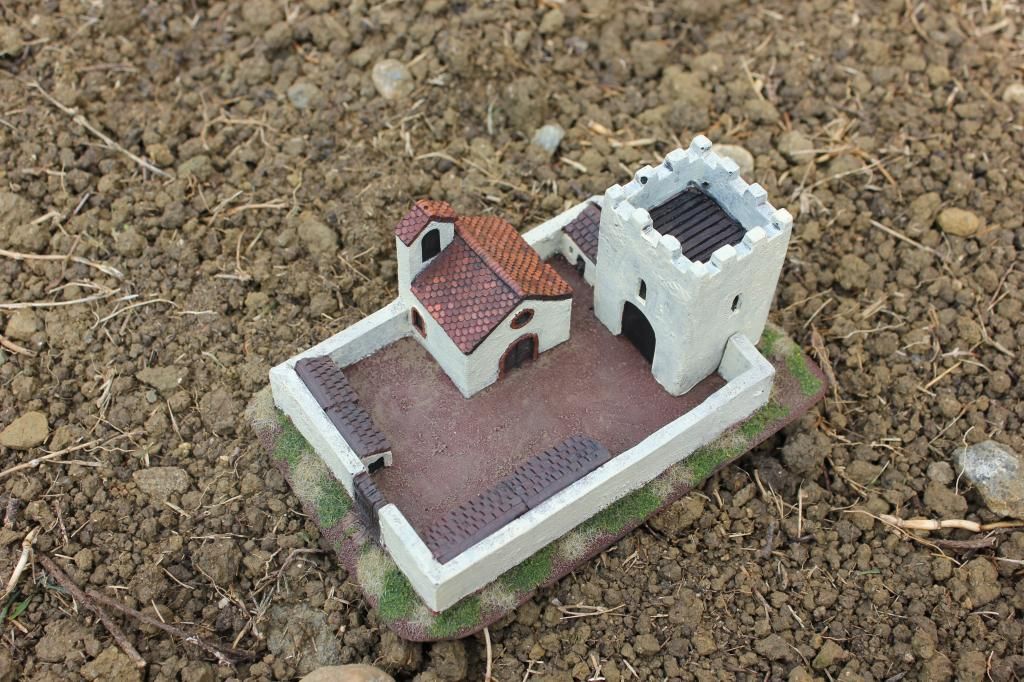
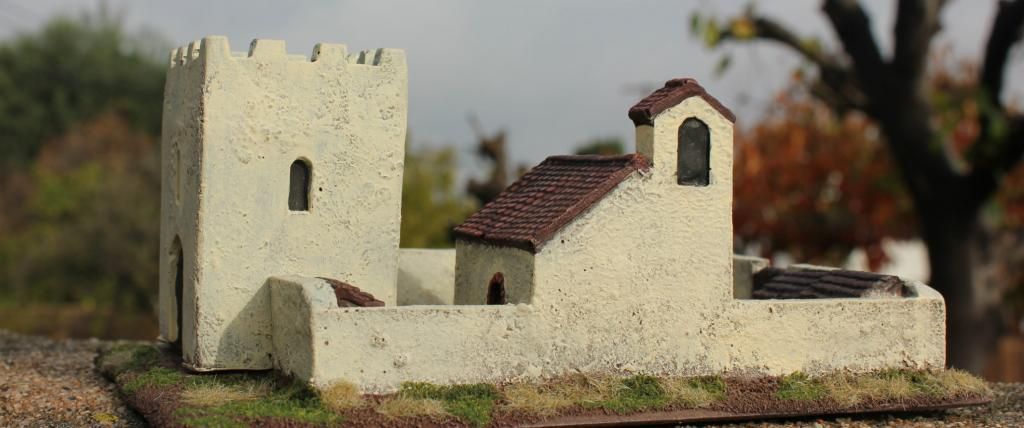
The tile roof is touched up with variations on terra cotta, and the shingles are weathered with a filter of Granite. The final touches were to clean up the edges of windows, and add flock and grass outside the walls.
And finally, some a shot in some beautiful morning light:
No comments:
Post a Comment