

When I finally got the surface prepped to the point in the graph where satisfaction and impatience for the fun part intersect, I moved on to prime and paint my 3D Printed E100.
This model was my chance to try out Vallejo's Dunkelgelb primer. I thinned it with Windex and applied with an airbrush. I'm not entirely sure how well it bonded, as the Tamiya putty surface was likely more friendly to the paint than raw PLA would have been.
 |
| The parts where I didn't fill the print gaps well at least read a bit like Zimmerit... |
Weathering uses two new (to me) techniques: I employed artists' oils for washing and streaking, as well as Vallejo pigment powder for the oxidation effect.
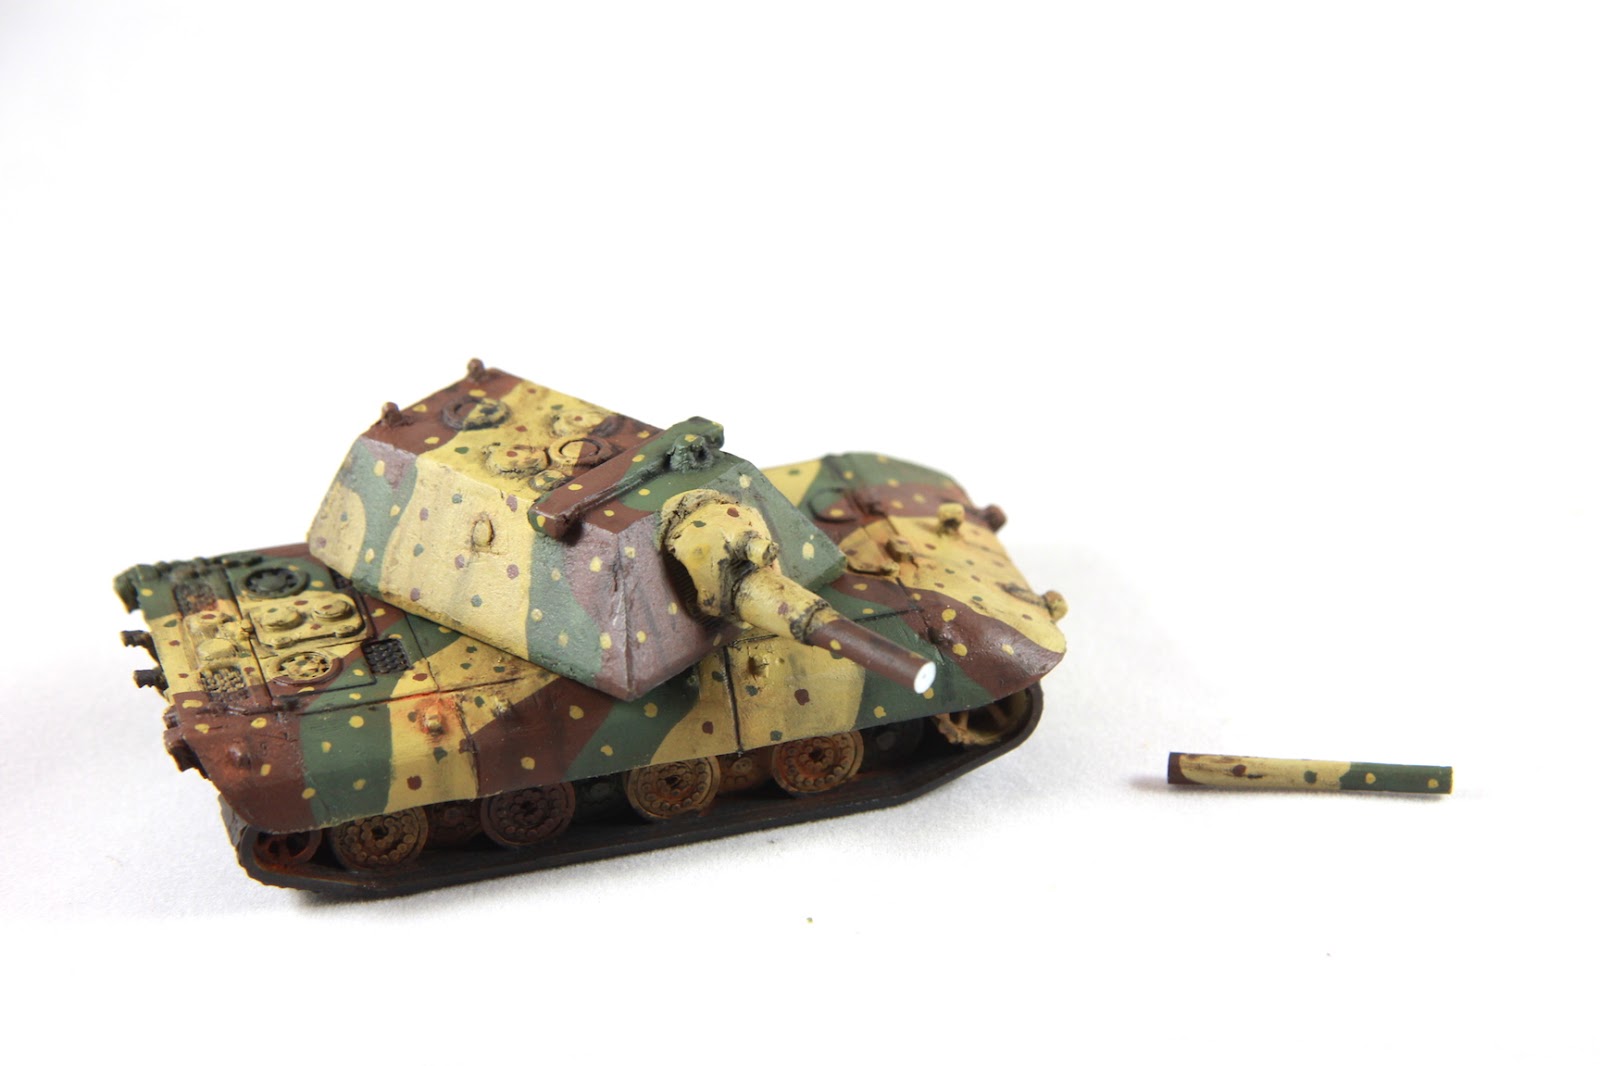 |
| I was dumb. |
No comments:
Post a Comment