Like a movie villain, I cannot help but monologue the details of my plans, so allow me to gratuitously lay out the details of how I staged the photos of my last blinds marker project.
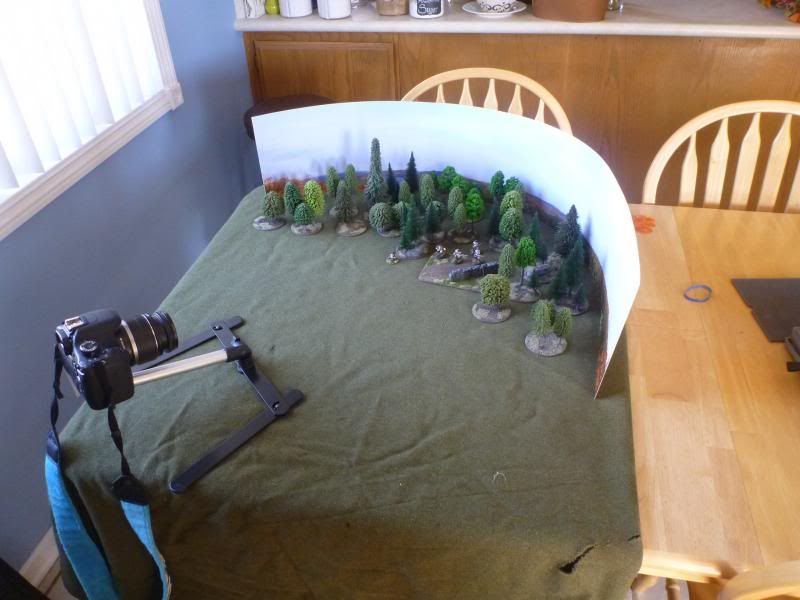
The first step is also the most crucial step. Almost any digital camera, even those on cell phones, can take a decent picture. The difficulty lies in getting the lighting just right. You can see the basic trick in the first image above. I use natural morning light coming in through the kitchen window. The whole layout for the photo shoot is meant to optimize the incoming light.
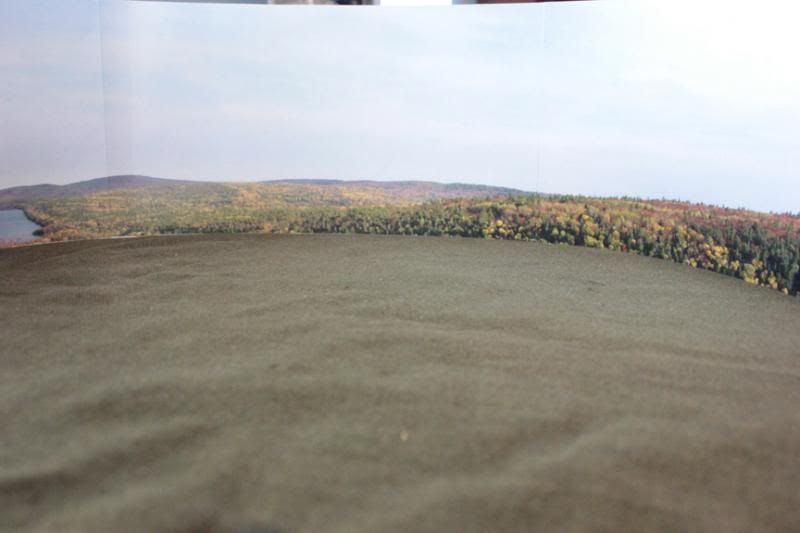
Starting to set the scene: so far just a green wool blanket and a panoramic print.
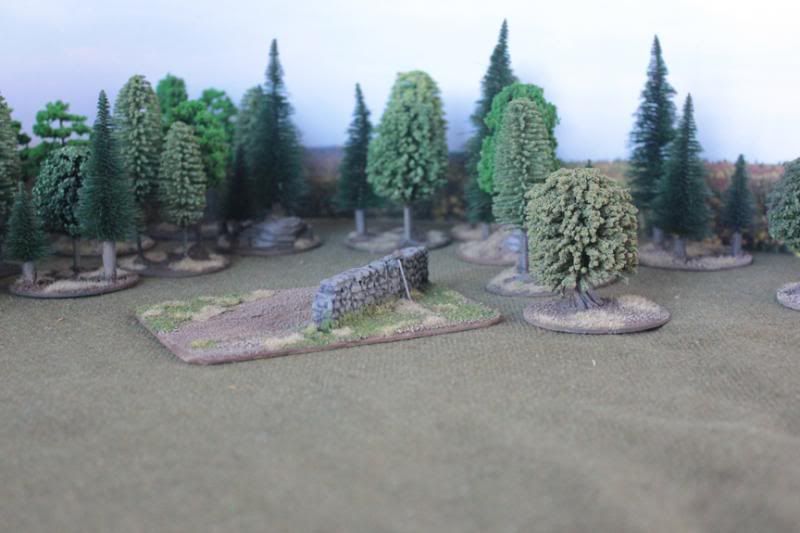
Starting to add some foreground elements: trees and the new model to be shot, in this case my hidden movement marker.
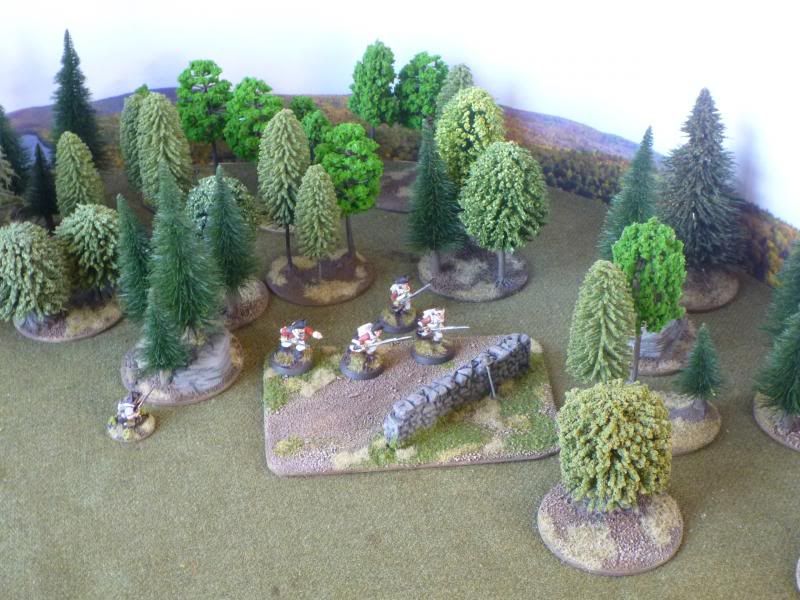
The final bit of set up gets the figures laid out so that I can control what is in focus of the shot. I was careful to line up my camera angle to hide any shadows cast onto the printed backdrop, since that would ruin the illusion of depth.
As with any bit of the hobby, photography is always evolving, and I'm always looking for a way of doing it better or funner next time.


No comments:
Post a Comment