Saturday, December 29, 2012
Königstiger Rescue, Part I
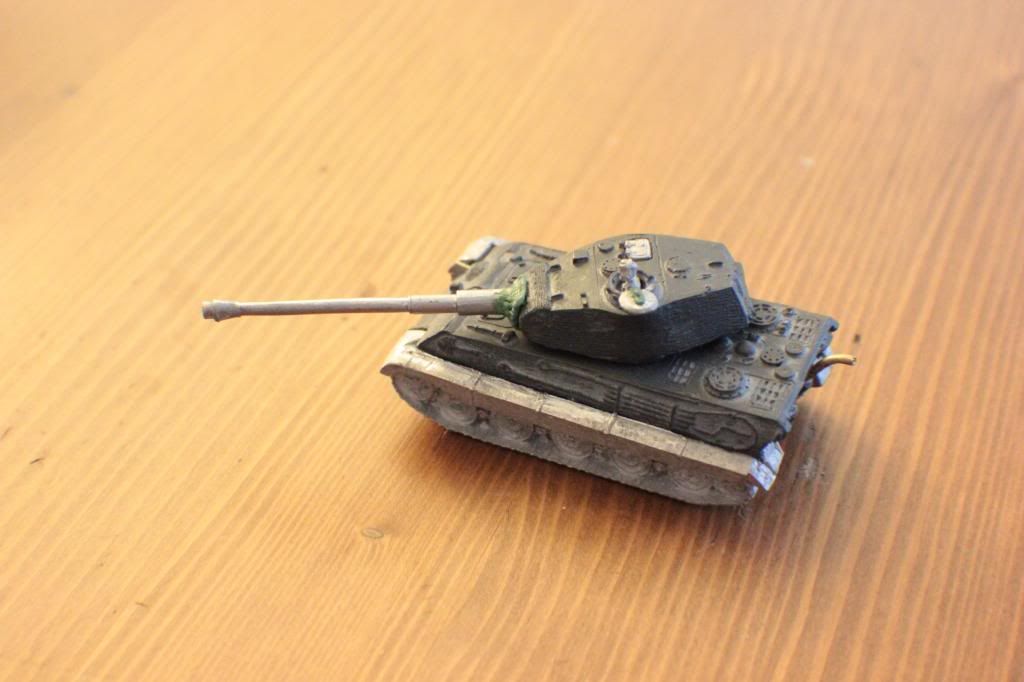
My friend ZE Whitlow has given me a rescued Tiger II for Christmas. He had acquired it second-hand, and it had some issues, which he figured I could correct. The original model is a Panzer VI Tiger II, with a Porsche turret. However, the turret was missing all hatches, the radio operator's machine gun was missing, the exhaust system was destroyed, and, oh yeah, the previous owners had glued the wrong gun onto the front!
Labels:
15mm,
Armor,
Flames of War,
Miniature,
WIP,
Work in Progress,
WWII
Thursday, December 13, 2012
Temple Ruins Basing
This is a brief tutorial on creating temple ruin bases. I am using them on my brother Dan's Tau army. The aesthetic we are attempting is that of the sci-fi ancient temple world, as seen in many computer games, not the least of which being the old Marathon series, and its successor, Halo. This project is also intended to warm up my foam skills so I can do my Flames of War Paratrooper bases.
Tools and materials are bases (duh), high density foam, white glue, an exacto knife, ballpoint pen, pin-vise, hobby clippers, superglue and a small sewing pin.
Tuesday, December 11, 2012
Thursday, December 6, 2012
Imperial Guard Propaganda
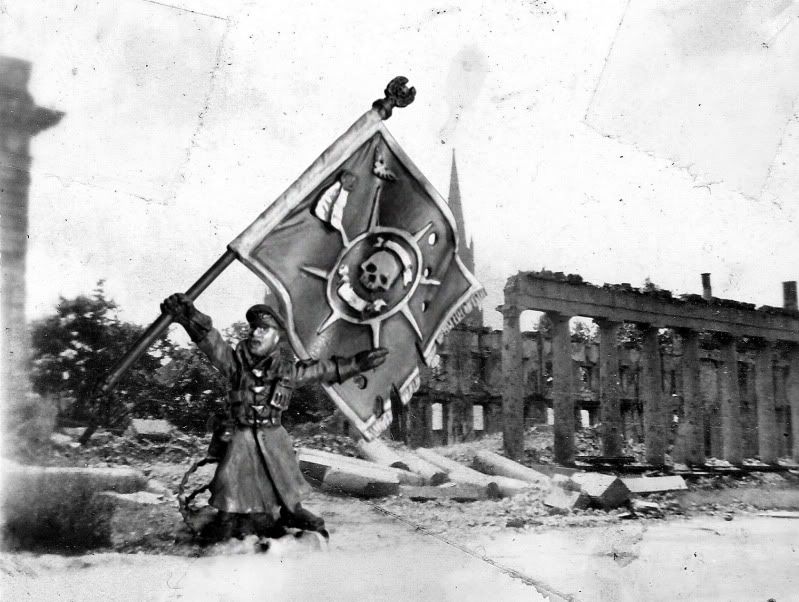
A short update on my Warhammer 40,000 Imperial Guard project. Seen here is a composite photo of an standard bearer leading the charge into the ruins of an Imperial cathedral during the liberation of an outlying human colony world.
Monday, December 3, 2012
Imperial Guard Trenchline WIP
Warhammer 40,000 6th edition allows for fielding your army with fortifications as a part of your list. The one that seems the best deal for my Imperial Guard is the Agis defense line, which is a low wall that provides cover to infantry and vehicles behind it. The official model looks quite nice, but does not really fit into my more retro aesthetic that my Valhallans enjoy. This is also a good terrain piece on a tight budget, as I purchased nothing for the scenery.
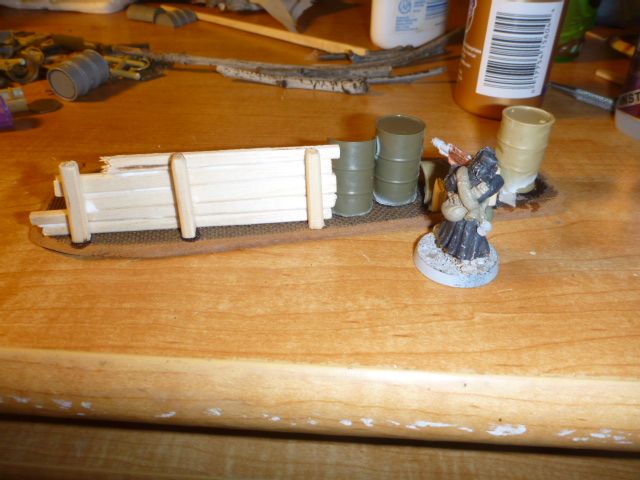
To build these, I started by cutting and sanding some masonite, as I did for the 15mm walled town, then glued objects (mostly coffee stirs and chopsticks) as free-standing walls, keeping a guardsman around for scale. I built up a slope on the far side to meet the top of the duck boards. Other details include barrel bits that were a gift from a friend a few years ago.
On top of this, I glued sand down for texture, and some light debris and sandbags. These not only add some visual interest to the side of the earthworks defenses my opponents will see, but also hide rare-earth magnets that hold some removable barbed wire onto the glacis.
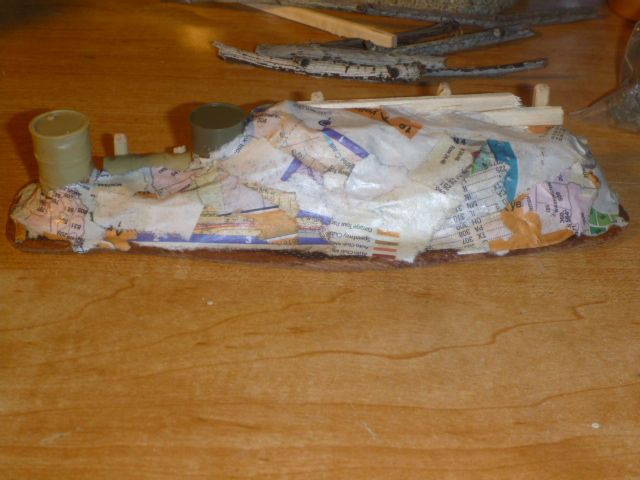
Looking at the inside of this particular section, you can see that the retaining walls are different heights, and the higher section has a firing step, just wide enough for a Games Workshop small round base to fit comfortably. With size a constraint on this project, the firing step detail is purchased with a much steeper slope to the earthen mound on the other side that I would ideally like, but I think it's a worthwhile trade.
At this point, I wait for the glue to dry so I can get to priming!
Saturday, December 1, 2012
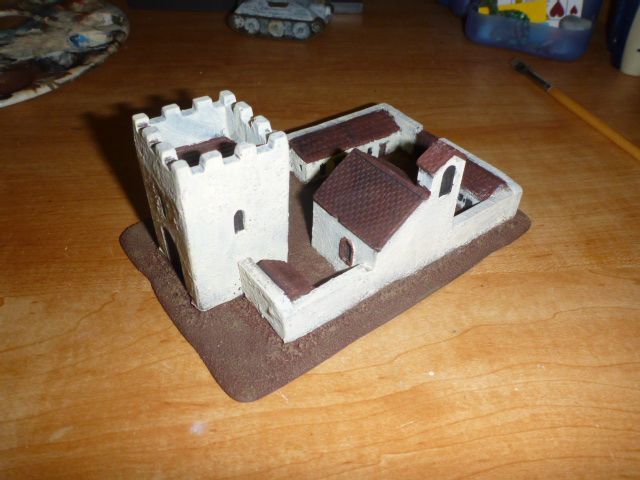
15mm Town, part 2
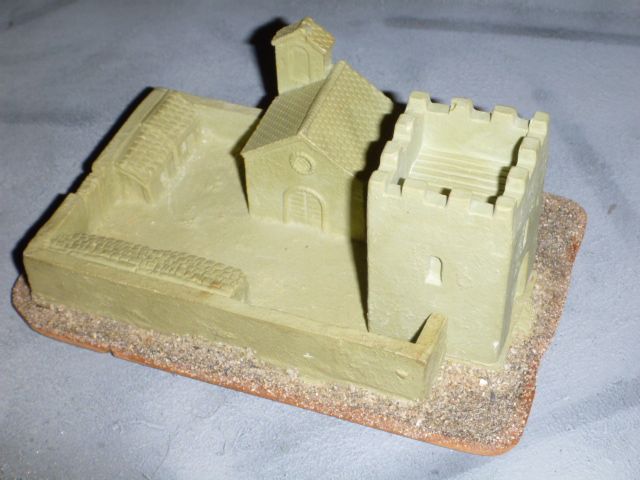
We last left the 15mm town affixed to a piece of cut masonite. After this, I textured the surrounding base using playground sand.
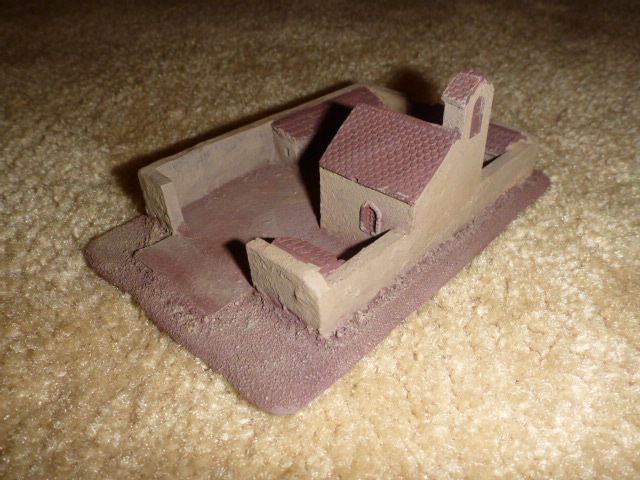
After this, the real fun began! I primed with black spray primer, and then basecoated the large areas of color. For the earth, I used "Chocolate" colored craft acrylic (The closest I could find to GW's old Scorched Brown) instead of my ususal Vallejo color since it needed to cover a large mostly flat area. As a bonus, the thicker paint also helps keep the sand glued in place and gives it a bit of a cushion so that it doesn't scratch models as badly should they fall or rub against it.
After the base of dark brown, I used a medium earth-brown (VMC US Field Drab) as a dry brush highlight to the ground, and as a basecoat on the plaster walls of the town. Roofs at this point are left undercoated dark brown.
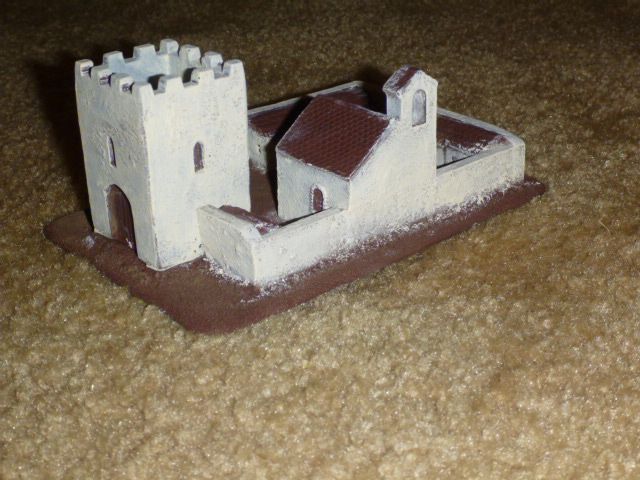
Next (you guessed it!) I went about cleaning up the mess I made with the off-white, and also started to darken up door frames and windows with a heavy black wash.
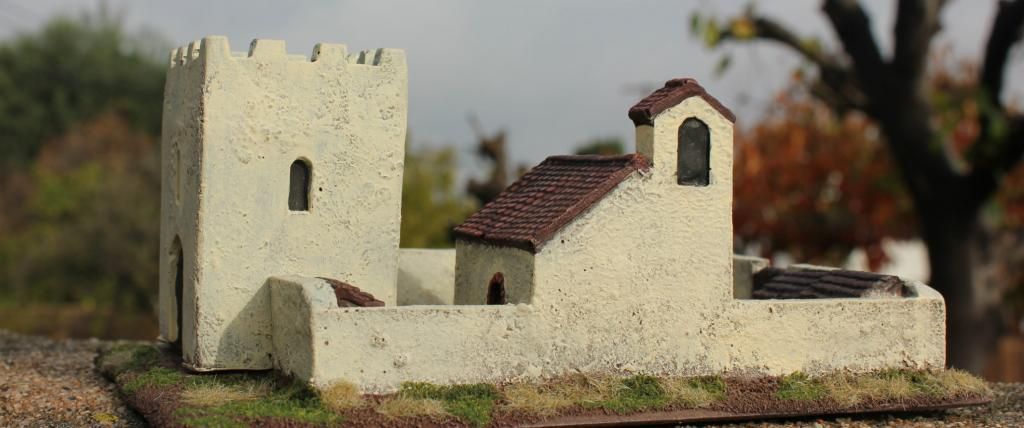
The tile roof is touched up with variations on terra cotta, and the shingles are weathered with a filter of Granite. The final touches were to clean up the edges of windows, and add flock and grass outside the walls.
And finally, some a shot in some beautiful morning light:
Labels:
15mm,
Flames of War,
Historical,
Terrain,
WIP,
Work in Progress
Subscribe to:
Comments (Atom)

