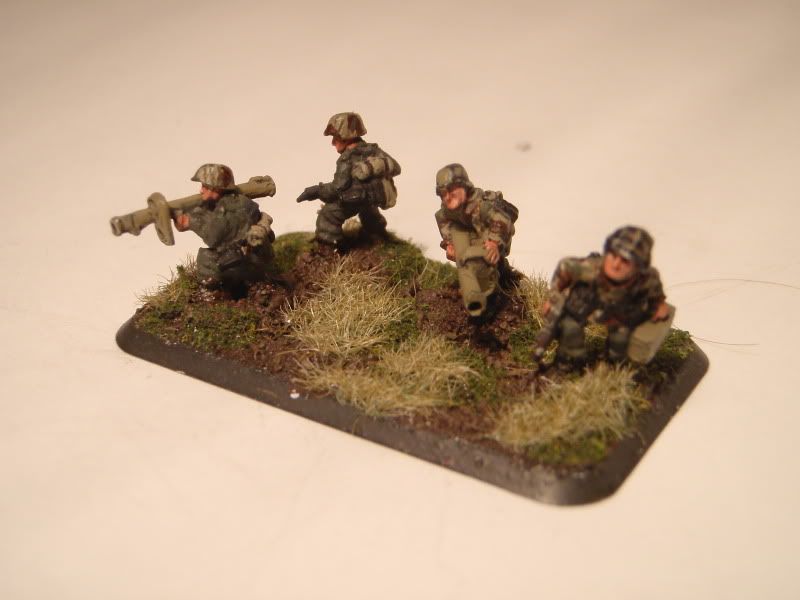
Just a quick update on my LW German Grenaider force: Panzershrek teams for the command platoon. Tubes drilled out for dramatic effect.
This single team also shows a bit more detail of how i have been basing my Grenadiers, which is meant to look like pastureland. The mixture of lush undergrowth beneath taller brown grasses is inspired partly by photos of the French countryside, and partially on my grandparents' farm in Northern California.
Tuesday, January 25, 2011
Friday, January 21, 2011
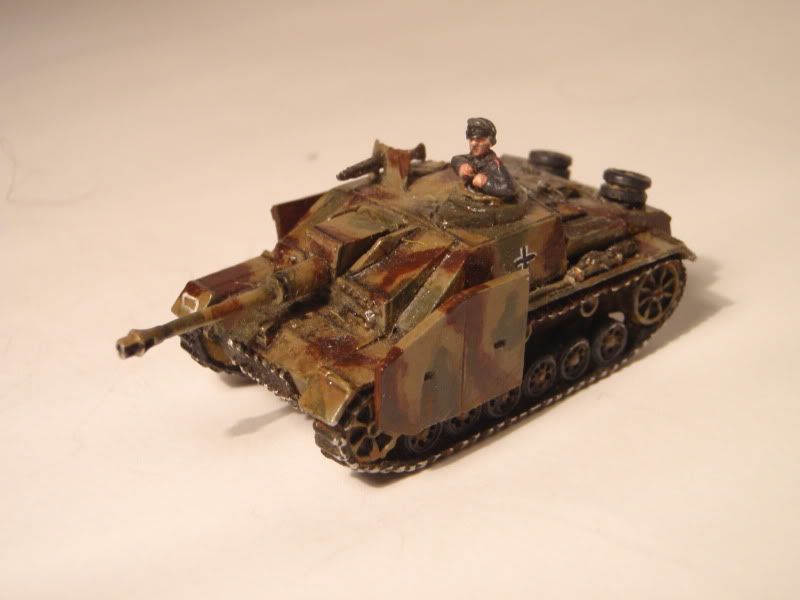
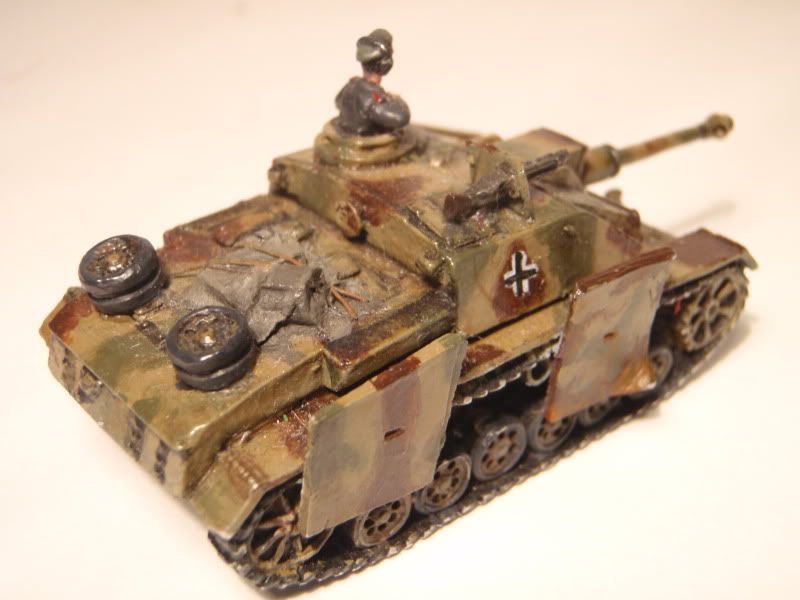
StuG III G no.3
Another blister kit of the StuG IIIG. This time I've given it some of its side skirts, and those in various conditions. I also experimented with creating my own stowage. Plastic sprue boxes are covered in a piece of toilet tissue doped with white glue. Florist wire stands in as ropes holding the stowage on the rear deck. Another fairly straightforward build and paint up, using feathering in place of an airbrush for the 3 color camo.
Thursday, January 20, 2011
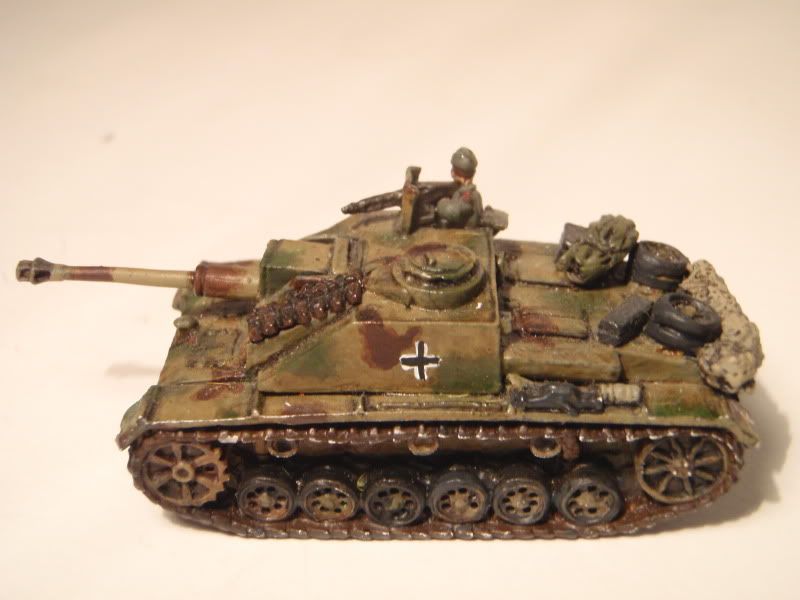
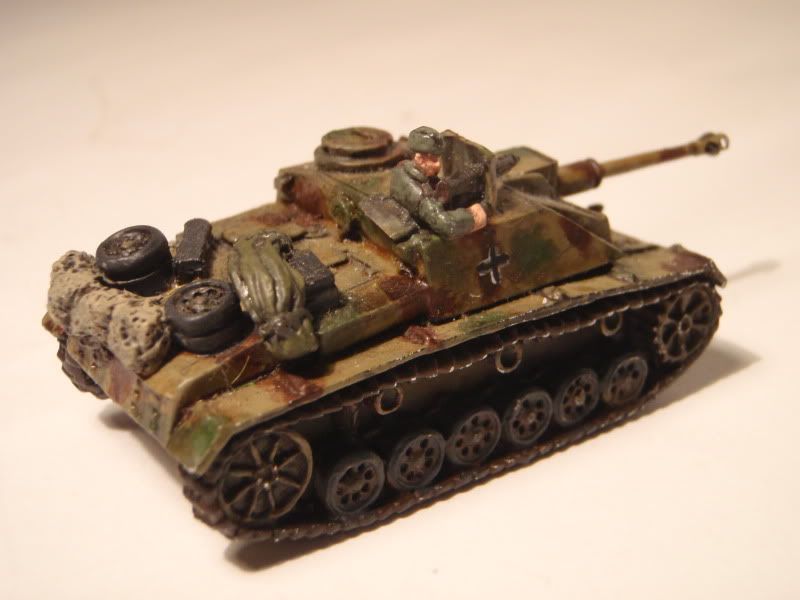
StuG III G no. 2
This is a build of a proper StuG III G model from Battlefront, with the separate track parts and additional options not available on the Open Fire models.
Given the opportunity, I went with a lot of the options, including camo nets, tarps, extra stowage, and spare tracks, not to mention the crew member manning the pintle MG42. The tracks are painted in rusted brown colors, and highlighted with a very light application of No.2 pencil lead. They are reflecting a bit more in the photo than in real life
Given the opportunity, I went with a lot of the options, including camo nets, tarps, extra stowage, and spare tracks, not to mention the crew member manning the pintle MG42. The tracks are painted in rusted brown colors, and highlighted with a very light application of No.2 pencil lead. They are reflecting a bit more in the photo than in real life
Tuesday, January 18, 2011
Jagdpanthers, Part 2
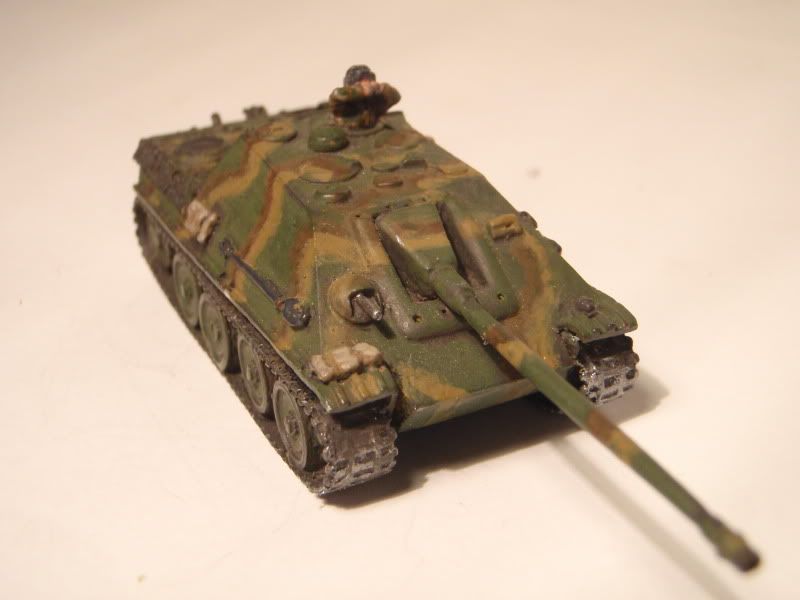
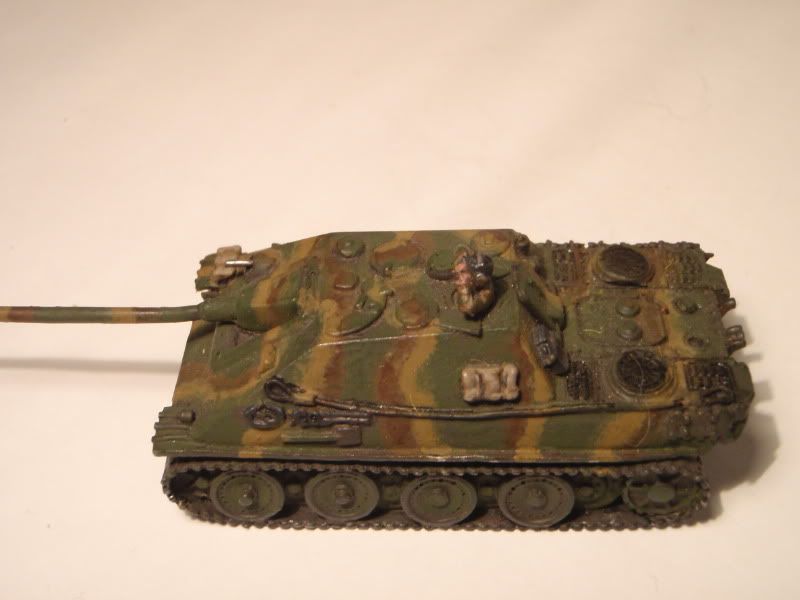
As I began to paint the second vehicle in my Jagdpanther platoon, I decided to go give each hunting panther its own individual paint scheme, within the usual guidelines. Research showed that many were primarially green in color, as opposed to the mostly dark yellow panzers and StuGs. Using the same 3 camo colors found throughout my German force, I gave this one more of a tiger striped look to it, something somewhat common among the assault guns in operation. some of the details are a little off; mainly some grating that is molded in its inverse.
You can see in this photo that the barrel did not straghten as much as I would have liked. I may replace it with tubing as well.
On the whole a fun paint-up.
Saturday, January 15, 2011
Jagdpanthers, Part 1
I was out of town at a wedding, and happened upon a bazaar at a game
store near the ceremonies. My loving wife allowed me some time to stop
in and look around a bit. There I found a set of three metal 15mm
Jagdpanthers for sale. I am unfamiliar with metals at this scale, so I
wouldn't be able to comment on manufacturer details. The tanks came in
need of paint and love. My first tank was done a bit more
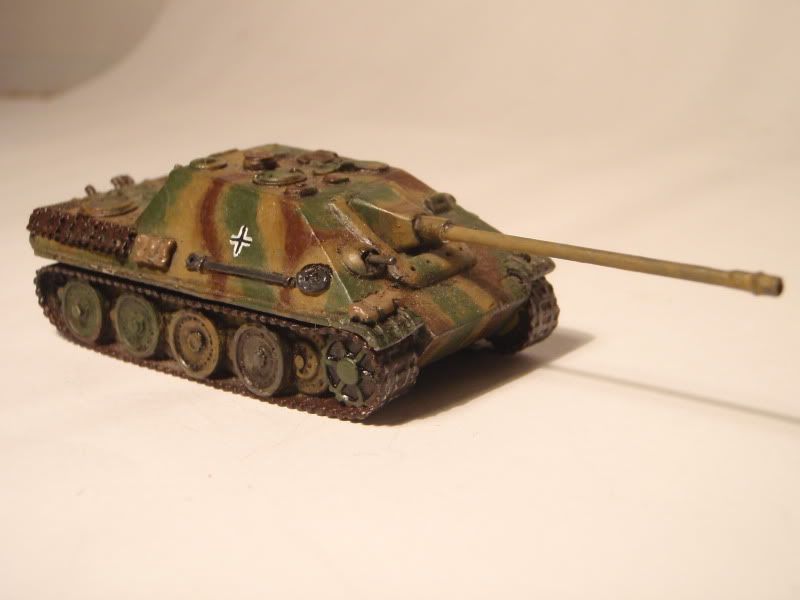
conservatively, with a fairly standard tri-tone camouflage. THis tank
was the most complete of the used kits, so it only needed its barrel
straightened. After painting, i decided the barrel was still too crooked, and took away from the model, so i replaced it with brass tubing, and pinned the muzzel brake back onto the tip.
Sunday, January 9, 2011
Shermans: the first of many
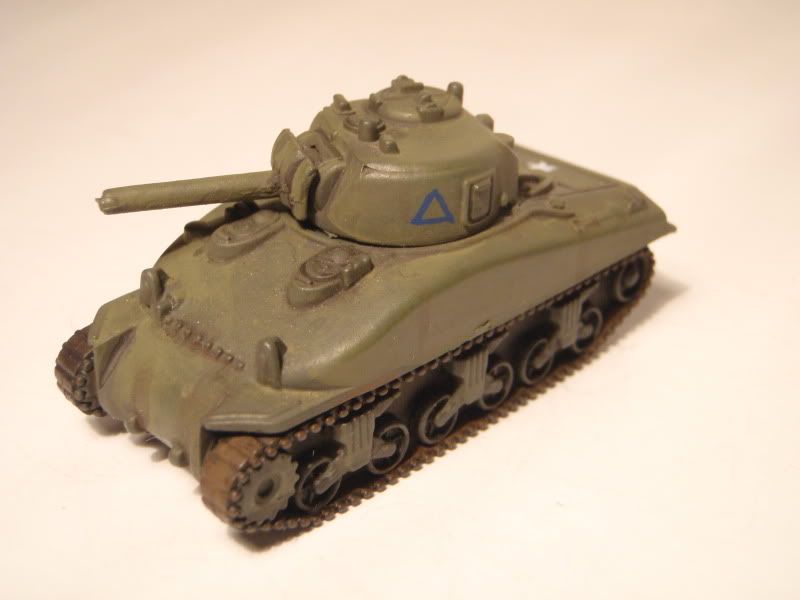
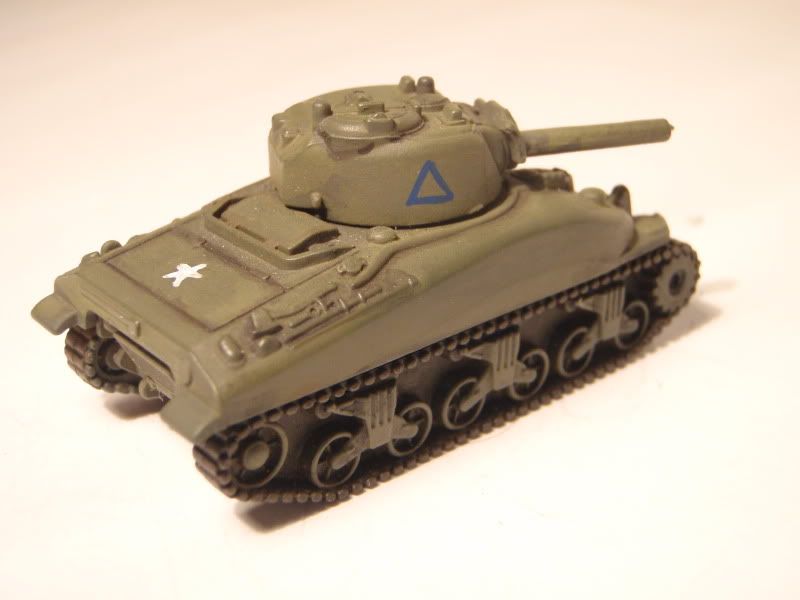
On an errand at a local Target, I stumbled on a goldmine. I found a small Sherman III tank toy, on clearance after Christmas. I snatched it up at about $1.50 and took it home to compare with my Fireflies. Sure enough, my modeller's instincts were correct, and it was at the very worst extremely close to a perfect 15mm model!
Some details left me wanting: the gun was way too thick, the plastic-rubber of the tracks, while well detailed, was solid, and some of the hull details were simplified for a one-directional injection mold. There is no doubt the details are less accurate than on most available kits. However, to bulk out a force of nearly all Sherman tanks, why not do it for $12?
Some details left me wanting: the gun was way too thick, the plastic-rubber of the tracks, while well detailed, was solid, and some of the hull details were simplified for a one-directional injection mold. There is no doubt the details are less accurate than on most available kits. However, to bulk out a force of nearly all Sherman tanks, why not do it for $12?
Wednesday, January 5, 2011
Firefly VC, part II
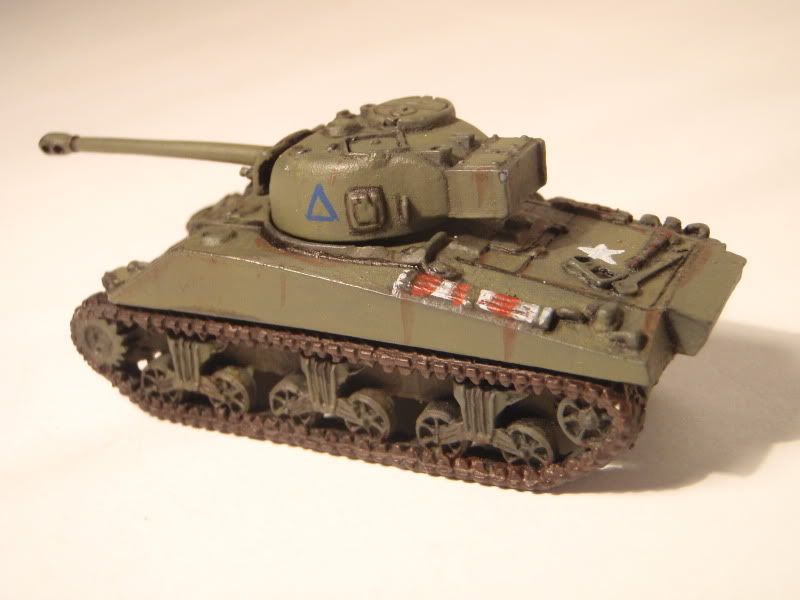
Having build my first Sherman VC Firefly tank, I could not resist immediately acquiring a second and getting to work on it! I am really enjoying these little kits from Battlefront.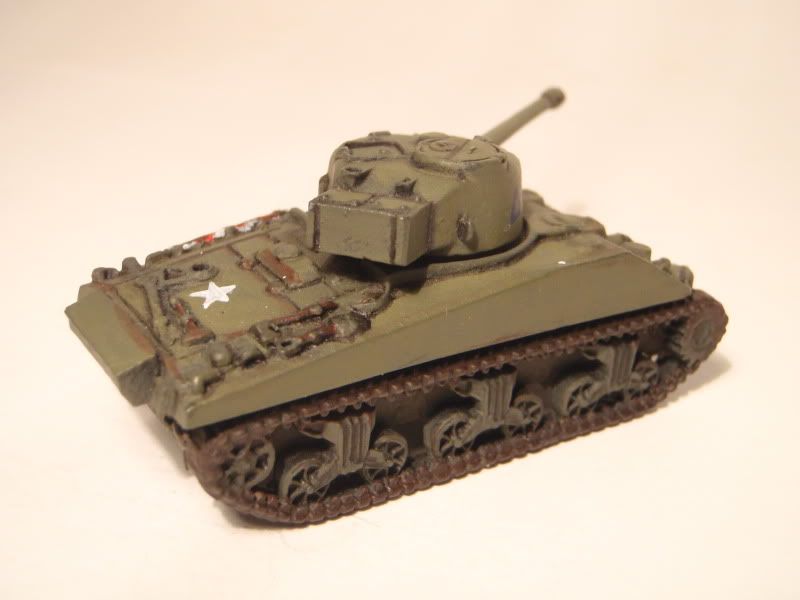

Most of the detailing options i chose on this tank were to differentiate it from my existing model. Thus, the top hatch is closed, and the additional counterweight is not attached to the rear of the turret. I am currently unsure if I want to do the white camouflage on the barrel as of yet.
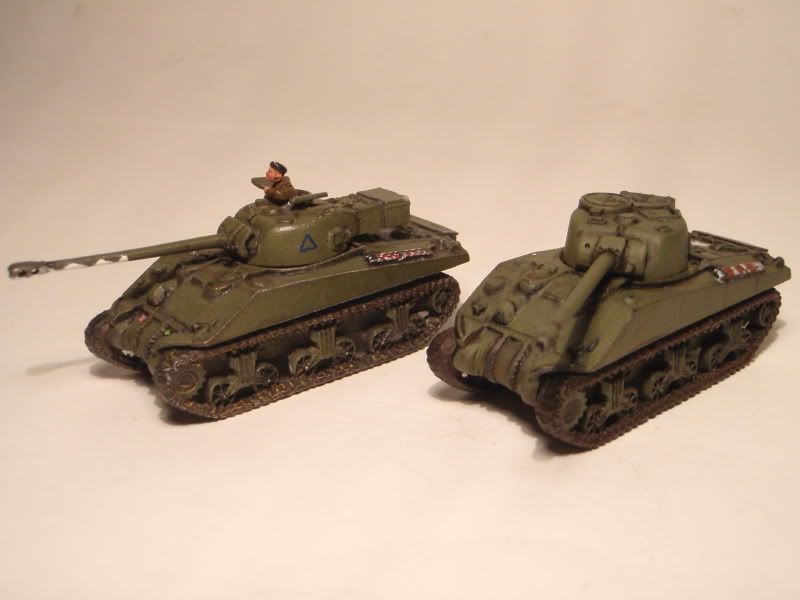 |
| The happy couple. |
Monday, January 3, 2011
Sherman Firefly VC (Fow)
One of the hardest lessons of post-college wargaming is that it is difficult to scrounge up opponents to games without roommates with similar interests. One remedy that I am working on is an attempt for most systems that I will continue to build to include a matched set of forces, so those wary of building an army can still try out the game (making it easier to recruit other players).
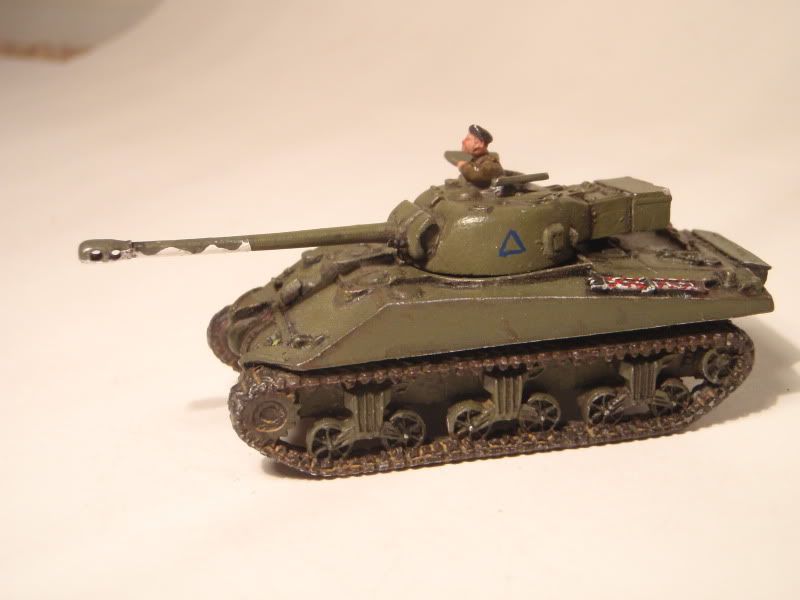
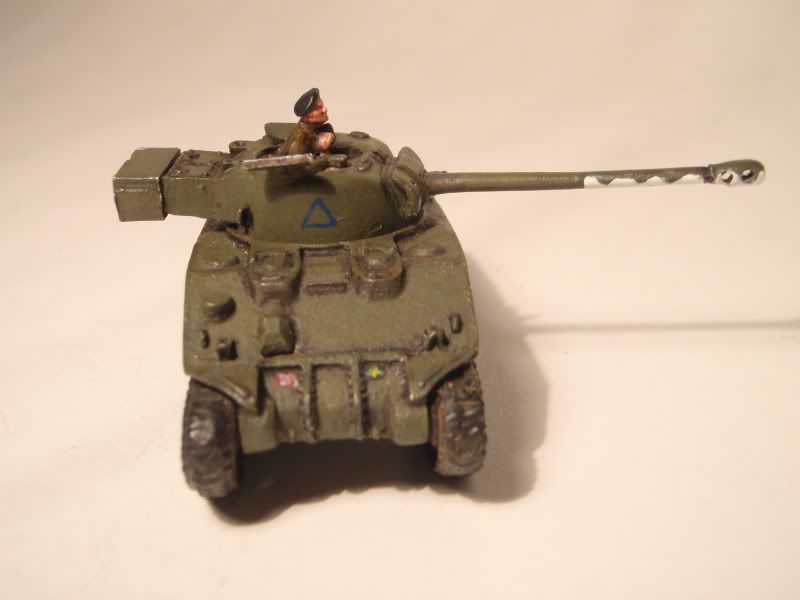
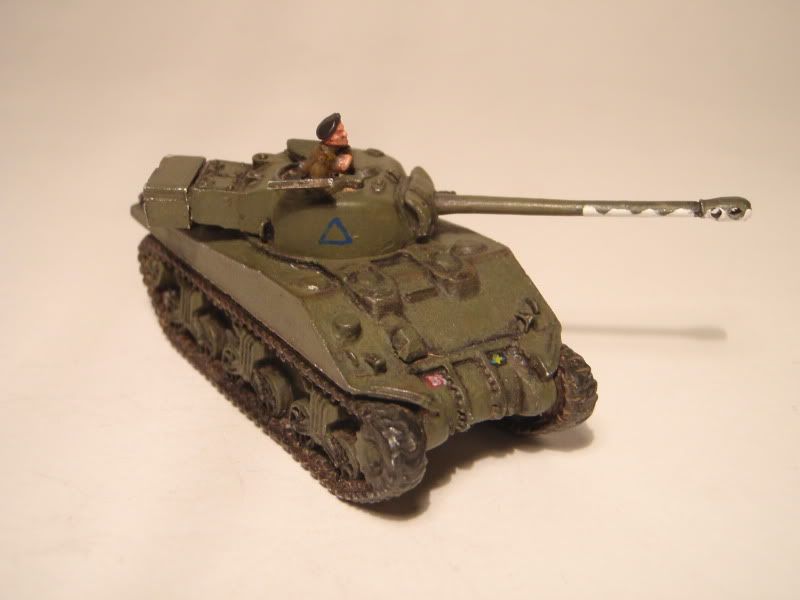
For my Flames of War paired army, I decided to go with late war British Armour. I am trying to be good and resist the temptation to take over my small apartment with scads of Russian T-34s (as much as I would love to). British Armored divisions seem like an interesting mainstream Allied choice, and i do like their particular shade of Olive. Another big draw is the Firefly VC tank. I love the way the 17lb anti tank gun looks mounted on the Sherman chassis. This upgunned Sherman was Britain's answer to the heavy panzers they were encountering, and while not being much more armoured than a standard Tommy Cooker, at least they could hope to punch the large cats' armor.
I tried my hand at freehanding some small markings, making this a Canadian tank. The muzzlebreak was drilled out with a pin vise. As a friend from my GW days once said, "If you're going to take the time to paint the figure, you can take the time to drill the barrel."
Though I was saddened when research showed that the cool Mickey Mouse camo pattern was used on support vehicles and not tanks, one nice thing about doing the basic green paintjob is that you can really flourish in the weathering department, which is every modeller's favorite. I don't know how well it comes across with my painting, but I attempted to show the rubber road pads in the middle of each track link.
Subscribe to:
Comments (Atom)

