Warhammer 40,000 6th edition allows for fielding your army with fortifications as a part of your list. The one that seems the best deal for my Imperial Guard is the Agis defense line, which is a low wall that provides cover to infantry and vehicles behind it. The official model looks quite nice, but does not really fit into my more retro aesthetic that my Valhallans enjoy. This is also a good terrain piece on a tight budget, as I purchased nothing for the scenery.
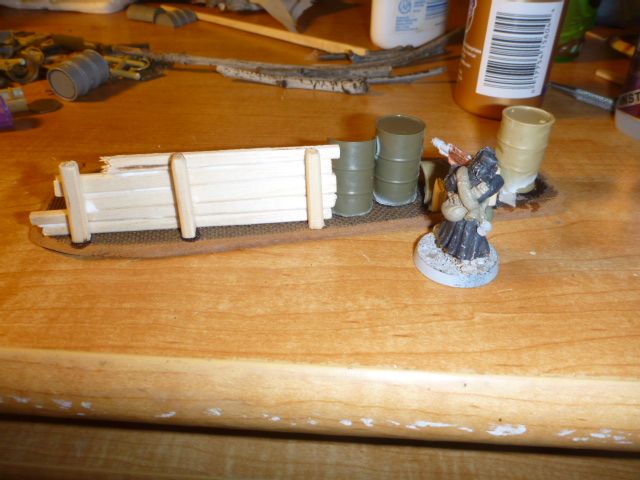
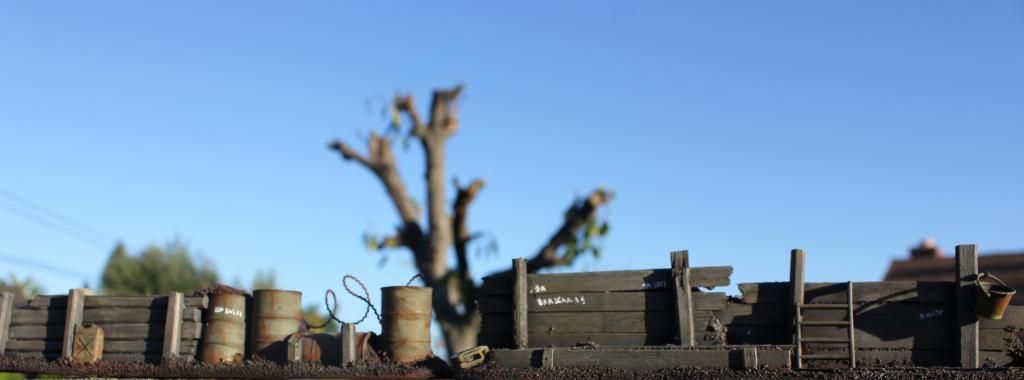
To build these, I started by cutting and sanding some masonite, as I did for the 15mm walled town, then glued objects (mostly coffee stirs and chopsticks) as free-standing walls, keeping a guardsman around for scale. I built up a slope on the far side to meet the top of the duck boards. Other details include barrel bits that were a gift from a friend a few years ago.
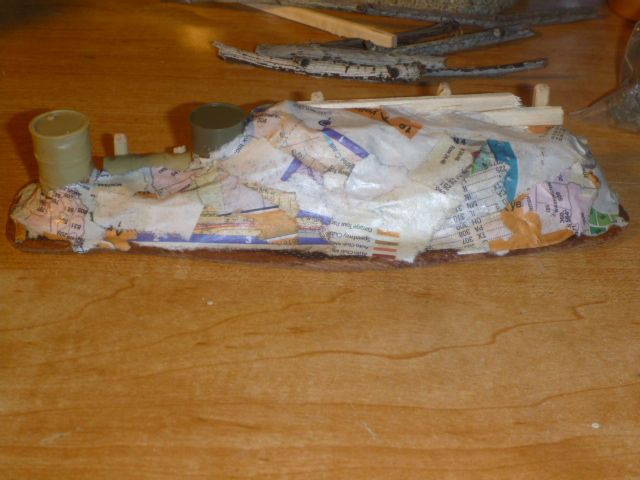
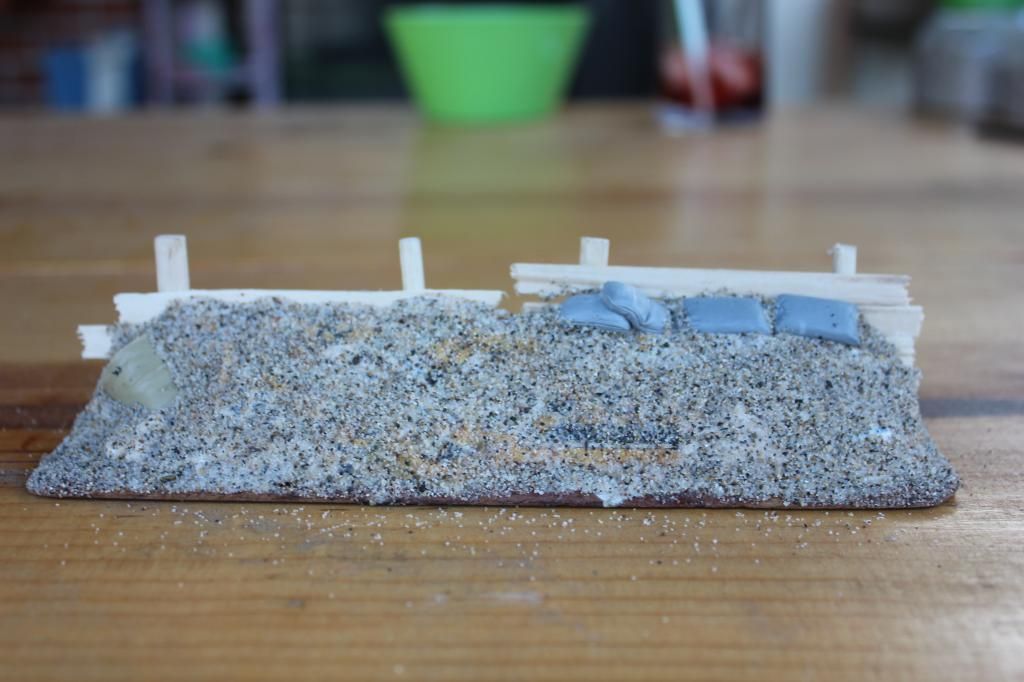
On top of this, I glued sand down for texture, and some light debris and sandbags. These not only add some visual interest to the side of the earthworks defenses my opponents will see, but also hide rare-earth magnets that hold some removable barbed wire onto the glacis.
Looking at the inside of this particular section, you can see that the retaining walls are different heights, and the higher section has a firing step, just wide enough for a Games Workshop small round base to fit comfortably. With size a constraint on this project, the firing step detail is purchased with a much steeper slope to the earthen mound on the other side that I would ideally like, but I think it's a worthwhile trade.
At this point, I wait for the glue to dry so I can get to priming!