Showing posts with label Model. Show all posts

Friday, July 24, 2015

Casuatly/Morale Counter Dial Tutorial


I am into miniature wargaming for definitively aesthetic reasons, and prefer to create the illusion of an actual scene on the tabletop. To represent complex battlefield conditions and the less tangible aspects of the battles, such as morale and command coherency, one must either get heavy into the bookkeeping aspects of the games or use visual markers to note these conditions. Instead of my usual default of dice, I have gone about creating my own dial counters.

Sunday, May 24, 2015

AWI Marine Ensigns & Colours

One of the details that really enhances an tabletop army is a proper set of regimental colours, and since unit-specific flags add so much character to a miniature army, but British Marine Colours are somewhat difficult to come by (and a bit of a contention among reenactors), I settled on creating my own.

After doing some [somewhat dubious] research into the matter, I went about creating my flags based on some accounts of the Regimental and King's colours likely carried by the Marines in Boston and the early stages of the Revolutionary War. Several sources cite a tailor's receipt for silk flags, describing the use of the fouled anchor and the rose and thistle motif commonly used by most other regiments. While not explicitly mentioned, I included St. George's Cross on the Regimental since it is specified by the 1768 warrant, and the Marines did their best to be able to fit in when on land campaign alongside the army. (Also it adds a lot more visual interest).


I will do a separate post to describe the process used to design the flag graphics, so for now suffice to say it was done using the Adobe Creative Suite, and printed to scale (used same measurements as the flags printed in the Perry painting guide that came with the figures) on a professional digital press on nice uncoated paper stock, which was then glued in place with watered down PVA.

From here I'll be adding the rest of the set's command group: an officer on foot and musician.

Tuesday, September 30, 2014

Landing at Kip's Bay


As a prelude to the write-up for my Battle of Harlem Heights scenario I wrote, I've staged a scene of the Landing at  Kip's Bay.

September 15, 1776, in the wake of the disastrous (for the Continental Army, anyway) battle of Long Island, saw Crown Forces land in strength at Kip's Bay, north of the city of New York, to cut off and capture the large metropolitan area. Under a heavy naval bombardment, the rebel militia forces faltered and broke, leaving the British troops to land almost unopposed.


The Yankees fled northward up the narrow island of Manhattan, pursued by the British Regulars, who would attempt again to trap and capture the army, putting an end to the Rebellion once and for all.


Sunday, August 4, 2013

Arming the HMS Sophie part 1

Having come across a good deal on a set of six turned brass cannon barrels at a local hobby shop, I am finally able to start properly arming my ship models. However, since they did not come with laser-cut wood parts, this means building my own naval gun carriages from scratch.

Sunday, July 21, 2013

HMS Sophie Part 6 - Aft Cabin Renovation


Finally jumping back into my 28mm Royal Navy Brig project, it is time to revise the windows for the aft cabin. I feel my current version detracts from the rest of the model, so I am removing the part, and adding windows based on examples of 18th C. warships, and simplifying them to fit the look and scale of the ship.

Thursday, January 24, 2013

Hearts of Oak


I have been working on a set of Brigade Games 28mm Royal Navy shore party figures that Loni gave me for Christmas, and these are some of the most accurately clothed figures I have ever seen.


Monday, August 15, 2011

HMS Sophie Part 5

As I was working with a hand auger, and not a power drill, my mast holes are not exactly the size I was hoping for when I drilled them.
Uneven Hole
To compensate for this, I have wrapped paper around the base of my masts until they plug in snugly.
A completed Mast section
On the test fit, they now stay in place quite nicely, yet are still removable for storage.

There's still much to be done, but i'm pleased at how this is coming together.

Sunday, August 7, 2011

HMS Sophie Part 4: Hull details

Bowsprit and fo'c's'le
The bowsprit is nested and glued into a hole i drilled at an angle into the solid hull (another perk of doing the hull as one piece). I've attached the upper part using my craft twine, and you can faintly make out two wire loops. These will attach the removable rigging (forestay and fore topmast stay).

Deck detailing courtesy of Starbucks
The actual deck is made of carefully selected coffee stirs gleaned with permission from local Starbucks. I cut them to size with side cutters, then filed the raw edges smooth on an emery board. They are held down with superglue, as I found that Elmers doesn't hold fast enough to keep them from springing back up. One all glued in place, it is sanded lightly, and i drilled holes at the edges of the planks with a pin vise.

Functional Deck Ladder
The gunwales have ladders integrated onto the sides (as does the HMS Surprise on which I've based much of this). These are spaced to hold figures based with more coffee stirs. My officer of Artillery shows functionality of the ladder, and also serves to give some sense of scale here.

Sophie's aft cabin and rudder
Here we have the aft cabin of HMS Sophie, as well as the top of her rudder. I am not entirely satisfied with how this portion came out, and may revise it in the future. The intent was to make a faux leaded glass window using window screen painted as the lead over a dark blue plastic card underneath. This technique has looked good on some scenery buildings in the past, but does not seem to quite do it here.

Thursday, August 4, 2011

HMS Sophie Part 3

Continuing on with the construction of my 18th-19th century Sloop of War, here are some Hull shots of HMS Sophie.
Hull of my HMS Sophie, already afloat in the waters she'll be sailing.

Again, the hull is a solid plank of 2x6 left over from a musket stock project, shaped with planes and rasp files. One gunport was built out of small planks and some plastic card for the iron. I made a greenstuff mold, and copied the port for the rest of the ship.

Close–up of the gun ports and ladder up to the deck


Monday, August 1, 2011

HMS Sophie, WIP Part 2

The next phase in the construction was further work aloft in the rigging. Ive attached the spars to the masts using a system that compromises strength and playability against nautical accuracy. The yards hang from small blocks I made in a similar fashion to the deadeyes of the standing rigging, though with a trench around their perimeter. These are hung via twisted florist wire that will be painted to resemble rope that is wrapped around and through a small hole drilled in the mast. The finished assembly is decorated with actual miniature line to cover my "seams."


The spars themselves are made from square dowels that i shaped down using planes to resemble the shape seen aloft on classic sailing ships.

Monday, July 25, 2011

HMS Sophie, WIP Part 1

[Dusts off blog]

This will be the first in my series of WIP posts to detail the progress on my HMS Sophie project.
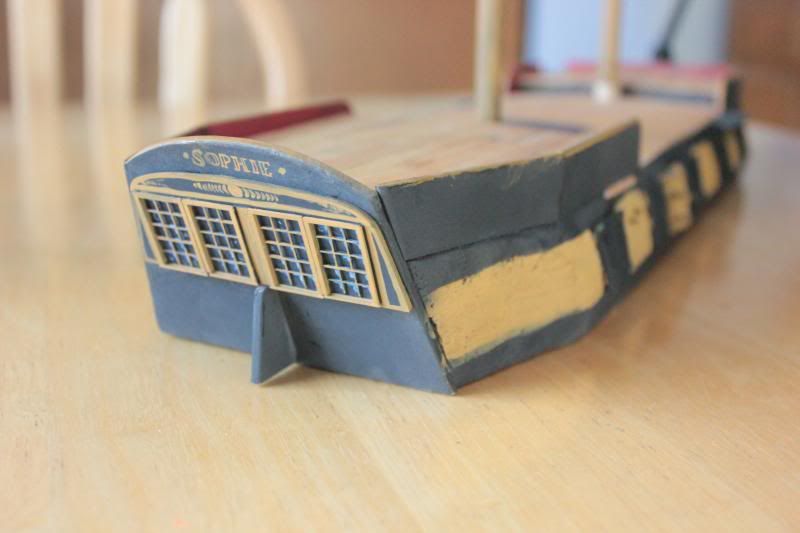
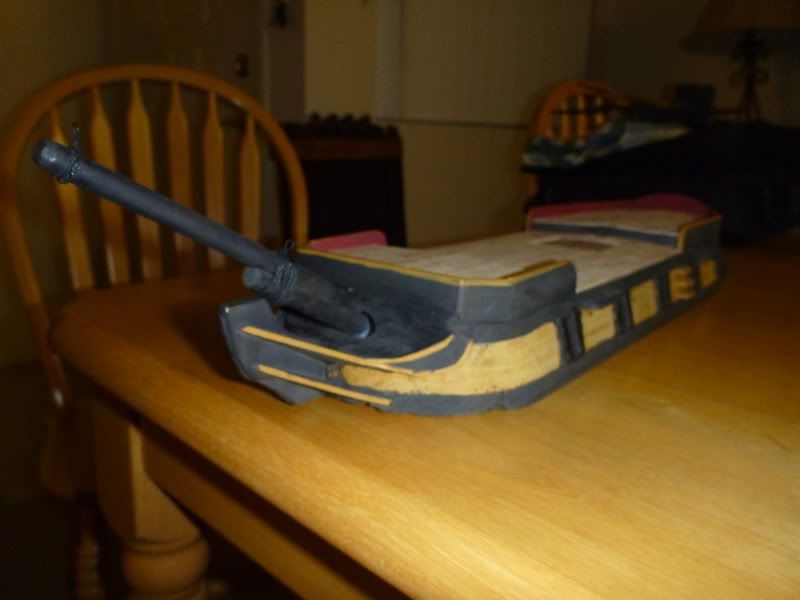
I am working on a (roughly) 28mm tabletop Royal Navy Sloop. The model is scratchbuilt, mostly from scrap material about the apartment. Unfortunately, i have lost the camera with the earliest stages of construction on it.
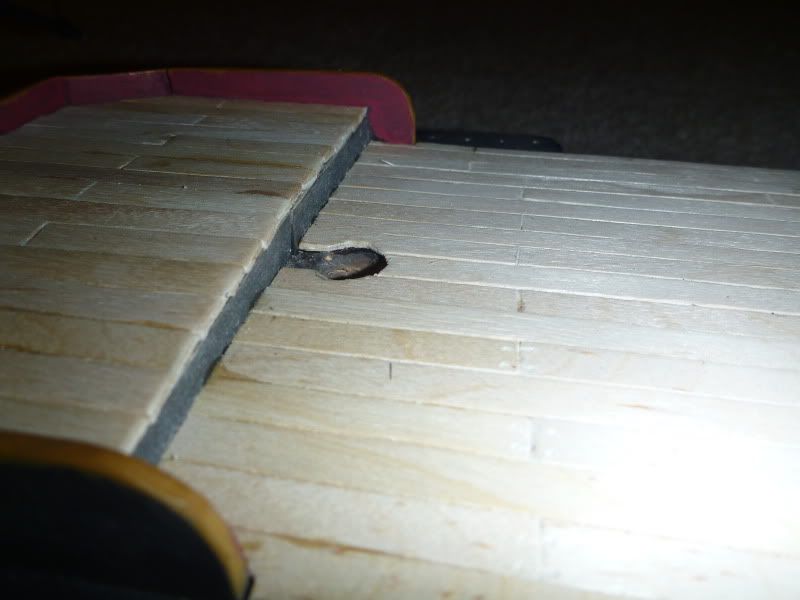
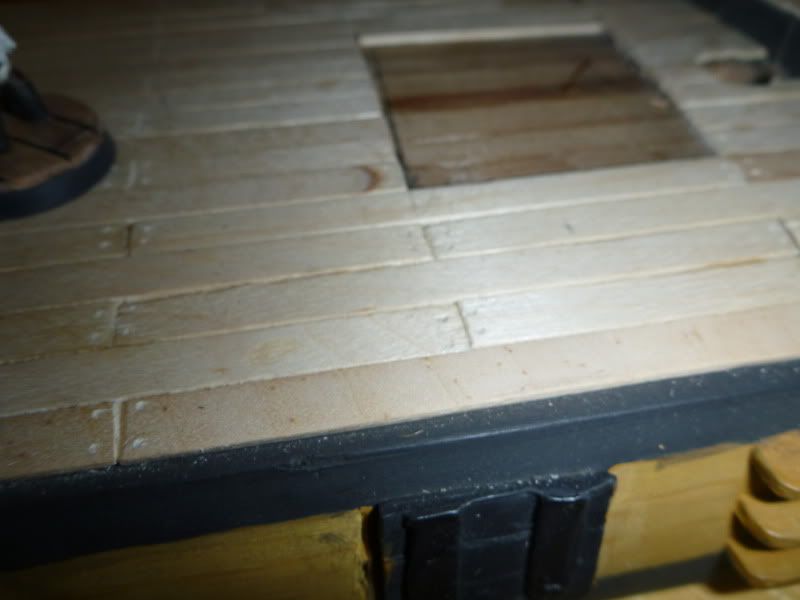
The hull is built at the waterline for gaming convenience, and is cut and shaped from one piece of wood. I used a 2 x 6 from the local Home Depot (left over from my blank drill musket). I rough cut the shape using hand saws, then honed it in using a rasp file. The deck and gunwales were smoothed and shaped further with planes and a chisel.
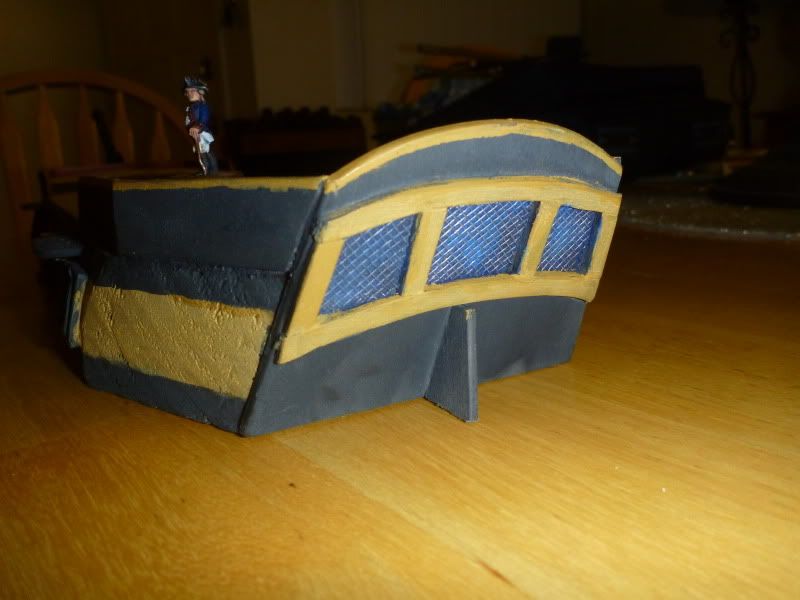
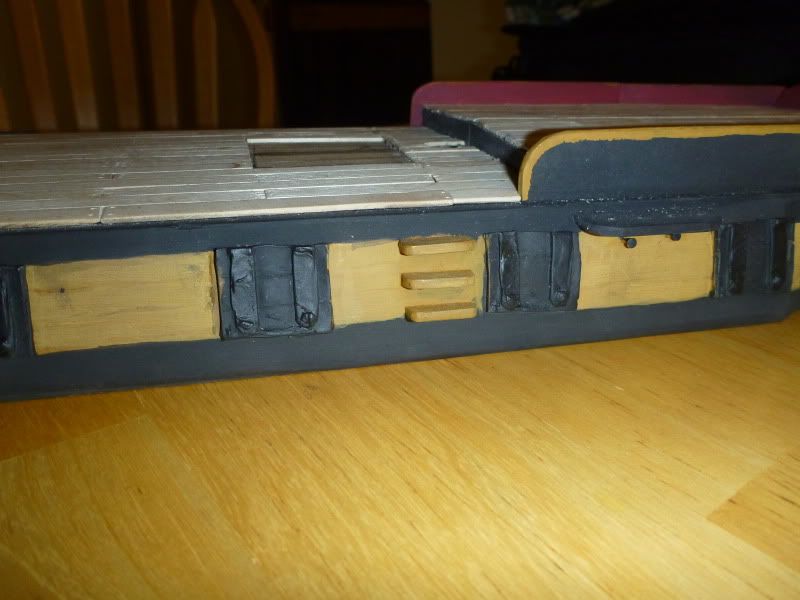
The forcastle and quarterdeck have been built up using Basswood panels, and I have built gunports cast in green stuff from an original in wood and plasticard.

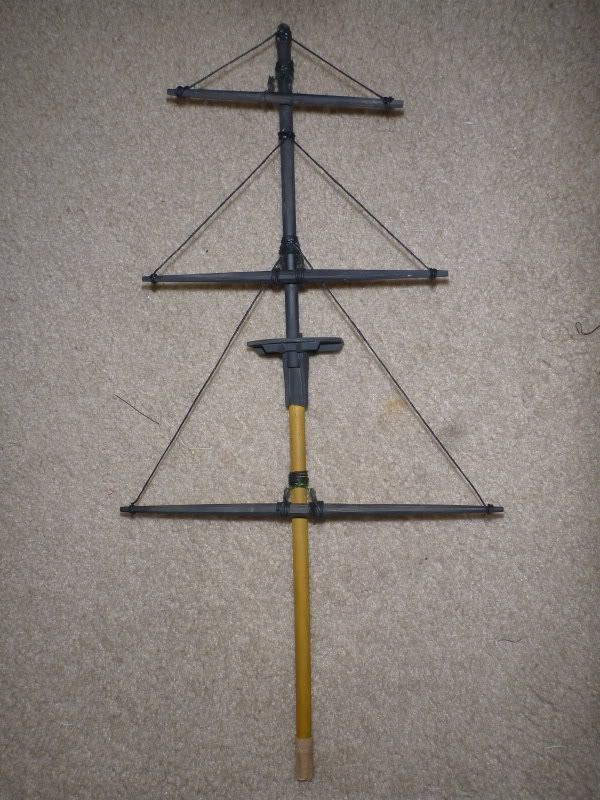
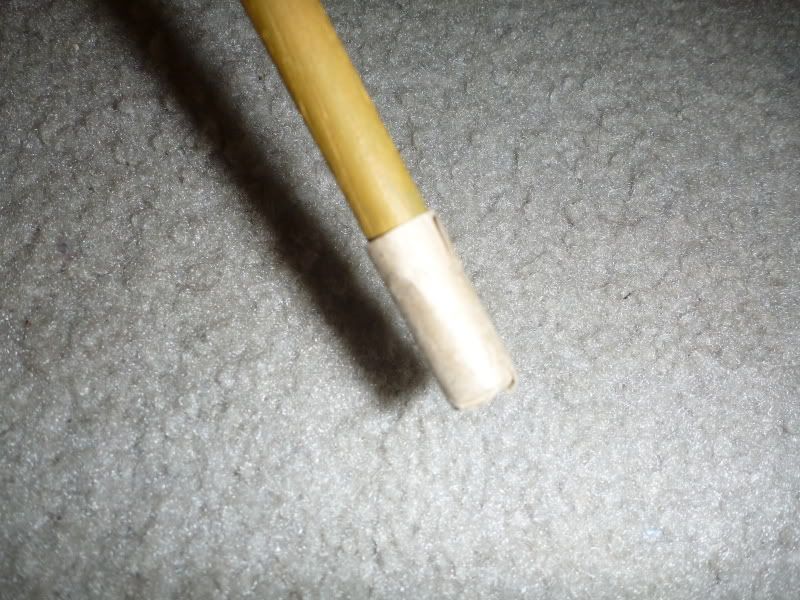
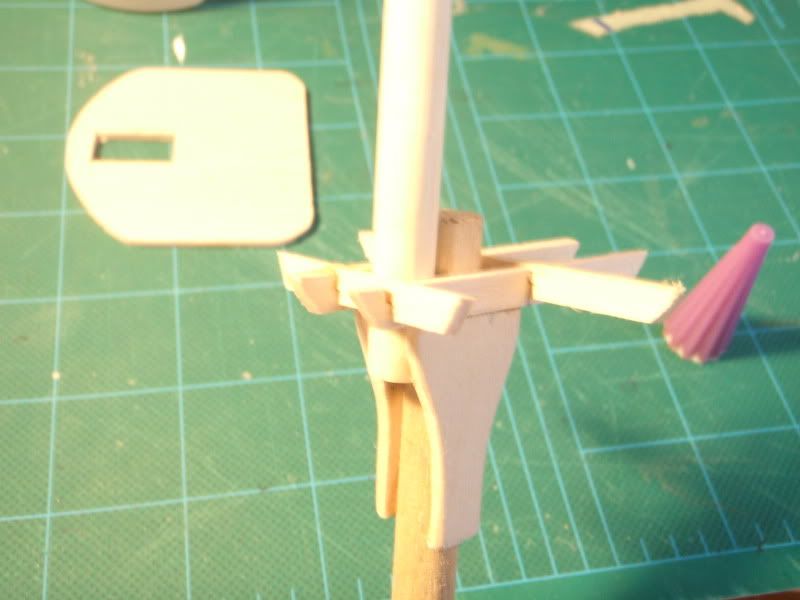
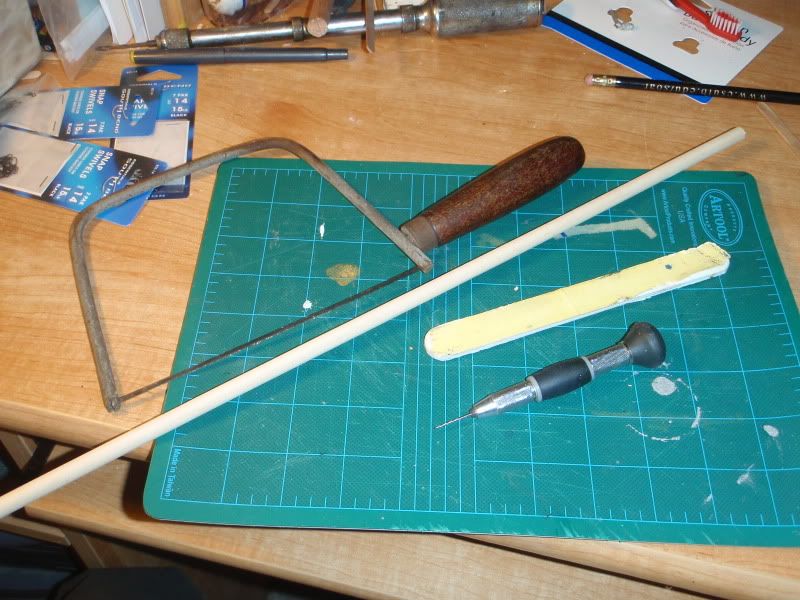
Moving on to something a bit more visual, i have begun the phase of constructing my masts and spars. The images below show the progression as i've been working on the fore topmast. I started with two dowels of progressively smaller diameter and filed the joining parts to be a bit square. I then added some supports for the fighting tops (i lose sailor points for not knowing their names), cut from basswood. On top of this is placed the tops.


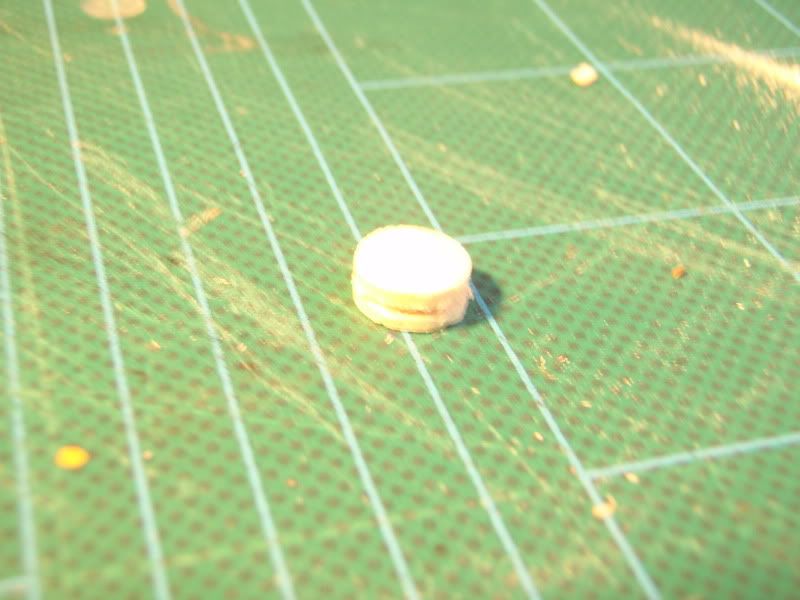
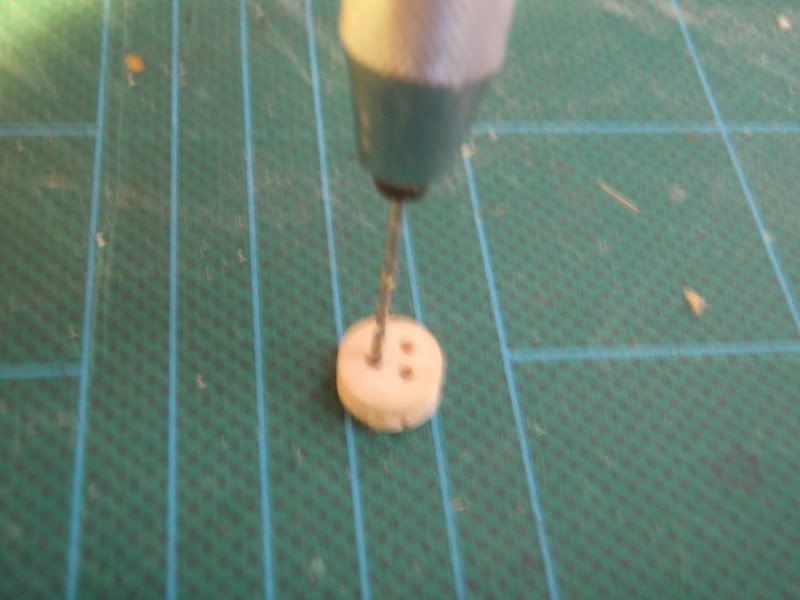
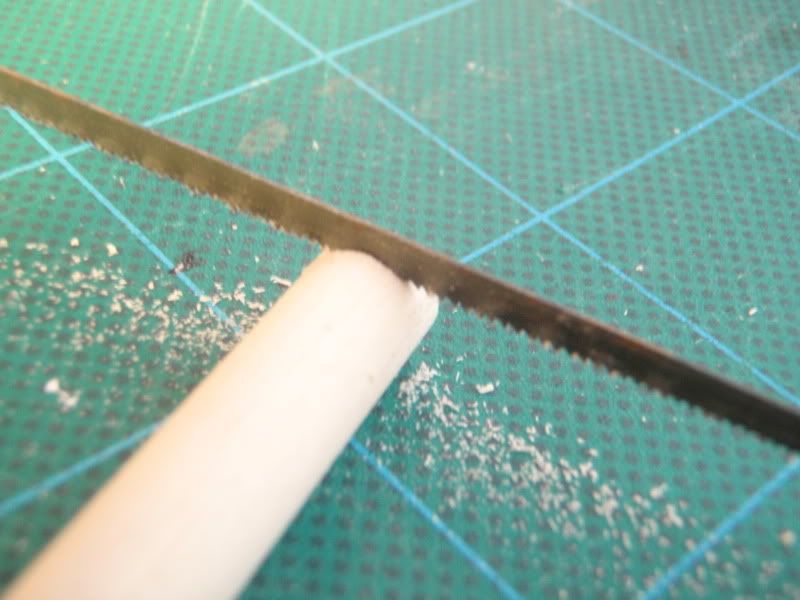
Also important for the rigging, I have been constructing my own blocks, cut from dowel. They are notched around, drilled, and soaked in C-A glue for strength.


So far i have made 32 of these for the shrouds.

More on rigging and some pictures of the hull in the next post.

Friday, February 4, 2011

French Infantry, 1812-1815

I have begun to dabble in the Napoleonic period since the uniforms are just so very interesting. My first venture is with a box of Perry plastic French infantry. The build was simple, only attaching packs and heads, and the poses and casts are comparable to the best offerings in lead. I tried to paint toward the campaign look, and appreciated the numerous covered shako options. I'm afraid that my own knowledge of these uniforms is not entirely up to scratch, so things like plume colors and march order may be a bit off. I've left off the ensigns and drummers for now.


Related Posts Plugin for WordPress, Blogger...