
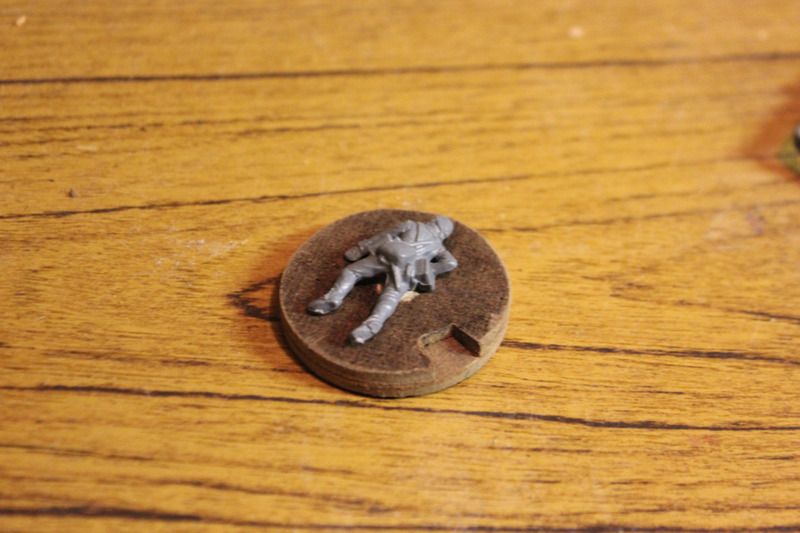
I am into miniature wargaming for definitively aesthetic reasons, and prefer to create the illusion of an actual scene on the tabletop. To represent complex battlefield conditions and the less tangible aspects of the battles, such as morale and command coherency, one must either get heavy into the bookkeeping aspects of the games or use visual markers to note these conditions. Instead of my usual default of dice, I have gone about creating my own dial counters.
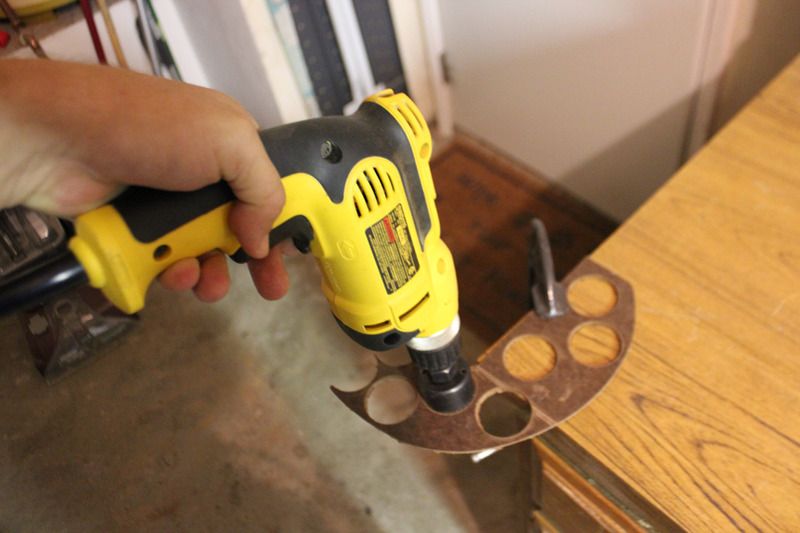

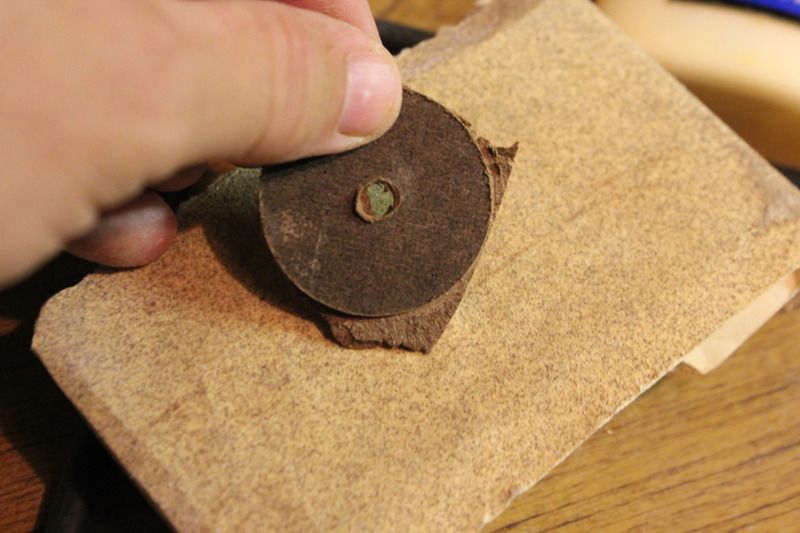
It's a good idea to unplug the drill (or remove batteries if cordless) before trying to get the circle out of the hole saw blade.
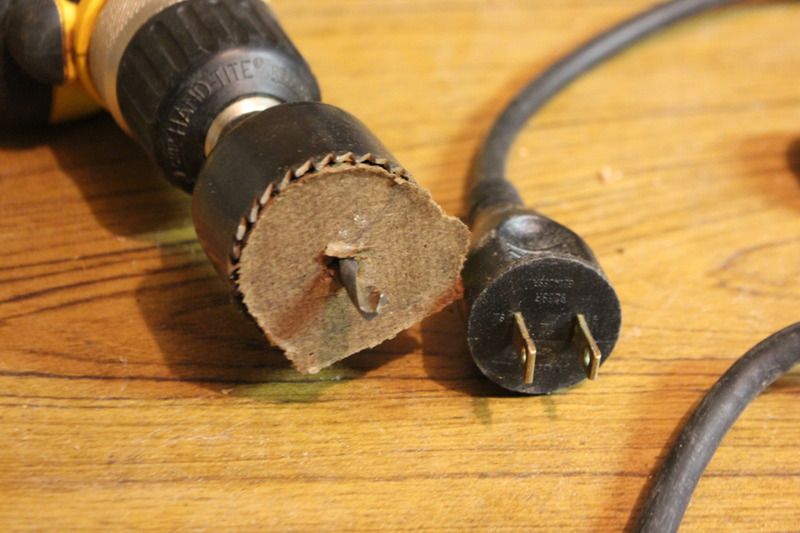
Since hole saws are designed to make circular holes in wood and not exactly to give you the round off cuts, the piece that I cut out came rather rough.
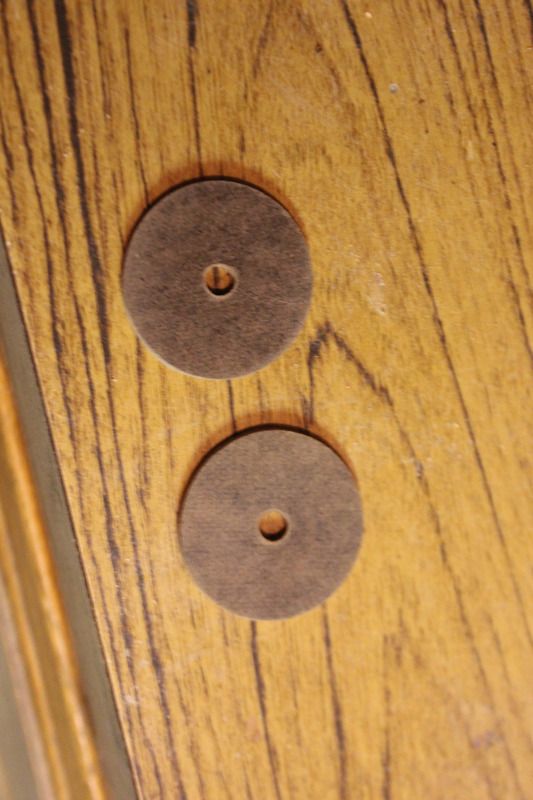
The hole saw's guide drill makes a small hole in the center of the circle that it cuts, which is great since I would have to have put one their manually if it did not, and I doubt I'd be that precise. Using a dowel the same diameter as the middle drill bit, I pegged the two circles together so that they could rotate off of it.

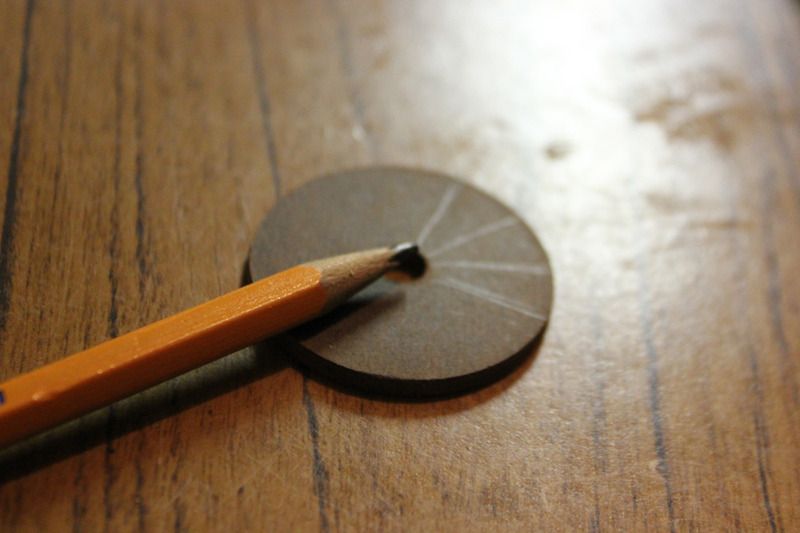
I would
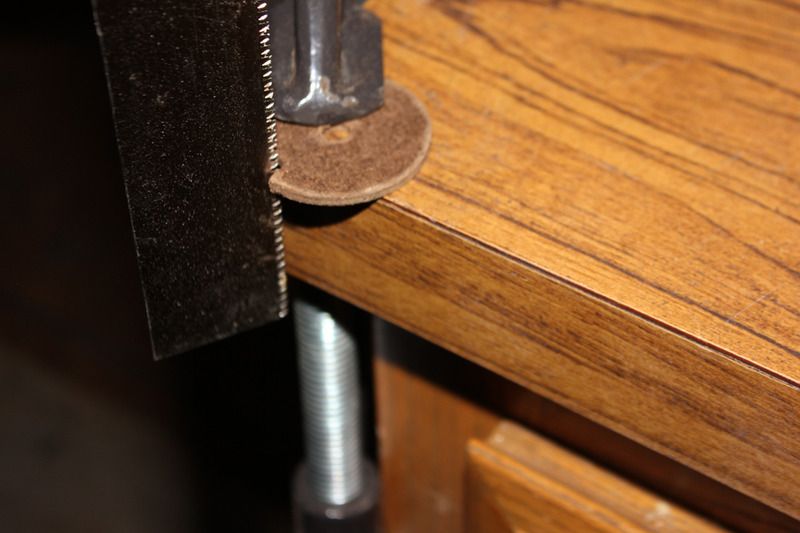
glue it only on one side, so that the top is filled in with the dowel and cut flush against the disc. (I used a Japanese Flush Cut Saw)
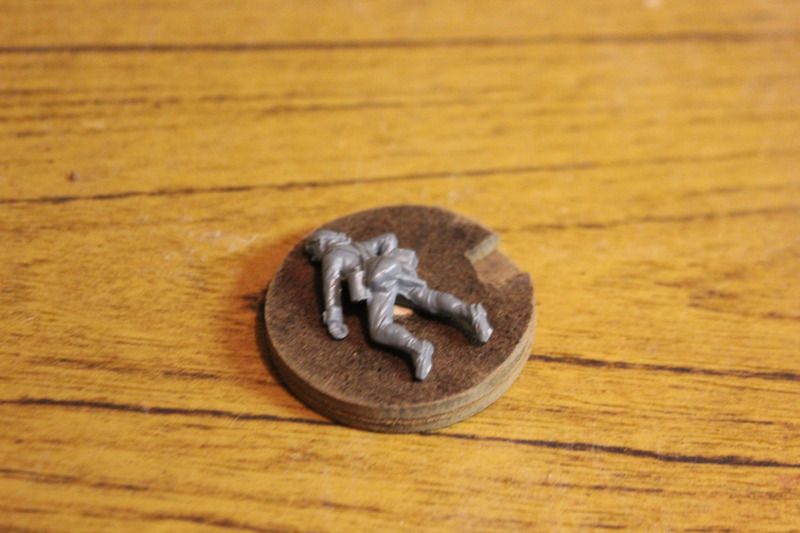
 If your the cut is not precisely flat against the top disc, it is not a big issue, as more than likely you'll want to texture and flock this surface anyway. Otherwise, sand down any imprefections.
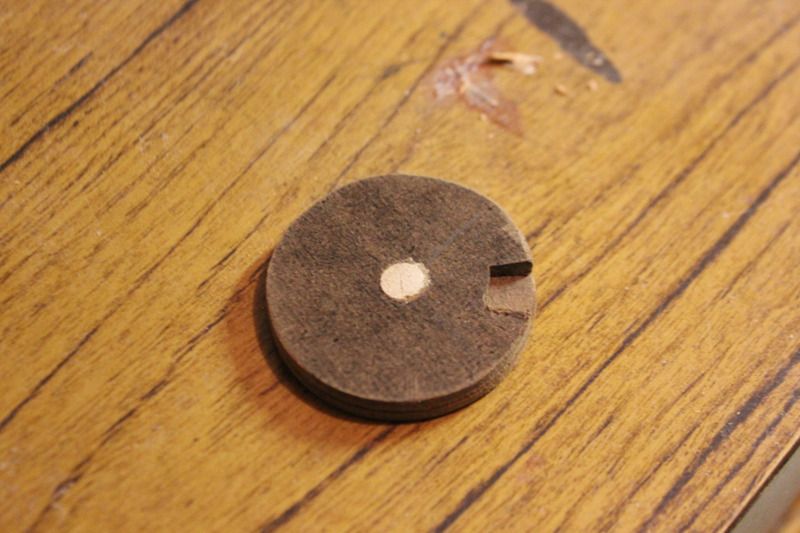

No comments:
Post a Comment