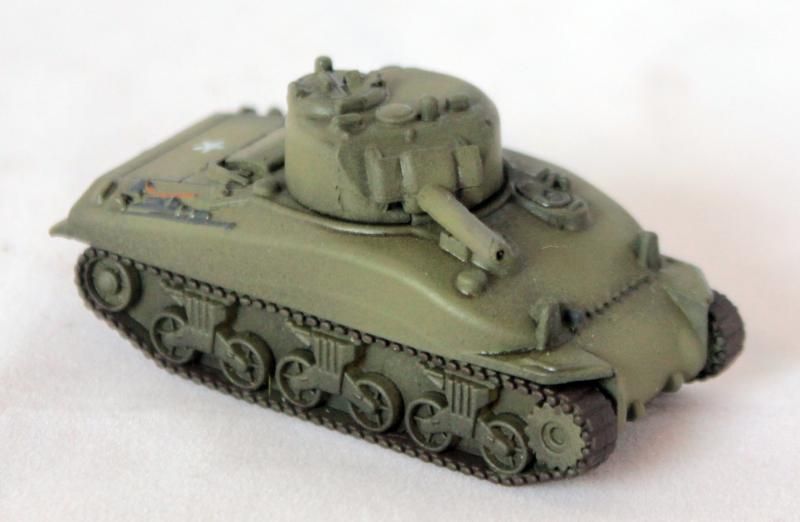
 Since discovering the solution (pun!) to properly thinning Vallejo paint for airbrush use, I've set out quickly retouching some of my unfinished and not-quite-the-way-I-hoped 15mm Sherman tanks.
Showing posts with label 15mm. Show all posts
Showing posts with label 15mm. Show all posts
Tuesday, April 28, 2015
British Shermans, Part III
Since discovering the solution (pun!) to properly thinning Vallejo paint for airbrush use, I've set out quickly retouching some of my unfinished and not-quite-the-way-I-hoped 15mm Sherman tanks.
Sunday, January 25, 2015
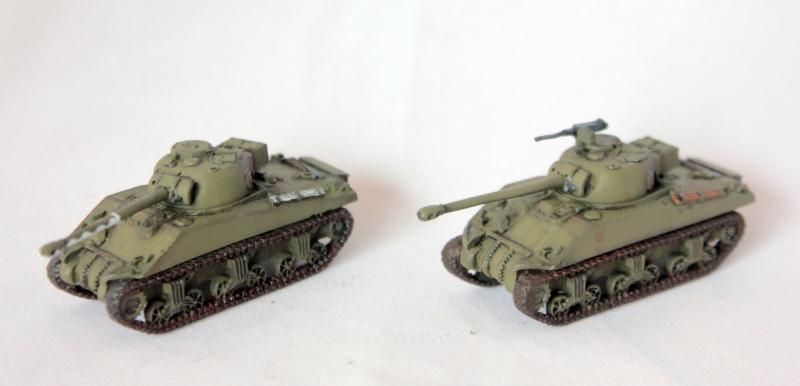
Sherman Fireflies
Wednesday, December 31, 2014
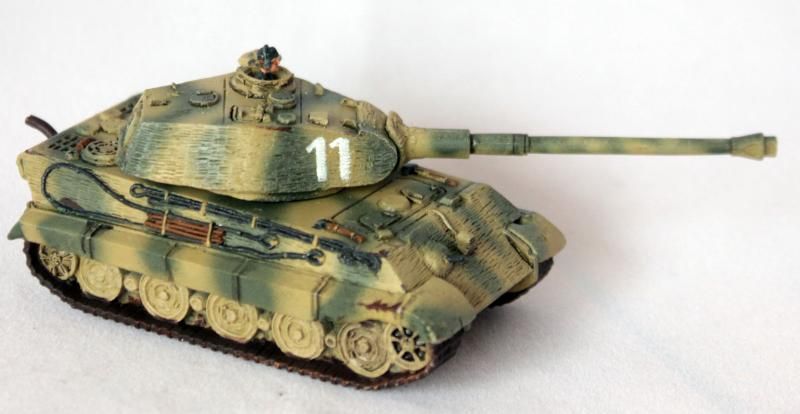
Königstiger Rescue, Part III
Wednesday, November 26, 2014
Happy Tanksgiving!
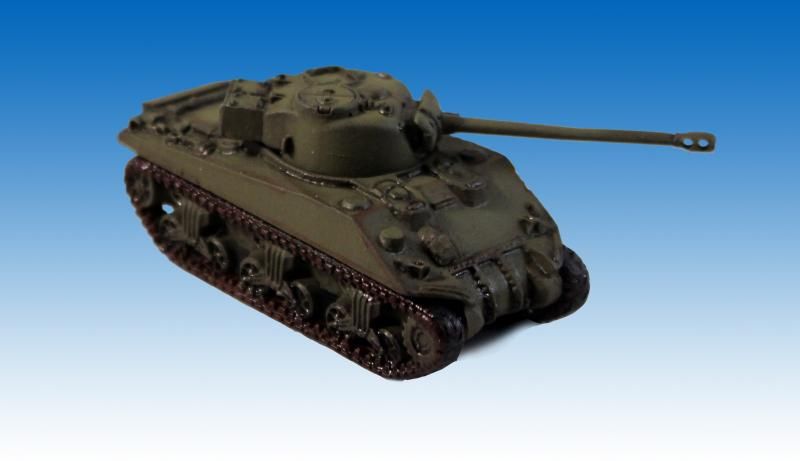
I just wanted to take a moment to wish all of you a very Happy Tanksgiving! And thank you for reading!
Wednesday, January 16, 2013
Königstiger Rescue, Part II

This is the second installment of my Königstiger refurbishment project...
Saturday, December 29, 2012
Königstiger Rescue, Part I
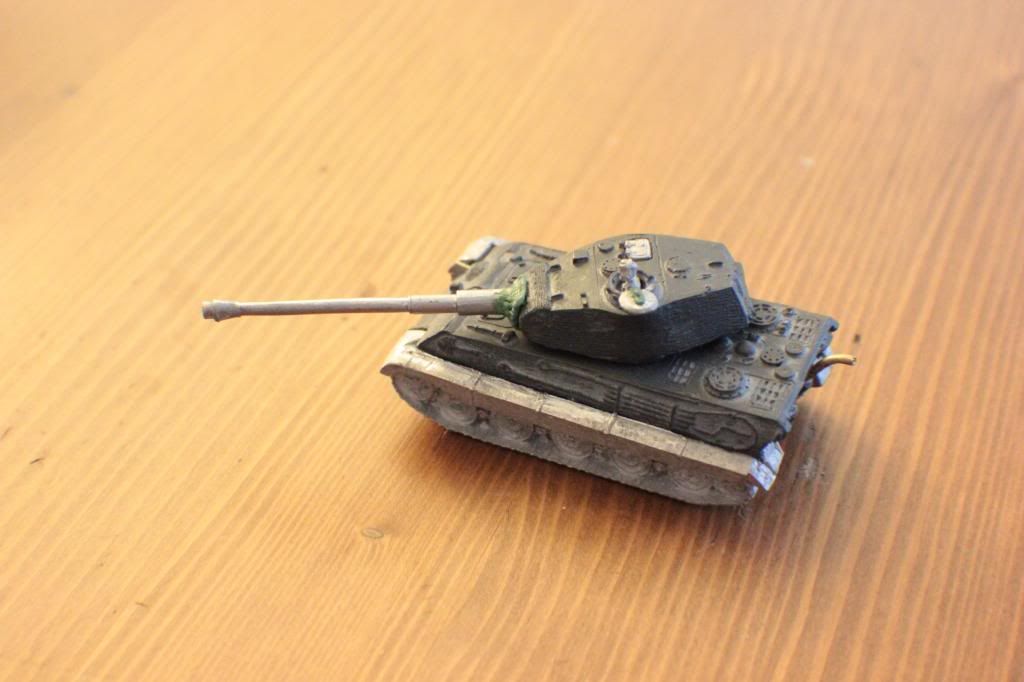
My friend ZE Whitlow has given me a rescued Tiger II for Christmas. He had acquired it second-hand, and it had some issues, which he figured I could correct. The original model is a Panzer VI Tiger II, with a Porsche turret. However, the turret was missing all hatches, the radio operator's machine gun was missing, the exhaust system was destroyed, and, oh yeah, the previous owners had glued the wrong gun onto the front!
Saturday, December 1, 2012
15mm Town, part 2
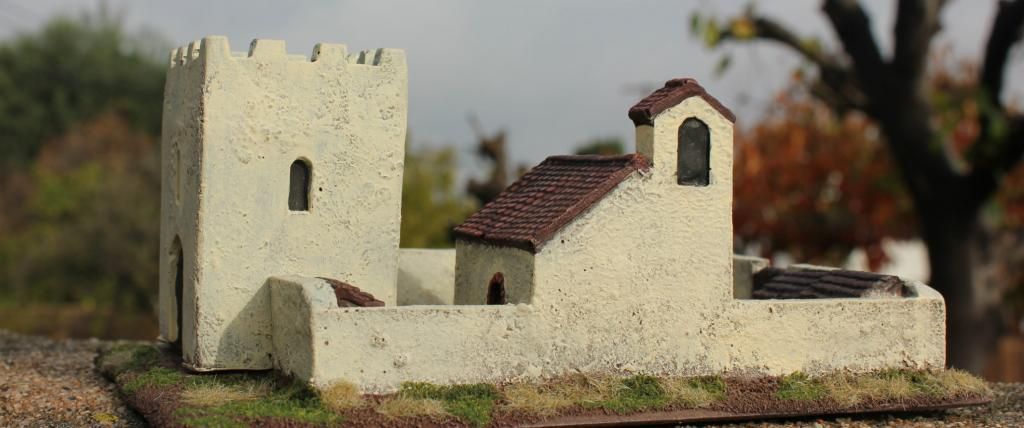
We last left the 15mm town affixed to a piece of cut masonite. After this, I textured the surrounding base using playground sand.
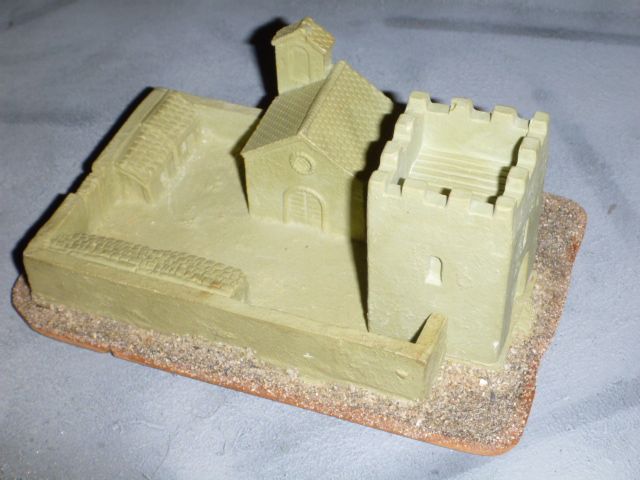
After this, the real fun began! I primed with black spray primer, and then basecoated the large areas of color. For the earth, I used "Chocolate" colored craft acrylic (The closest I could find to GW's old Scorched Brown) instead of my ususal Vallejo color since it needed to cover a large mostly flat area. As a bonus, the thicker paint also helps keep the sand glued in place and gives it a bit of a cushion so that it doesn't scratch models as badly should they fall or rub against it.
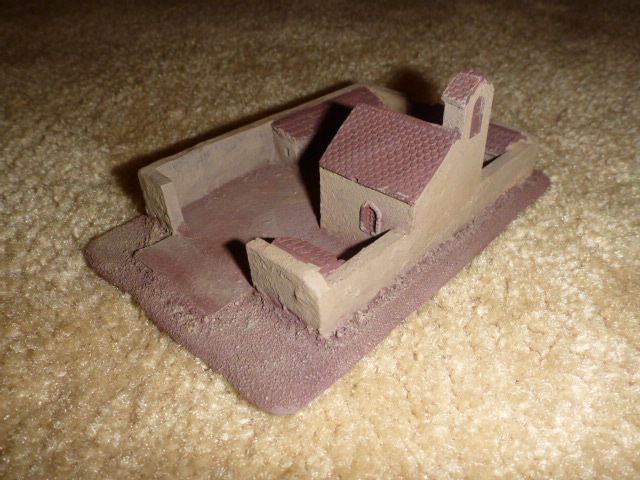
After the base of dark brown, I used a medium earth-brown (VMC US Field Drab) as a dry brush highlight to the ground, and as a basecoat on the plaster walls of the town. Roofs at this point are left undercoated dark brown.
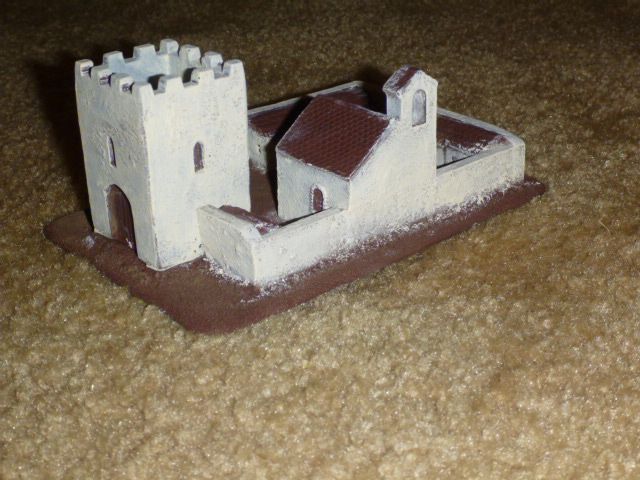
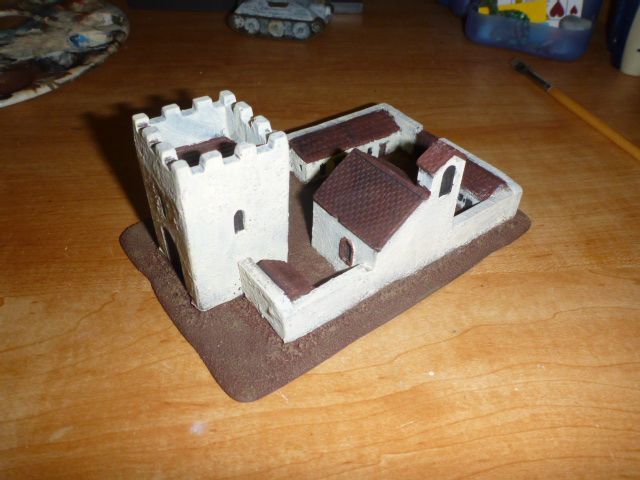
Next (you guessed it!) I went about cleaning up the mess I made with the off-white, and also started to darken up door frames and windows with a heavy black wash.
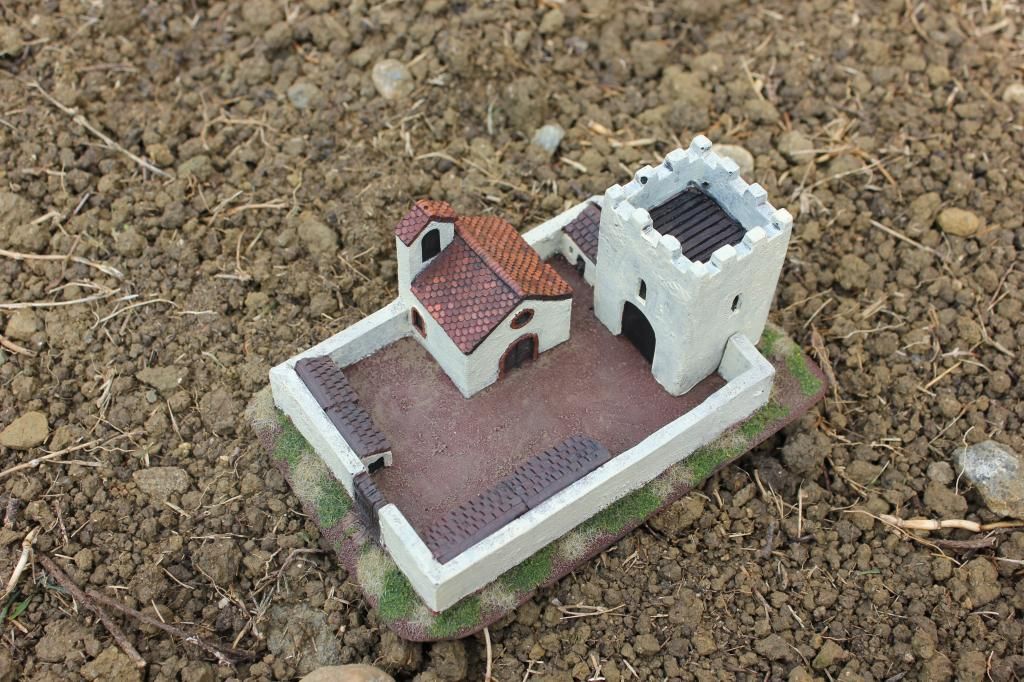
The tile roof is touched up with variations on terra cotta, and the shingles are weathered with a filter of Granite. The final touches were to clean up the edges of windows, and add flock and grass outside the walls.
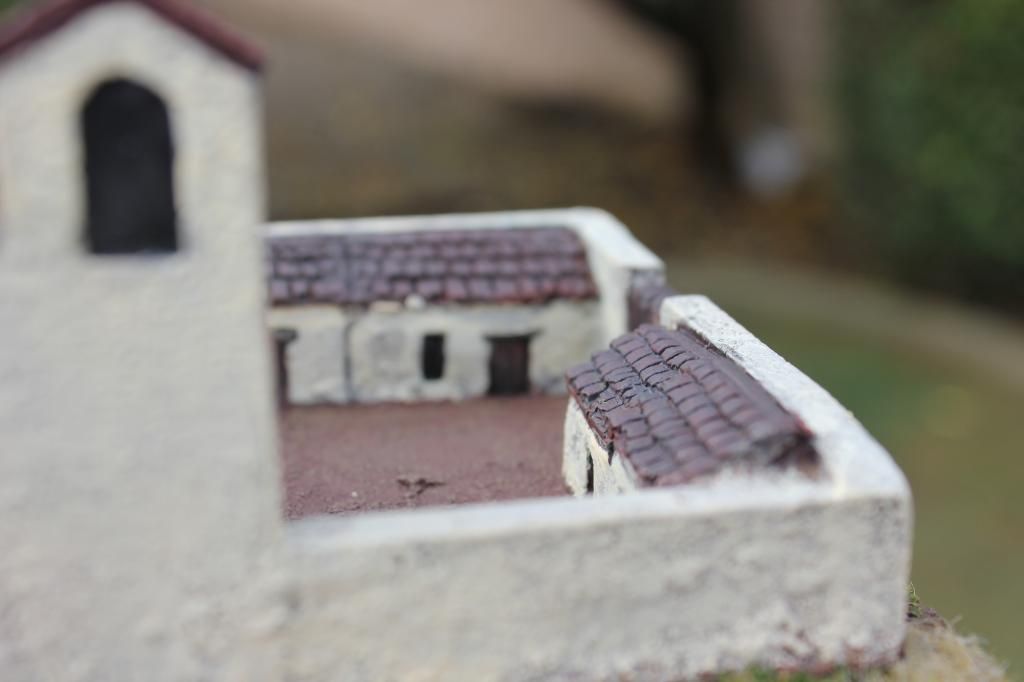
And finally, some a shot in some beautiful morning light:
Tuesday, November 20, 2012
15mm Scenery
My good friend David has entrusted me with the honor of painting a piece of terrain from his collection. The piece is a pre-cast walled village/church in the Roman style of plastered brick with tile roof, scaled at 15mm. I believe this was originally intended as a Built up Area for DBA (De Bellis Antiquitatis, a fine game for ancients!), but most recently saw service as terrain in a game of Sharp Practice, set this time in 15mm scale, and would also serve well in Flames of War, since this style of architecture is still to be seen today in Europe and the Mediterranean.

After washing the resin with warm water and dish soap to make sure any last remnants of release agent were off the material, I went about creating a base for the terrain. Why base what is essentially all base itself already? Though sturdily molded, and quite flat on the bottom, the piece is still resin, and could potentially break in transport. The MDF board base will give it some more rigidity, as well as add a bumper around the edge so that the paint does not get scratched/rubbed off as quickly. It will also allow for a little bit of extension to the scenery, where the vestige of a field can surround the walls and give them a little more definition.

Tools used for this phase of the project: MDF board, hand saw, rasp file, pencil, and sandpaper. I traced the village on the hardboard, and cut out the square that surrounds the wall, leaving about 1/8 to 1/4 inch margin.

To break up the pure rectangle outline (and to disguise my poorly cut rectangle), I roughed up the edges using a rasp file. Note that the rough edge was applied as to also work as a beveled edge.

Here you can see the walled enclosure placed onto the MDF board base.

I used superglue to affix the town to the base board. To ensure that it dried flatly in place, and without gapping around the edges, I rubber banded the whole assembly together. This, however, was not enough pressure to ensure a good bond (I was impatient and kept checking), so I took drastic measures:

In case you are having trouble seeing the contents of the two cans, here is a better image:

That's right! I've use several hundred .69 caliber musket balls to hold the parts in place until dry (quite appropriate for blackpowder era gaming...). When the superglue is set, I can move on to gluing sand to the base and priming.
Stay tuned!

After washing the resin with warm water and dish soap to make sure any last remnants of release agent were off the material, I went about creating a base for the terrain. Why base what is essentially all base itself already? Though sturdily molded, and quite flat on the bottom, the piece is still resin, and could potentially break in transport. The MDF board base will give it some more rigidity, as well as add a bumper around the edge so that the paint does not get scratched/rubbed off as quickly. It will also allow for a little bit of extension to the scenery, where the vestige of a field can surround the walls and give them a little more definition.

Tools used for this phase of the project: MDF board, hand saw, rasp file, pencil, and sandpaper. I traced the village on the hardboard, and cut out the square that surrounds the wall, leaving about 1/8 to 1/4 inch margin.

To break up the pure rectangle outline (and to disguise my poorly cut rectangle), I roughed up the edges using a rasp file. Note that the rough edge was applied as to also work as a beveled edge.

Here you can see the walled enclosure placed onto the MDF board base.

I used superglue to affix the town to the base board. To ensure that it dried flatly in place, and without gapping around the edges, I rubber banded the whole assembly together. This, however, was not enough pressure to ensure a good bond (I was impatient and kept checking), so I took drastic measures:

In case you are having trouble seeing the contents of the two cans, here is a better image:

That's right! I've use several hundred .69 caliber musket balls to hold the parts in place until dry (quite appropriate for blackpowder era gaming...). When the superglue is set, I can move on to gluing sand to the base and priming.
Stay tuned!
Monday, November 19, 2012
Currahee!
In order to create a balanced opposing set of Flames of War, I needed to add an infantry element to my allied force. After more waffling than a house of pancakes, I finally settled on painting up an American Parachute Rifle Platoon to run as allies to my Britished Armoured Squadron.

Looking at references for the color of the M42 Jump Uniform, there is a lot of disparity between the shades of khaki-green-brown between the examples. I found one image of a spread of at least seven variation of the same color from original uniforms. This became the photo on my artistic license.
In no small way influenced by Band of Brothers or Saving Private Ryan in the decision, I opted to paint them based on their appearance in the polular series and movie, rather than from a strictly realistic stance. This means mainly adapting the colors from the films, which were slgihtly altered, but the overall color is still within the spectrum I'd observed. This gives them a desaturated, somewhat sepia-toned apperence.

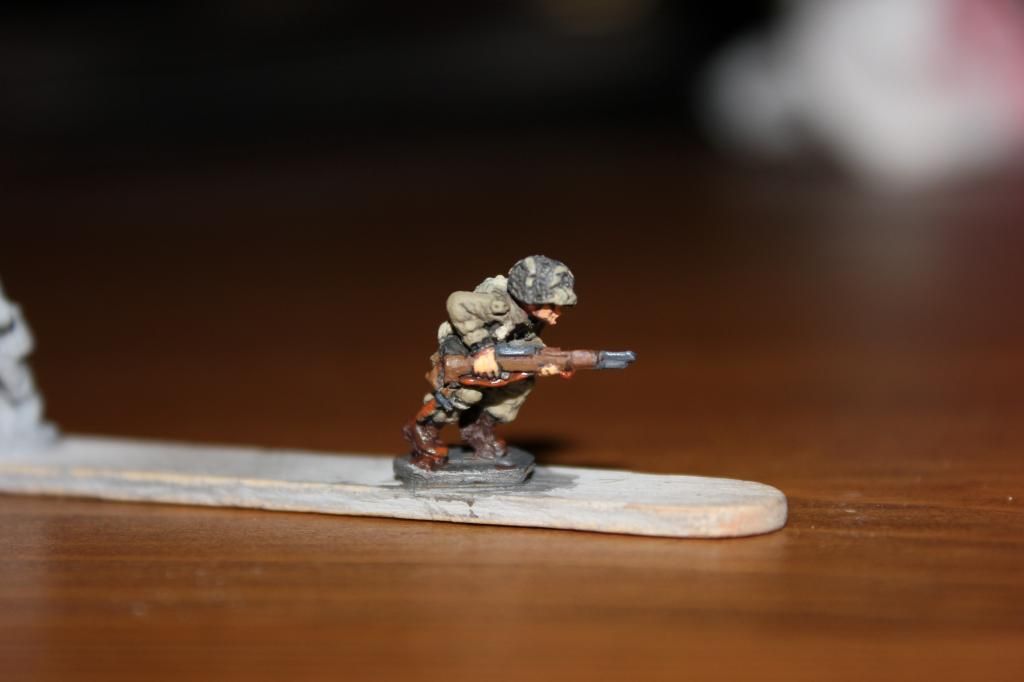
Seen here is my first test figure. This project follows the painting advice of cracdeschevaliers in regards to painting process, skin tone, and gunstocks (the last of which I have been painting too dark on models of this scale!). I also chose to lighten the webbing equipment beyond the average of actual examples so that they don't get lost on the small scale sculpt.

Overall I am pleased with my first attempt, and hope that I can continue on with the same fervor for the rest of the platoon. This will also mark a first attempt at more dashing scenic basing. With the models being painted separately from their bases, this allows for more scenery to be added later. I intend to create a tutorial based on my attempt.
Does anyone know of any guides that show this sort of work? I've seen some great examples where they've basically built a village/town that is divided among a platoon's bases, but can't find them now that I'm looking for it explicitly.
Looking at references for the color of the M42 Jump Uniform, there is a lot of disparity between the shades of khaki-green-brown between the examples. I found one image of a spread of at least seven variation of the same color from original uniforms. This became the photo on my artistic license.
In no small way influenced by Band of Brothers or Saving Private Ryan in the decision, I opted to paint them based on their appearance in the polular series and movie, rather than from a strictly realistic stance. This means mainly adapting the colors from the films, which were slgihtly altered, but the overall color is still within the spectrum I'd observed. This gives them a desaturated, somewhat sepia-toned apperence.
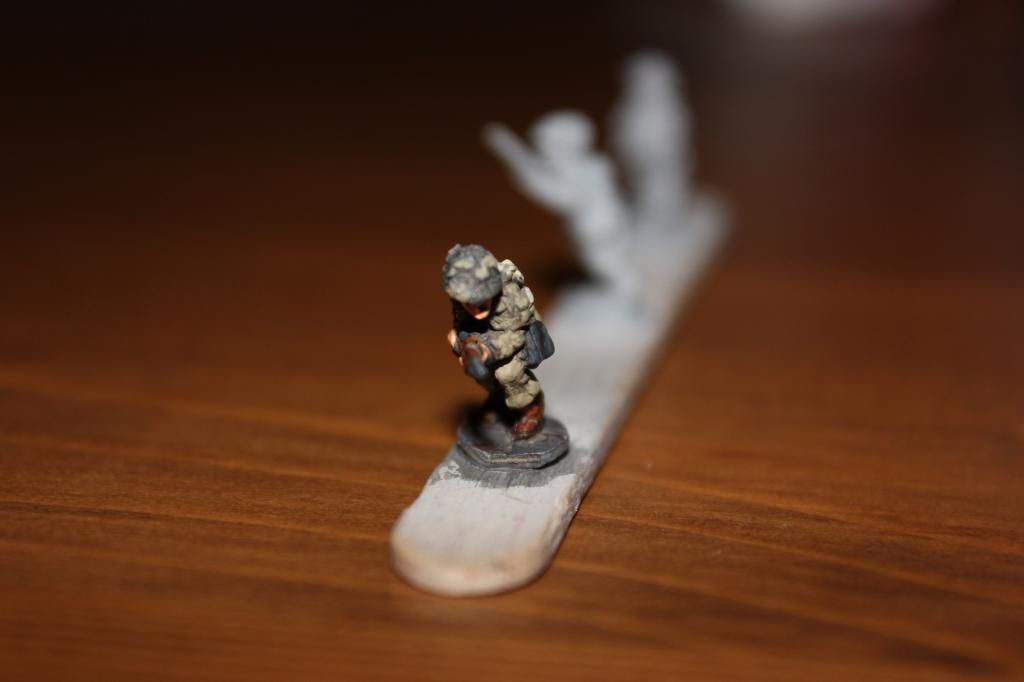
Seen here is my first test figure. This project follows the painting advice of cracdeschevaliers in regards to painting process, skin tone, and gunstocks (the last of which I have been painting too dark on models of this scale!). I also chose to lighten the webbing equipment beyond the average of actual examples so that they don't get lost on the small scale sculpt.
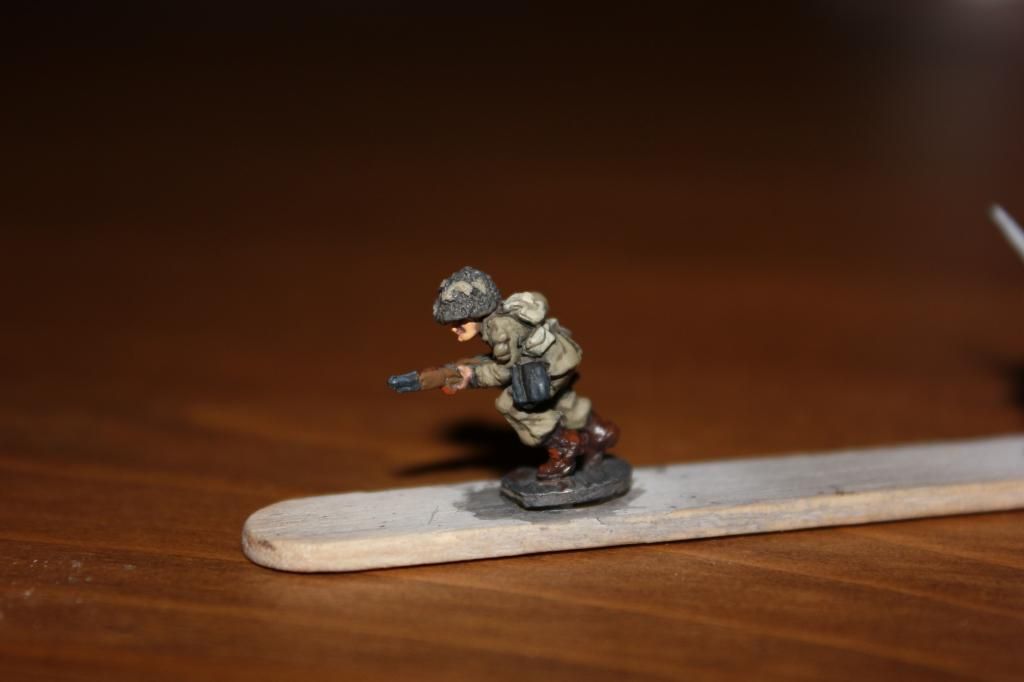
Overall I am pleased with my first attempt, and hope that I can continue on with the same fervor for the rest of the platoon. This will also mark a first attempt at more dashing scenic basing. With the models being painted separately from their bases, this allows for more scenery to be added later. I intend to create a tutorial based on my attempt.
Does anyone know of any guides that show this sort of work? I've seen some great examples where they've basically built a village/town that is divided among a platoon's bases, but can't find them now that I'm looking for it explicitly.
Monday, October 15, 2012
Roadblock
In a busy life, it is a rare treat to be able to spend an evening playing games with a friend. It turns out that this last week was one. I was lucky enough to get a game in with my friend Zach again, this time it was to be Flames of War. The match was to be 1600 points, pitting my British armoured company against the German Panzerkompaine for some late war tank on tank action. Zach chose to play German, and selected a list consisting of StuG IIIs and Tigers, with SP artillery support. The british armour was a force of Sherman IIIs and Fireflies for additional antitank, with air support.

The British gains, however, came too little, too late. Despite making a decent account for themselves against two StuG platoons, a third arrived as reinforcements, and did just enough damage to drive another Sherman team from the table. This put the column below half strength, and without their company commander to lead them, they fled the battle with the Germans still in possession of the road.
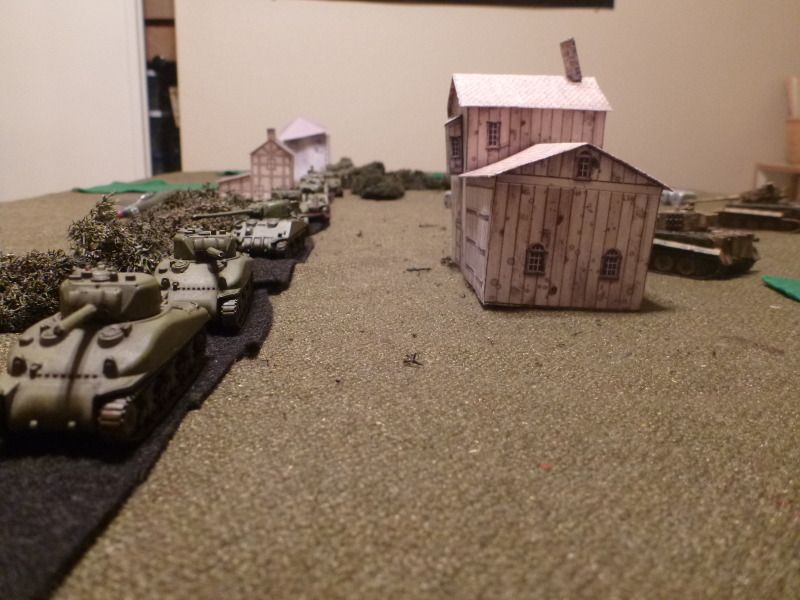 |
| British Armoured Column driving along a hedgerow road in Western France, right into a Wehrmacht trap! |
We played the Roadblock mission, and I was set to be the attacker, with Whitlow's Panzer Division defending. My armoured column had to secure a road though Western France along a small town among the hedgerows. The game would start with an ambush against one of my platoons.
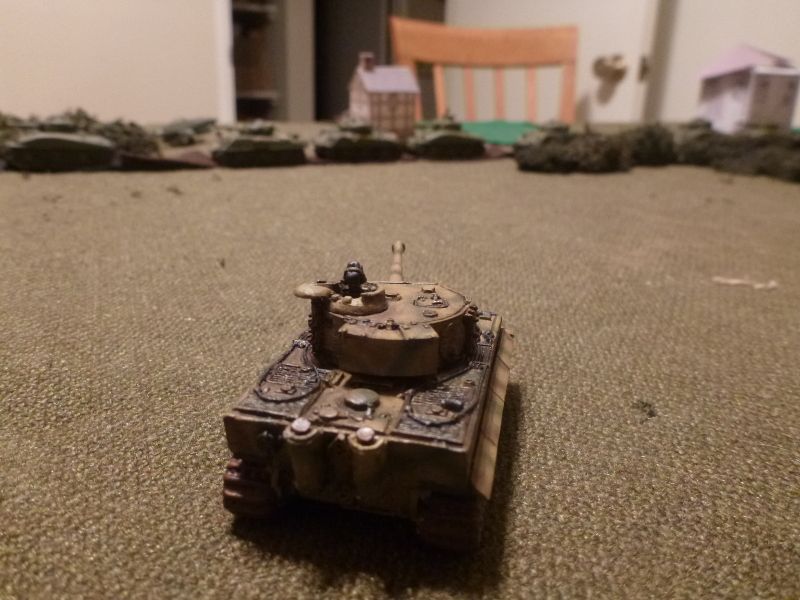 |
| Tiger Ace Whitlow takes aim at the Armoured Column's command section |
Wisely, Mr Whitlow chose to ambush my command platoon. With so few units in the game, this could cripple an army and force it to withdraw before they acheive their objectives. His heavy tank platoon sprung the trap, knocking out 3 of the 4 Shermans in the command team, and driving the fourth into fleeing the battle before the fighting even really began. At such close range, their armor had no hope of stopping the fearsome 88s shells.
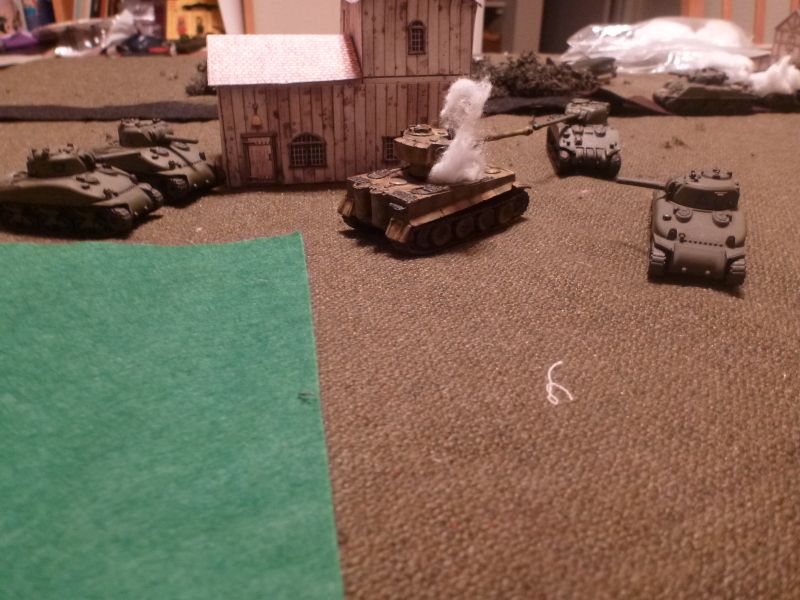 |
| Four to one, the Shermans rush the Panzer VI squadron |
The Sherman platoon ahead of the Company Command team on the road responded to the ambush, and raced cross–country to engage the Tigers head on. Between their combined firepower, they got a lucky shot through and managed to knock out one of the Tigers.
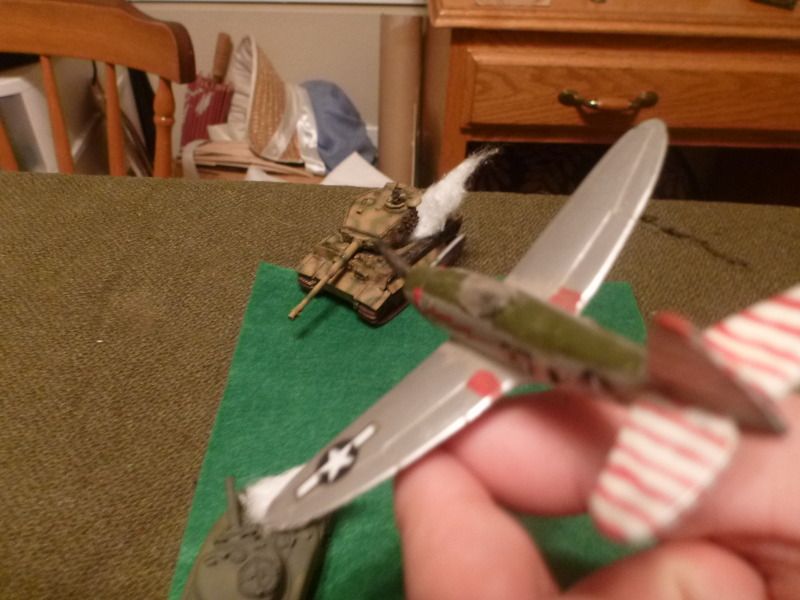 |
| Our Hawker Typhoon looks absolutely NOTHING like a P-47! |
After an uneventful round the remaining Tiger wiped out the attacking squadron, but Allied air support came through and unloaded its cannon into the remaining Tiger, clearing off the objective it was holding.
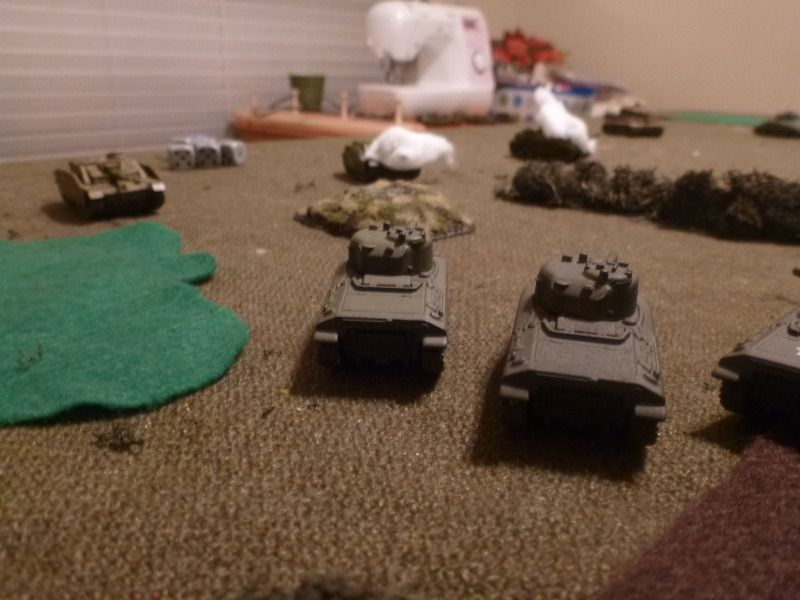
The British gains, however, came too little, too late. Despite making a decent account for themselves against two StuG platoons, a third arrived as reinforcements, and did just enough damage to drive another Sherman team from the table. This put the column below half strength, and without their company commander to lead them, they fled the battle with the Germans still in possession of the road.
Monday, August 20, 2012
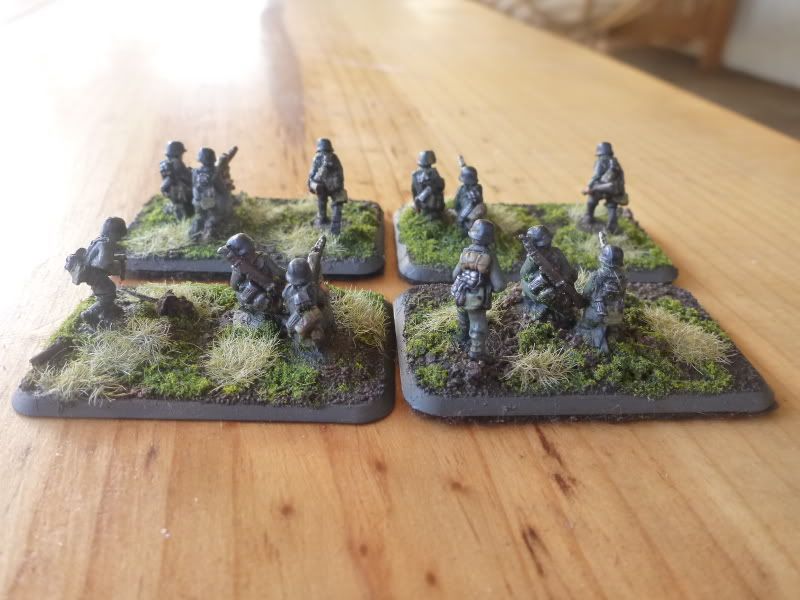
MG42 Teams

As more light fire support to the late war German force in Flames of War, allow me to present my MG42 HMG platoon. The models are fairly straightforward, with a heavy machinegun team on each base. Interesting to note that the gun is the same MG in each infantry squad, but mounted on a more stable tripod and supplied with more ammunition for continued fire.
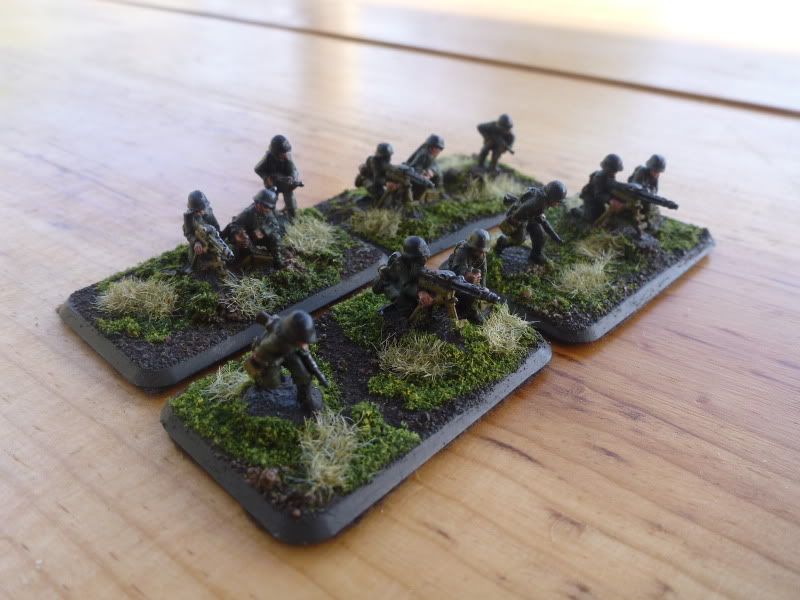
The only difference between an MG42 squad weapon and MG42 Heavy Machine Gun is how it's used. In game terms, the sustained fire comes in the form of a great many more shots than a normal MG infantry team gets, serving mostly to pin down enemy infantry either to prevent an assault, or to aid your teams charging the enemy.

There are minor variations in the sculpts from gun team to gun team. Also worth noting that the men of this blister pack seem a little skinnier than the other LW Germans I've painted from Battlefront. These seem more realistically scaled and proportioned, and look lankey against the normal builds of the series.
Monday, August 13, 2012
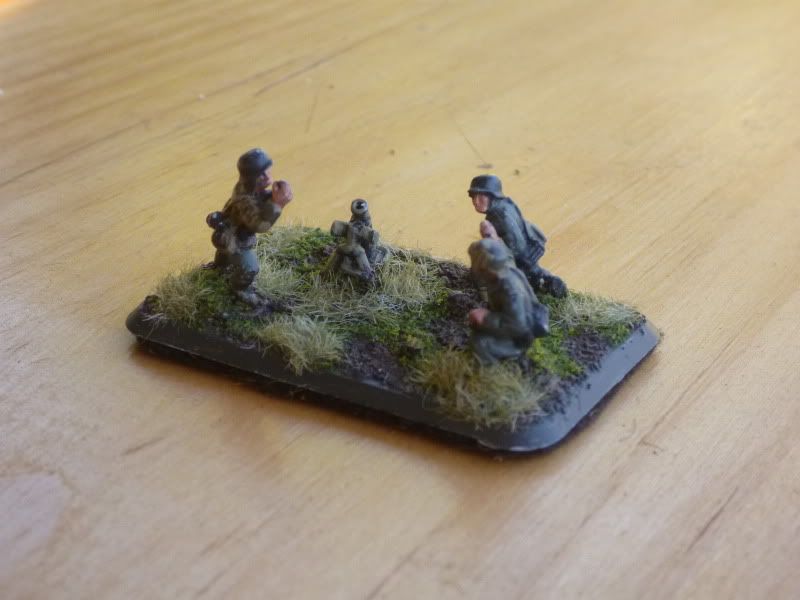
German Grenadier Mortar Teams

To privide my Flames of War LW Germans valuable indirect fire support, I painted up tehse mortar teams. Some of the teams came in my first Festungkompanie box, while others are from a supplimental blister pack.

Uniforms are painted to match the existing Grenadiers, with some field grey, some Heer splinter camouflage, and some field-applied helmet camouflage.

Mortars themselves are painted in the typical dunkelgelb of my armor. To ease basing, I built them onto small skids of cut plastic card to help raise them above the level of the sand i would add later, and also to put them at the same elevation as the crew members. I painted the completed stands with the figures and their mortars, then added the basing material over the finished assembly.
Friday, August 10, 2012
Schwalbe

My first bit of air support I constructed for my Flames of War Late War German force was actually this Messerschmidt Me 262 Schwalbe model by Trumpet. The kit is 1:144, which is the commonly used relative air scale to FoW.
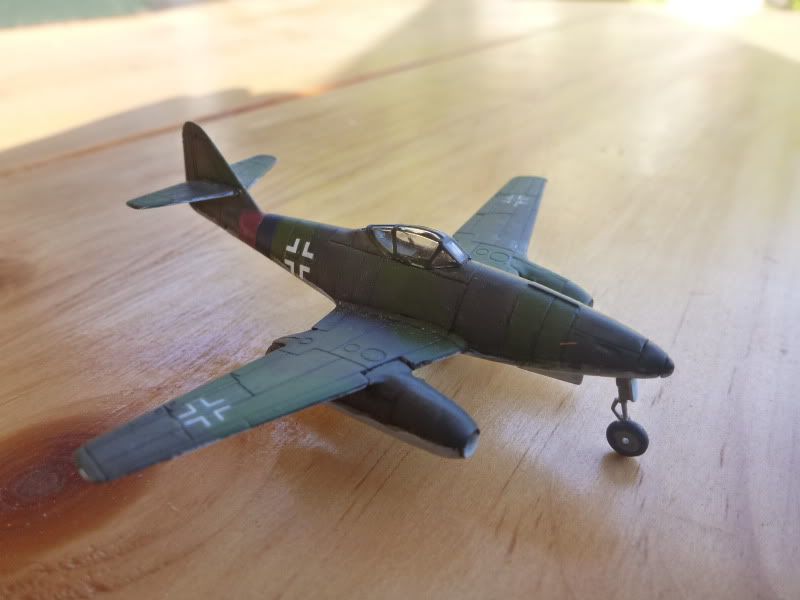
I painted it up fairly quickly using Charadon Granite and Goblin Green as stand-in colors for the Luftwaffe camouflage, and gave it a pinwash of black ink into the panel lines. The recent update for the Ardenne's campaign introduces the ground-attack Sturmvogel version, so this bird may see some official action in-game.
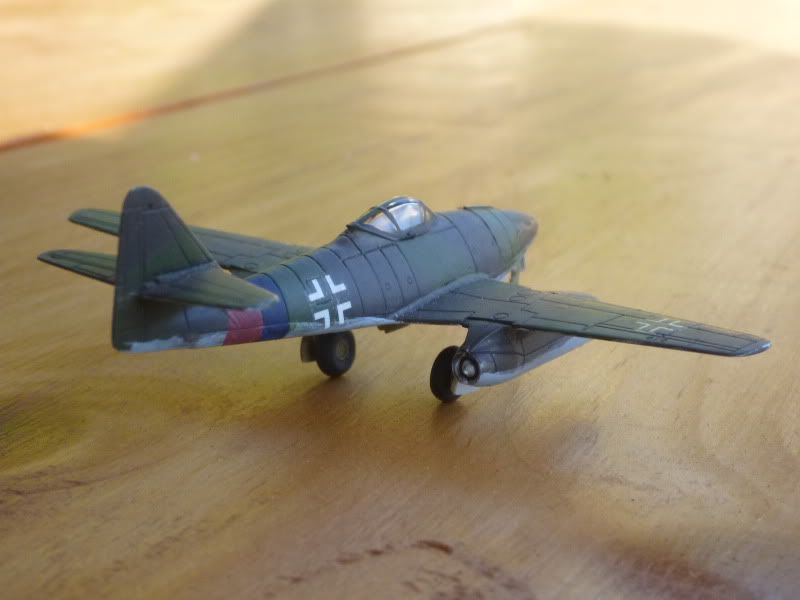
At the time there was no official rules for using the first jet fighter in the game, but I liked the plane. I still have plans to convert it into an objective by building it a field workshop with support equipment.
Monday, June 18, 2012
Shermans, Part II
Continuing with my windfall Sherman tank find, I've been going through these rather quickly, as they all have fairly simple paint schemes. It is somewhat hard to keep the attention span going on so many identical tanks, however.

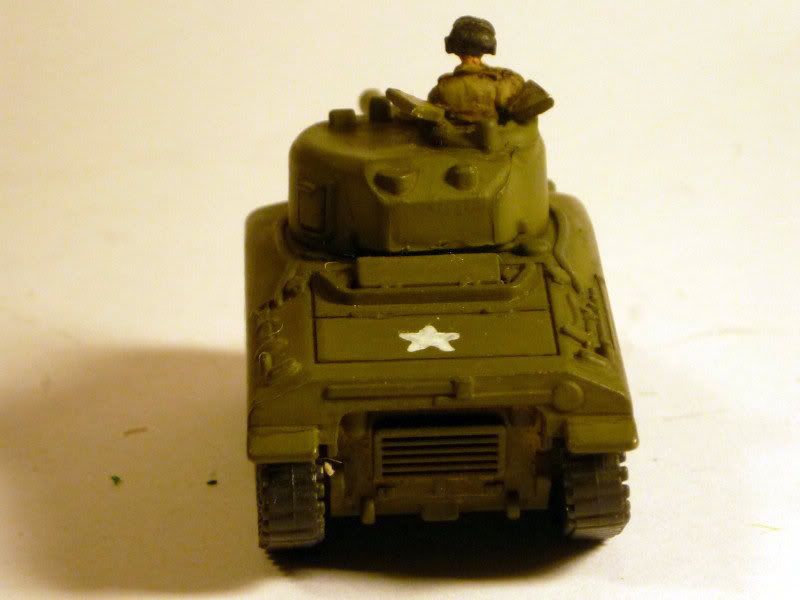
To command my British Armoured Squadron, I've converted one of the tanks to have an open hatch on the turret, and added a commander figure left over from one of the Firefly VCs. I drilled out the solid molded cupola and cut a hatch from plastic card. However, I am a bit unsure of how the command tank should be marked, so for now it only has generic allied stars on it.

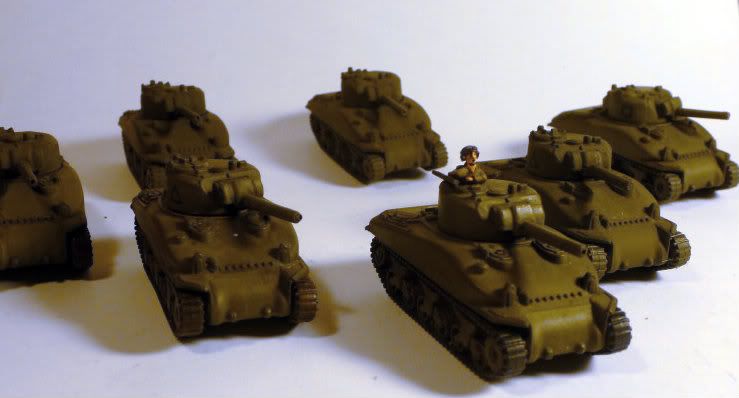
And below we have a group shot of all the completed Shermans so far. As I make a final decision on which unit i'm portraying, some more markings, perhaps decals, will be applied to the front hulls.

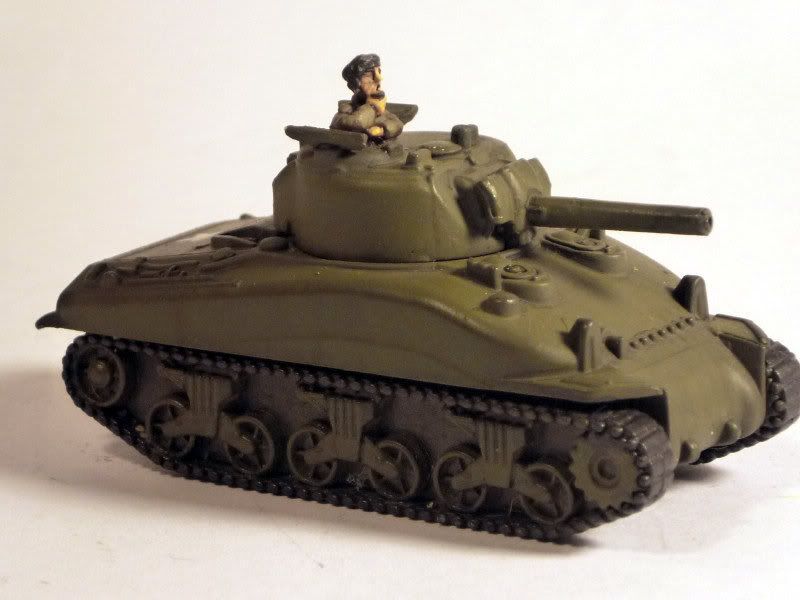
To command my British Armoured Squadron, I've converted one of the tanks to have an open hatch on the turret, and added a commander figure left over from one of the Firefly VCs. I drilled out the solid molded cupola and cut a hatch from plastic card. However, I am a bit unsure of how the command tank should be marked, so for now it only has generic allied stars on it.
And below we have a group shot of all the completed Shermans so far. As I make a final decision on which unit i'm portraying, some more markings, perhaps decals, will be applied to the front hulls.
Sunday, June 10, 2012
Opel Blitz Part II
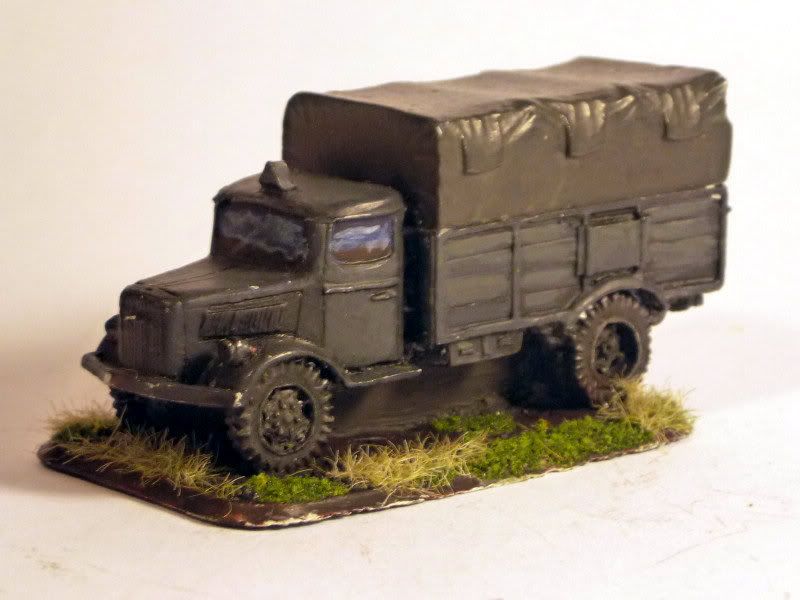
A quick FoW update - for my second Opel Blitz transport truck by Battlefront, I tried my hand at the other famous German paint scheme, dark panzer grey. Chosen for variety sake, and to look more like the truck from Raiders of the Lost Ark (sadly there is no FoW model for the Mercedez Benz E3000).

Saturday, May 19, 2012
Achtung, Tiger! Part 2
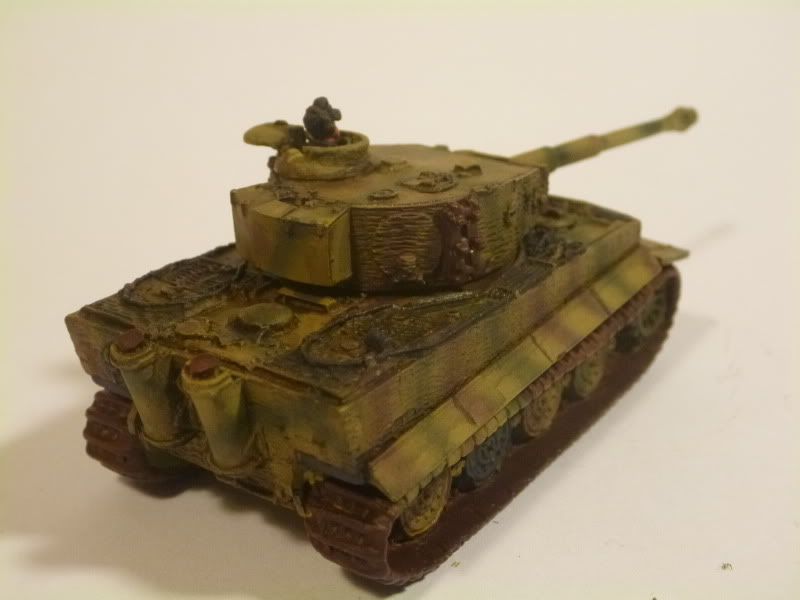
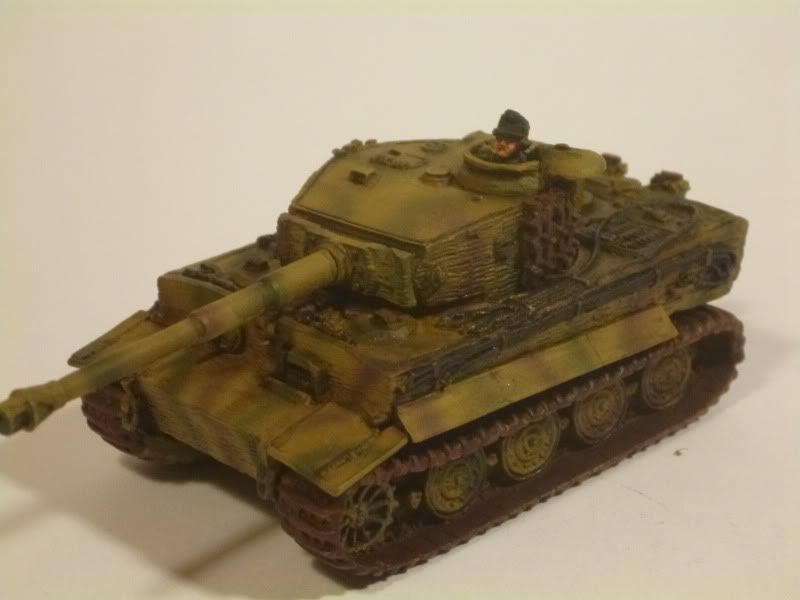
Having completed my first Tiger, I had to do another, (remember that bit about willpower?) I picked up a second kit from my friendly local game store, and set to building and painting. One of the first things you notice is that Battlefront's sculpting has improved quite a bit in the last 8 years! The new sculpt of the Tiger has far more detail, and many more options for finishing. All of the hatches can be assembled opened or closed. You have your choice of fender(s), and there are enough crewmen to really bring the model to life. It also sports later cast road wheels and wider tracks, and improved details on hull stowage, exhaust vents, and a much nicer commander's cupola.

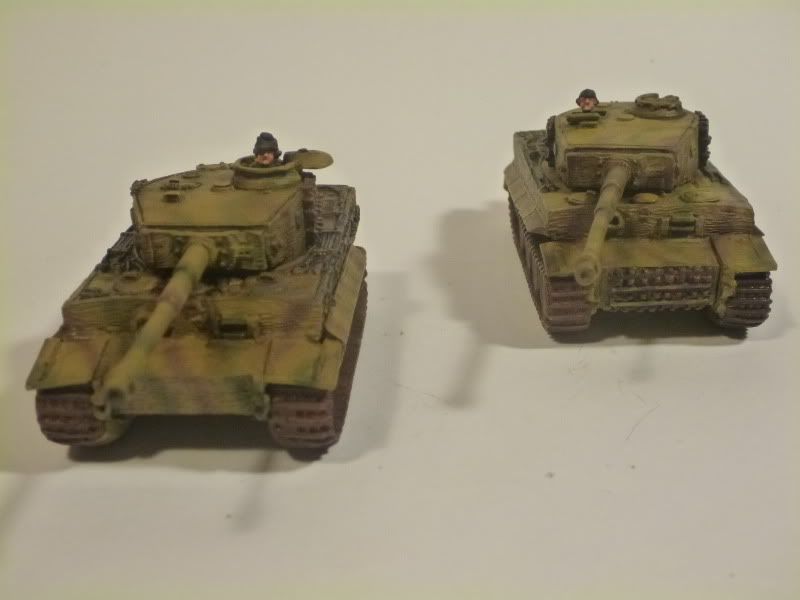
Breaking my tradition of painting all tanks unique, I decided to give the Tiger platoon a unified feel with very similar camouflage.

Despite being separated by several years of production technology on the part of Battlefront, the two tigers look pretty good together!

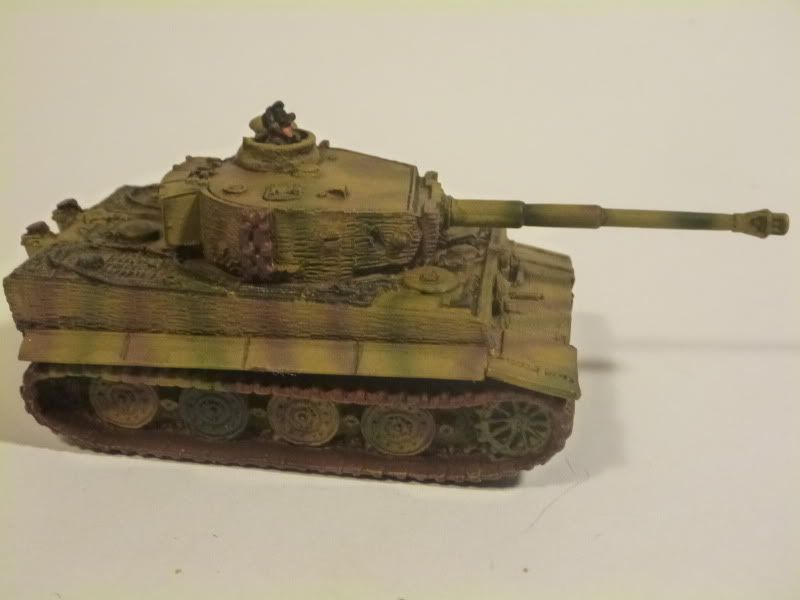
Well, I guess I haven't quite finished. Missed a spot on the tracks. But below that you can see one of the road wheels in a primer grey, to give the model bit of interest on this side, and represent a replaced part, not painted up to the camo scheme of the rest of the tank. I liked that the kit gave the option for how many track links hang on your turret.


All in all, this was a joy to build and paint, and though I don't have much of an in-game use for more, I am quite tempted to try a third one...

Breaking my tradition of painting all tanks unique, I decided to give the Tiger platoon a unified feel with very similar camouflage.

Despite being separated by several years of production technology on the part of Battlefront, the two tigers look pretty good together!
Well, I guess I haven't quite finished. Missed a spot on the tracks. But below that you can see one of the road wheels in a primer grey, to give the model bit of interest on this side, and represent a replaced part, not painted up to the camo scheme of the rest of the tank. I liked that the kit gave the option for how many track links hang on your turret.
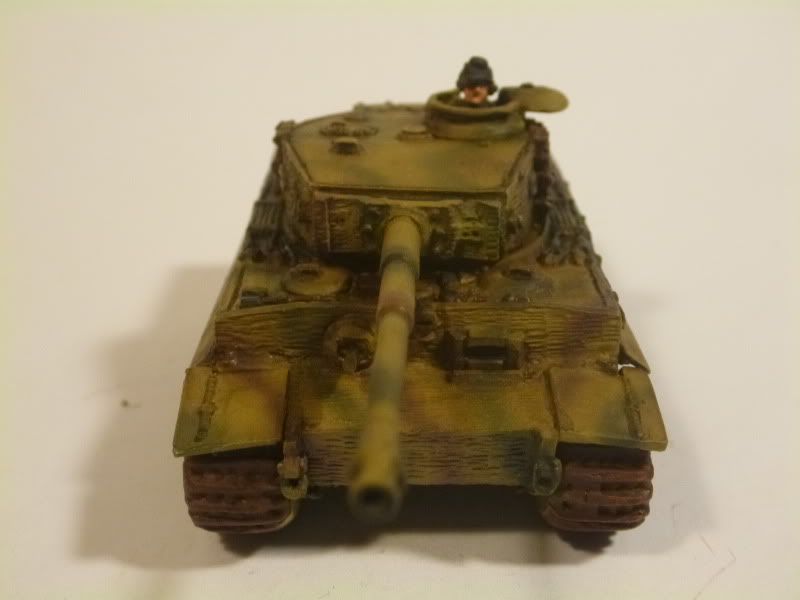
Another recent improvement is my photographic studio. My wife finally prevailed upon me to clean up my desk/workspace where i do my modelling and also where I photograph my work. With the clean space, I am able to mount twin desk lamps to converge on a small white backdrop (11x17 white paper). I am now able to get much cleaner images shot of my work. I was surprised to see how much it improved my pictures!
Subscribe to:
Posts (Atom)
