Thursday, September 8, 2011

SU-85, Part II

Last Christmas, I received a set of two SU-85 tank destroyers in 1:72 scale. I worked on the first of the pair within a week or so of the holiday, but saved the other until I had a better plan. As it works out, patience paid off. Since the first tank, I have gained access to an airbrush, allowing me to try another technique that has always had my interest.

I have seen some very good winter camouflage done using a thinned down white airbrushed over a green undercoat, then weathered with paint chips and mud and rust streaks. The best example is on IPMS, showing the technique on a US Sherman.
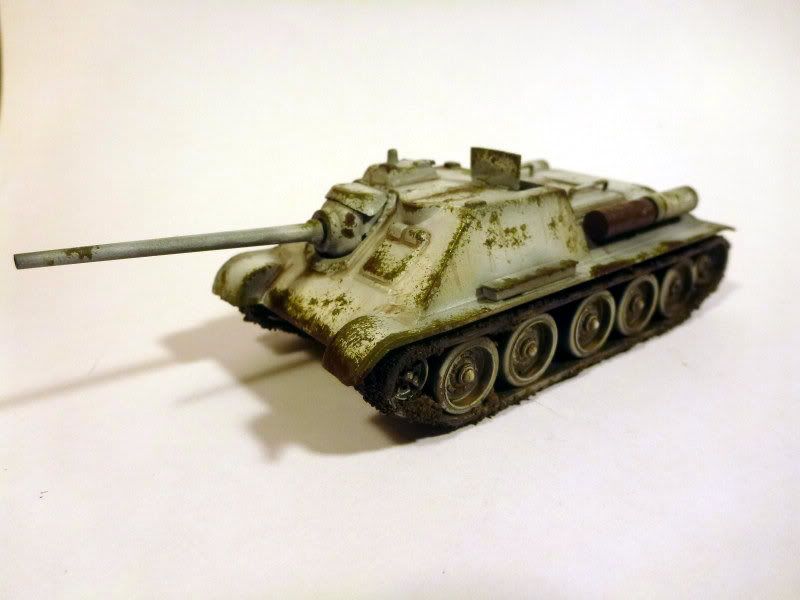

So this tank started out base coated with a Krylon camouflage green spray paint i picked up at a local hardware store, serving as both base coat and primer. I then gave it a patchy whitewash using thinned Tamiya paint applied via airbrush. On top of this i tried out a technique I saw on battlefront, using a bit of sponge foam to apply paint chips in green to the edges of the tank.
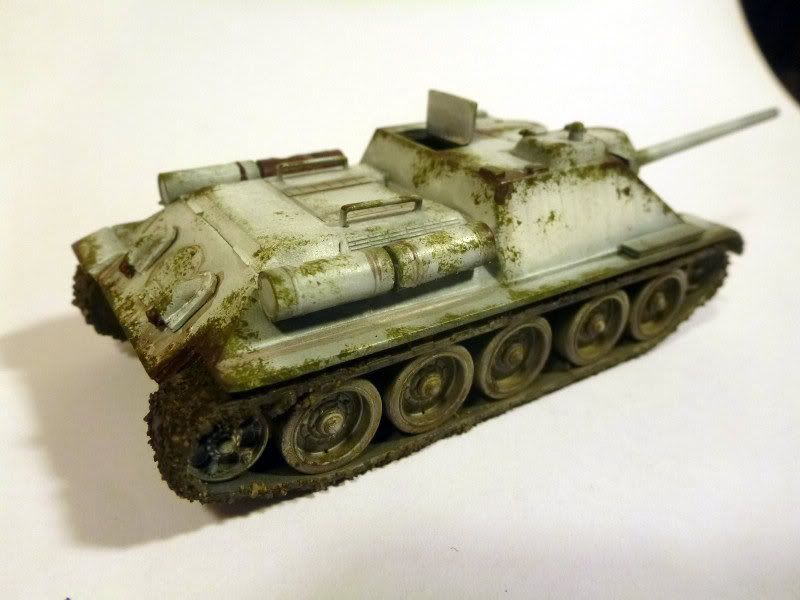

Improving on my last build, the tracks were coated in a glue/sand mixture and painted to resemble a mixture of mud, filth, and road grime. In addition to the green paint chips, some areas were further weathered with chips down to the bare metal itself, which would have rusted in a prolonged winter campaign.
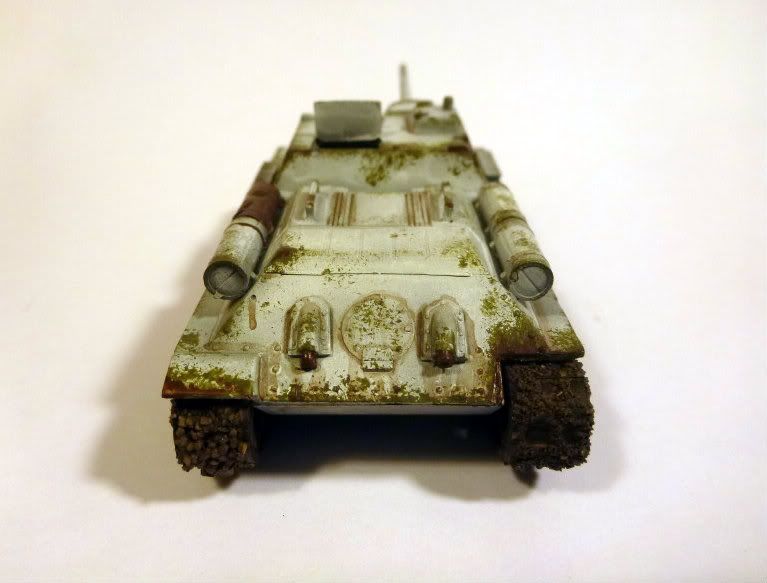

The hatch is left open on top in the hopes of acquiring a suitable driver figure. I may also add some tankodesantniki riders on the back.

Overall, I am really most pleased with the tracks, but somewhat disappointed with the rest of the tank. I may remove the tracks, strip and repaint the rest of the vehicle.

Saturday, September 3, 2011

A Fine Lady

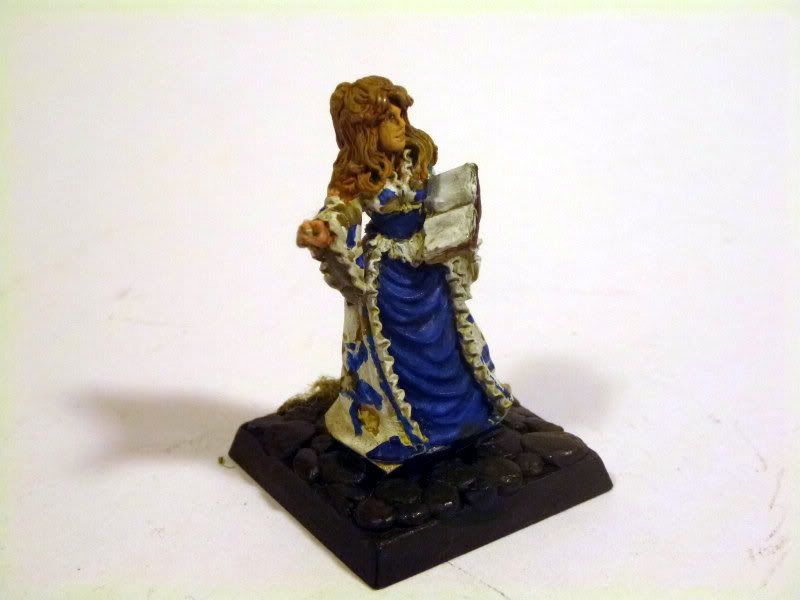
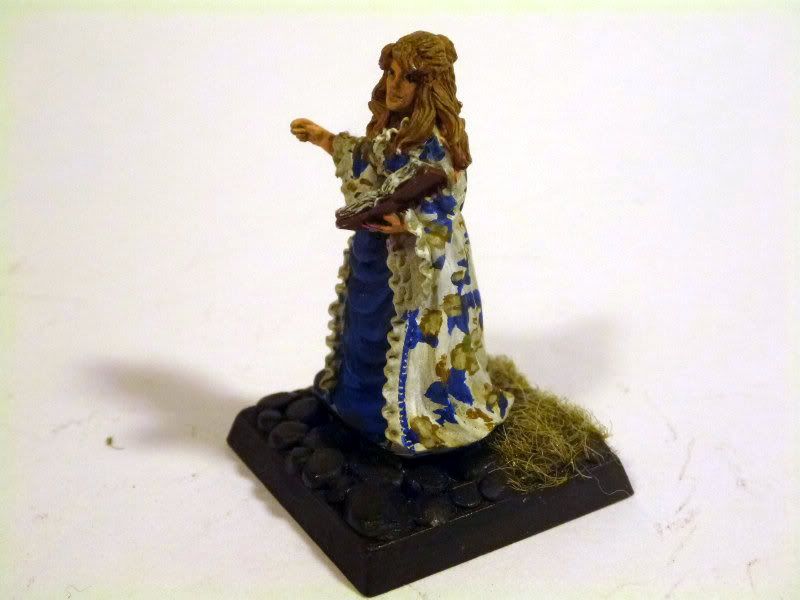
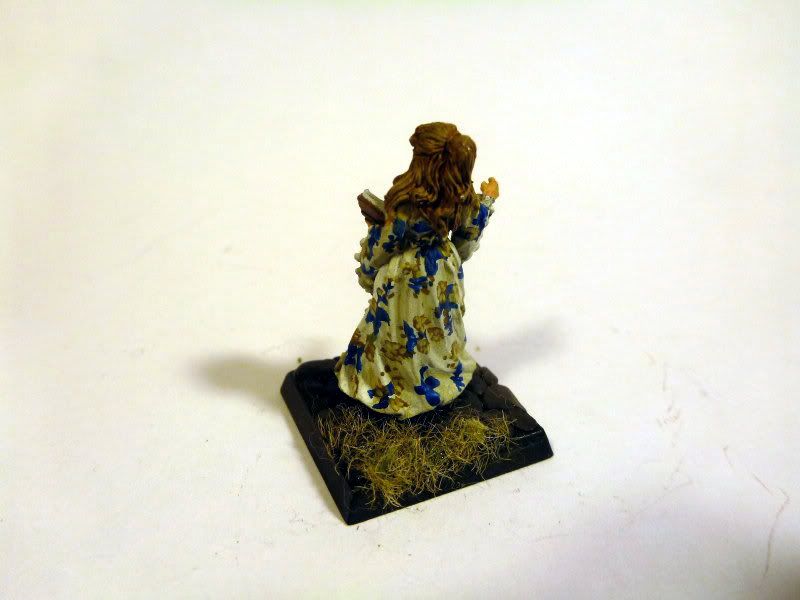
I have a very cool wife. So cool that she decided to join the guys for a campaign of 7th Sea. She needed a suitable model for her character, so I picked up this one from my FLGS. The game takes place in a fantasy version of a swashbuckling 17th-18th Century Europe. After so much militaria, it is a kind of relief to paint up something quite different. I found this fine lady among the Reaper Miniatures line, and it immediately struck me as the perfect miniature for her. The gown the miniature wears bears some resemblance to a style my wife wears for reenacting (did I mention she is cool?). This left me no choice but to paint it up to match.


I have always enjoyed painting clothing on models, and have a decent amount of experience replicating various camouflage patterns. This time I got to put that skill to the test with a much finer subject matter and a more critical eye looking at the end product.
The pattern came out pretty true to life of the original. It helps that the actual cloth this is based on is printed in a 4 color floral pattern that is actually somewhat large, making it a bit easier to replicate than some of the finer prints that became available on cotton during the later Regency Period. 


Monday, August 15, 2011

HMS Sophie Part 5

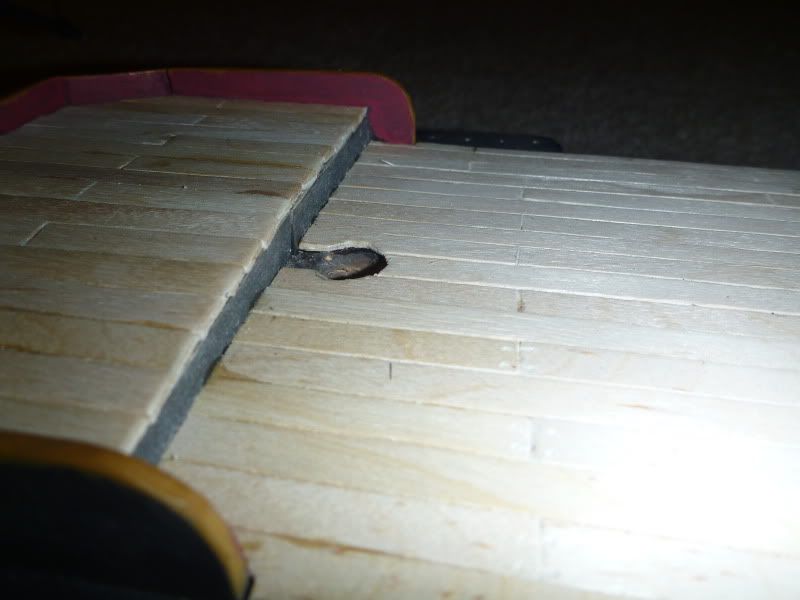
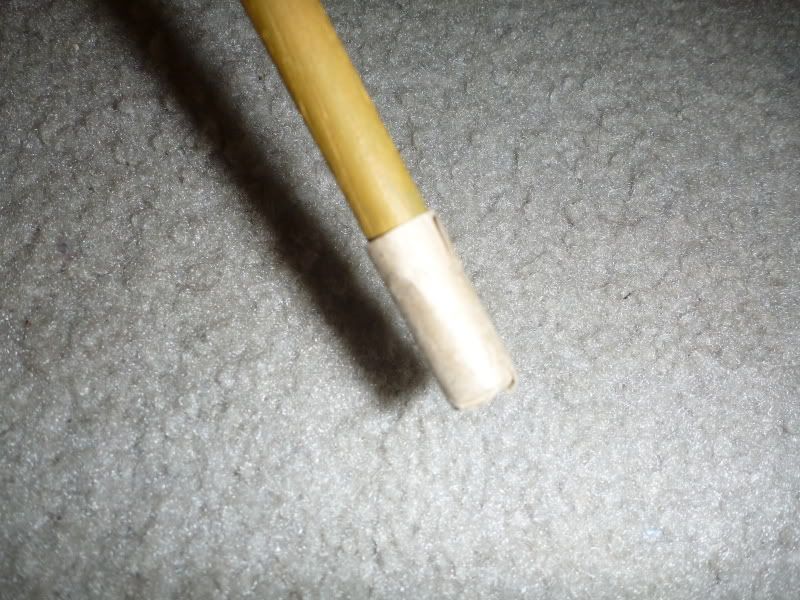
As I was working with a hand auger, and not a power drill, my mast holes are not exactly the size I was hoping for when I drilled them.
Uneven Hole
To compensate for this, I have wrapped paper around the base of my masts until they plug in snugly.
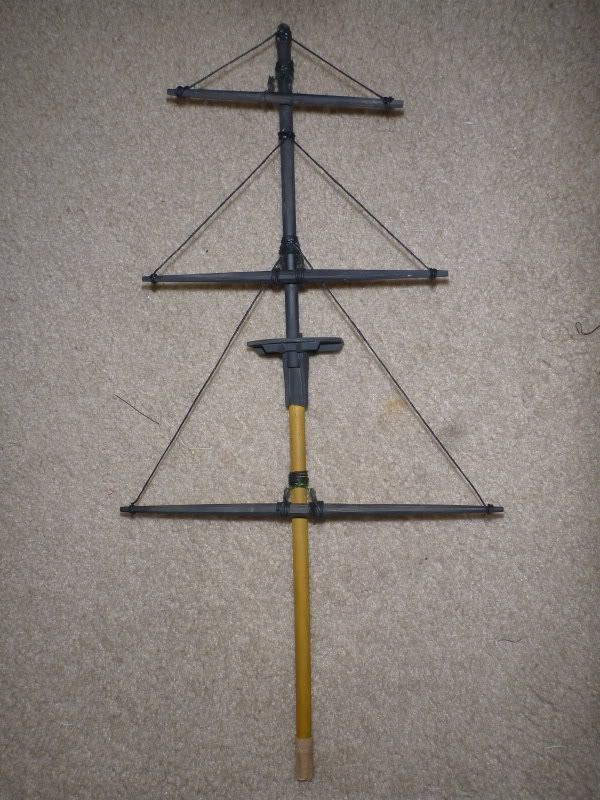
A completed Mast section
On the test fit, they now stay in place quite nicely, yet are still removable for storage.

There's still much to be done, but i'm pleased at how this is coming together.

Sunday, August 7, 2011

HMS Sophie Part 4: Hull details

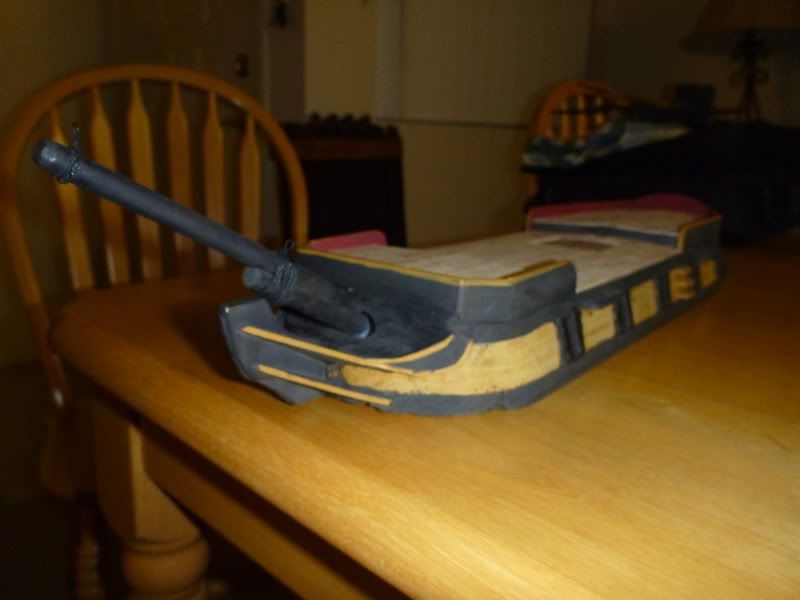
Bowsprit and fo'c's'le
The bowsprit is nested and glued into a hole i drilled at an angle into the solid hull (another perk of doing the hull as one piece). I've attached the upper part using my craft twine, and you can faintly make out two wire loops. These will attach the removable rigging (forestay and fore topmast stay).

Deck detailing courtesy of Starbucks
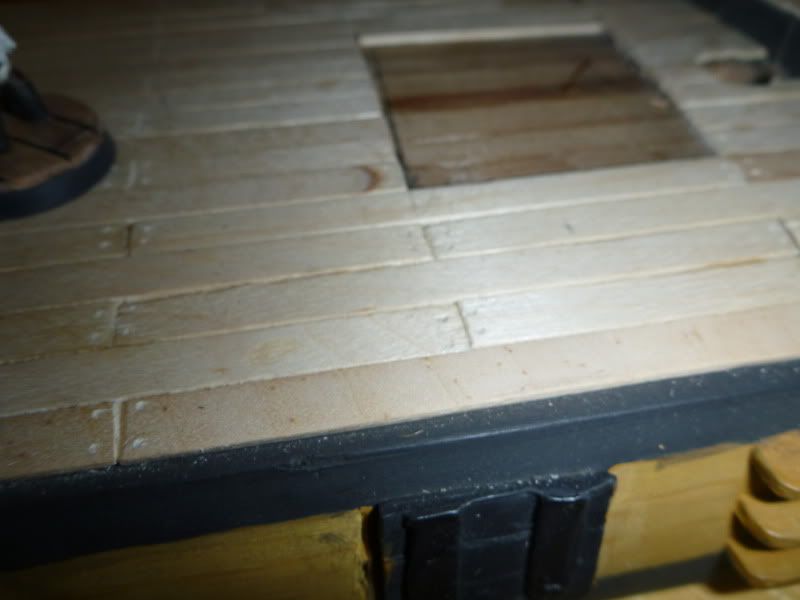
The actual deck is made of carefully selected coffee stirs gleaned with permission from local Starbucks. I cut them to size with side cutters, then filed the raw edges smooth on an emery board. They are held down with superglue, as I found that Elmers doesn't hold fast enough to keep them from springing back up. One all glued in place, it is sanded lightly, and i drilled holes at the edges of the planks with a pin vise.

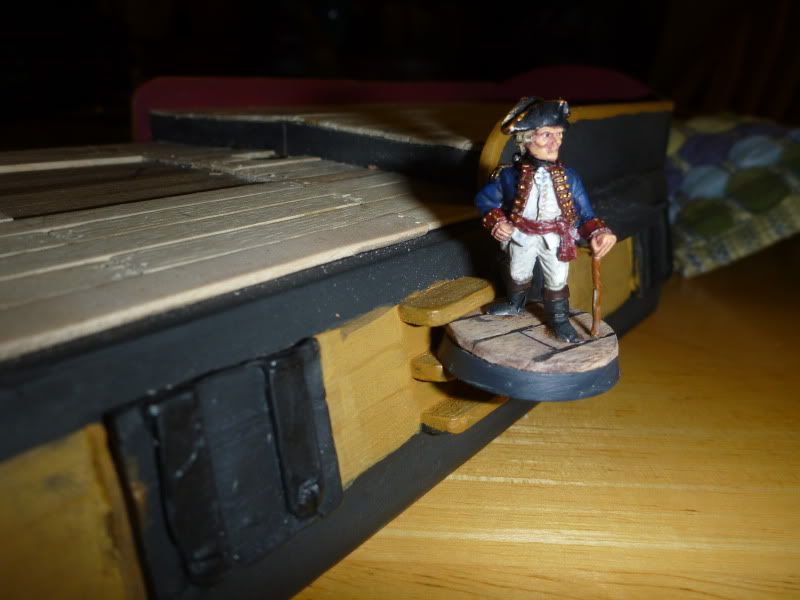
Functional Deck Ladder
The gunwales have ladders integrated onto the sides (as does the HMS Surprise on which I've based much of this). These are spaced to hold figures based with more coffee stirs. My officer of Artillery shows functionality of the ladder, and also serves to give some sense of scale here.

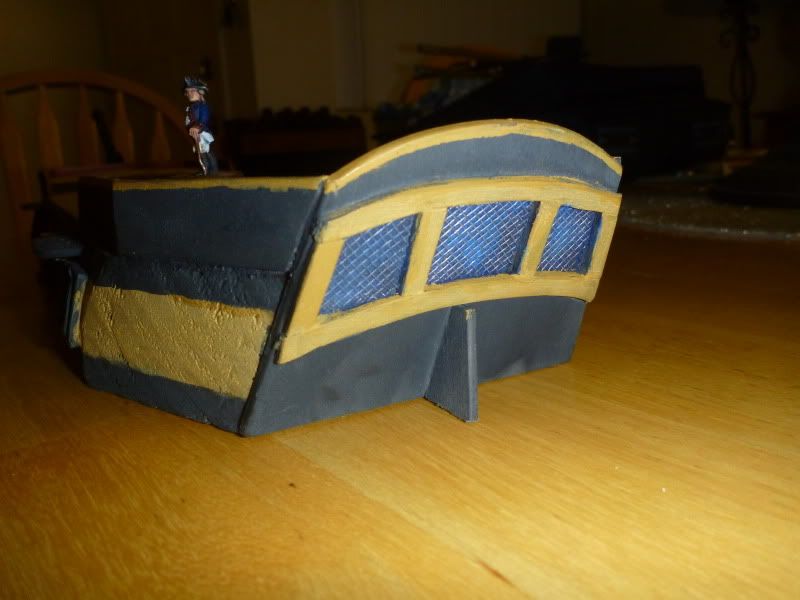
Sophie's aft cabin and rudder
Here we have the aft cabin of HMS Sophie, as well as the top of her rudder. I am not entirely satisfied with how this portion came out, and may revise it in the future. The intent was to make a faux leaded glass window using window screen painted as the lead over a dark blue plastic card underneath. This technique has looked good on some scenery buildings in the past, but does not seem to quite do it here.

Thursday, August 4, 2011

HMS Sophie Part 3

Continuing on with the construction of my 18th-19th century Sloop of War, here are some Hull shots of HMS Sophie.
Hull of my HMS Sophie, already afloat in the waters she'll be sailing.

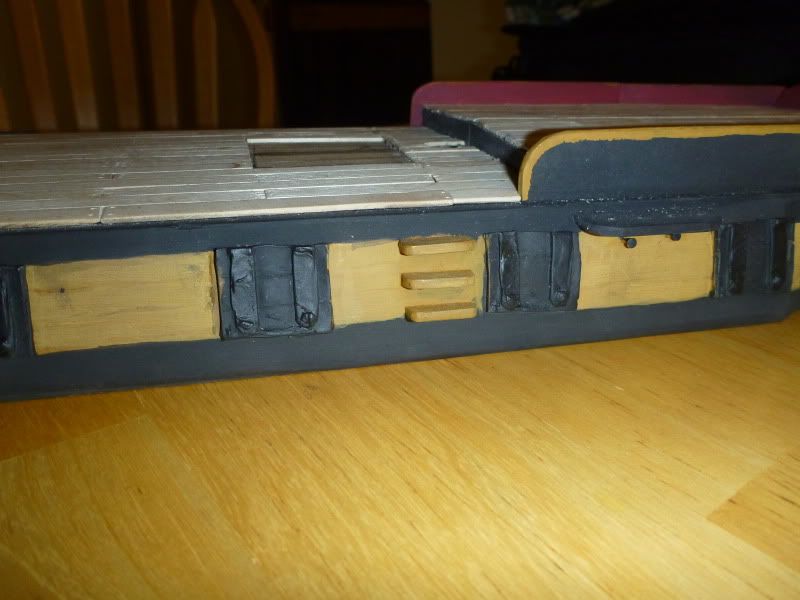
Again, the hull is a solid plank of 2x6 left over from a musket stock project, shaped with planes and rasp files. One gunport was built out of small planks and some plastic card for the iron. I made a greenstuff mold, and copied the port for the rest of the ship.

Close–up of the gun ports and ladder up to the deck


Monday, August 1, 2011

HMS Sophie, WIP Part 2

The next phase in the construction was further work aloft in the rigging. Ive attached the spars to the masts using a system that compromises strength and playability against nautical accuracy. The yards hang from small blocks I made in a similar fashion to the deadeyes of the standing rigging, though with a trench around their perimeter. These are hung via twisted florist wire that will be painted to resemble rope that is wrapped around and through a small hole drilled in the mast. The finished assembly is decorated with actual miniature line to cover my "seams."


The spars themselves are made from square dowels that i shaped down using planes to resemble the shape seen aloft on classic sailing ships.

Monday, July 25, 2011

HMS Sophie, WIP Part 1

[Dusts off blog]

This will be the first in my series of WIP posts to detail the progress on my HMS Sophie project.
I am working on a (roughly) 28mm tabletop Royal Navy Sloop. The model is scratchbuilt, mostly from scrap material about the apartment. Unfortunately, i have lost the camera with the earliest stages of construction on it.
The hull is built at the waterline for gaming convenience, and is cut and shaped from one piece of wood. I used a 2 x 6 from the local Home Depot (left over from my blank drill musket). I rough cut the shape using hand saws, then honed it in using a rasp file. The deck and gunwales were smoothed and shaped further with planes and a chisel.
The forcastle and quarterdeck have been built up using Basswood panels, and I have built gunports cast in green stuff from an original in wood and plasticard.

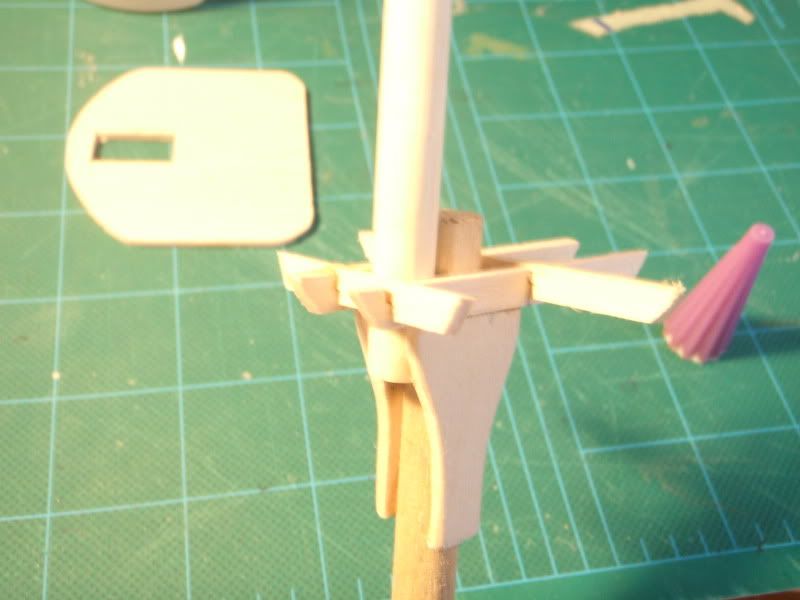
Moving on to something a bit more visual, i have begun the phase of constructing my masts and spars. The images below show the progression as i've been working on the fore topmast. I started with two dowels of progressively smaller diameter and filed the joining parts to be a bit square. I then added some supports for the fighting tops (i lose sailor points for not knowing their names), cut from basswood. On top of this is placed the tops.


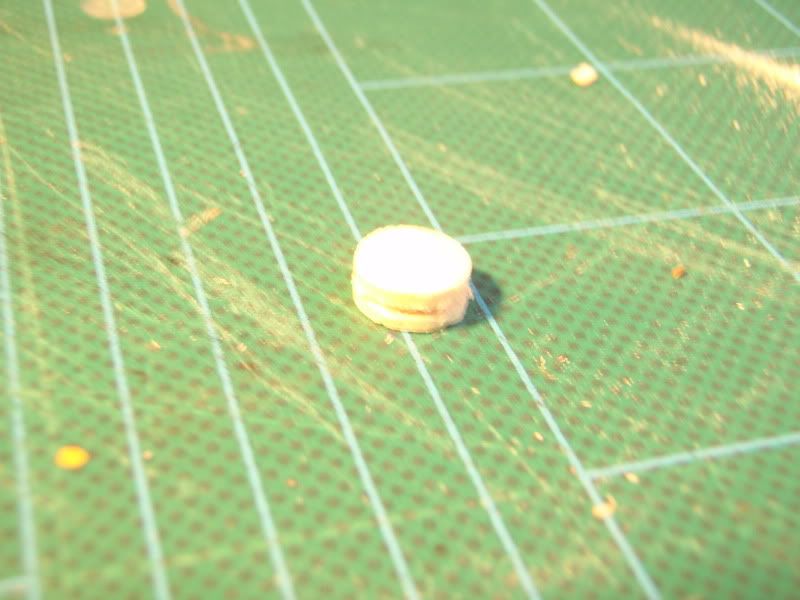
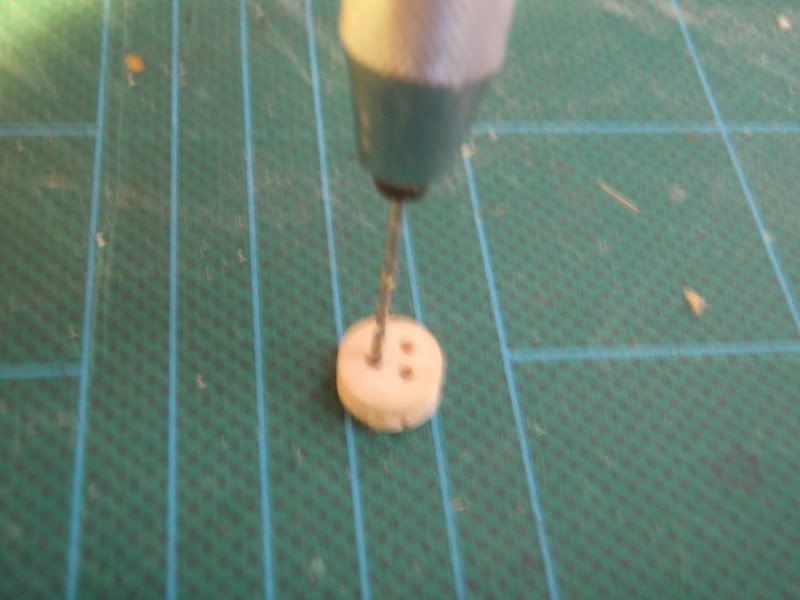
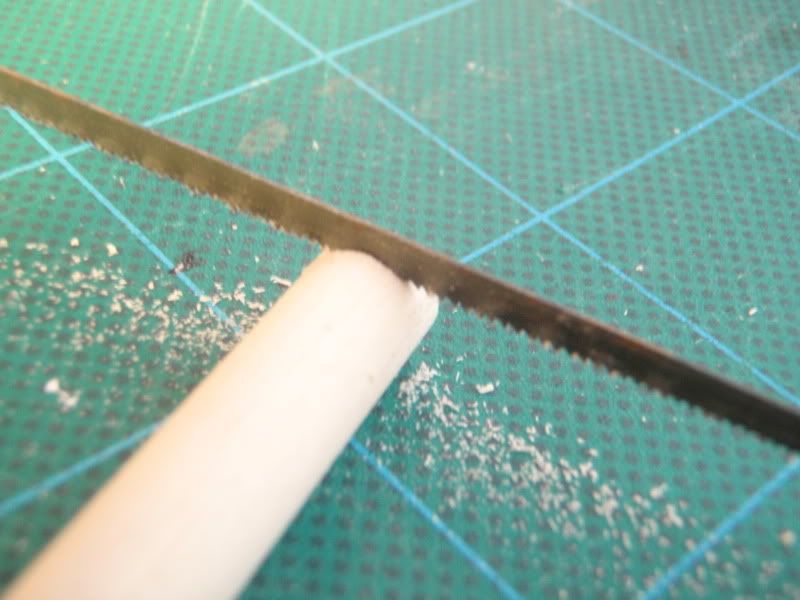
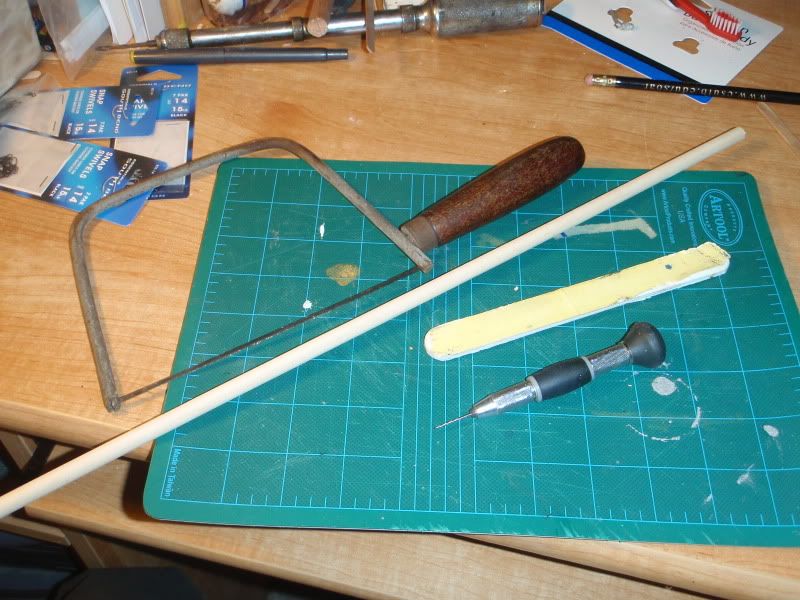
Also important for the rigging, I have been constructing my own blocks, cut from dowel. They are notched around, drilled, and soaked in C-A glue for strength.


So far i have made 32 of these for the shrouds.

More on rigging and some pictures of the hull in the next post.
Related Posts Plugin for WordPress, Blogger...