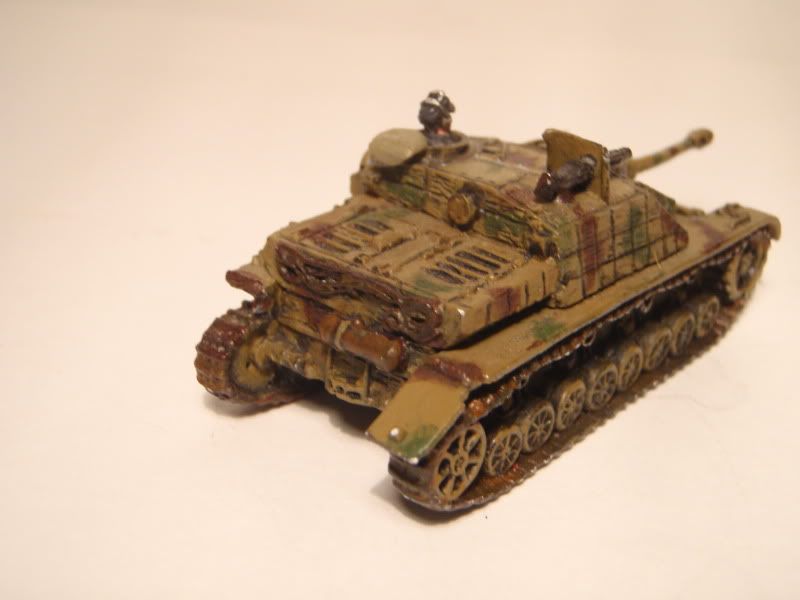
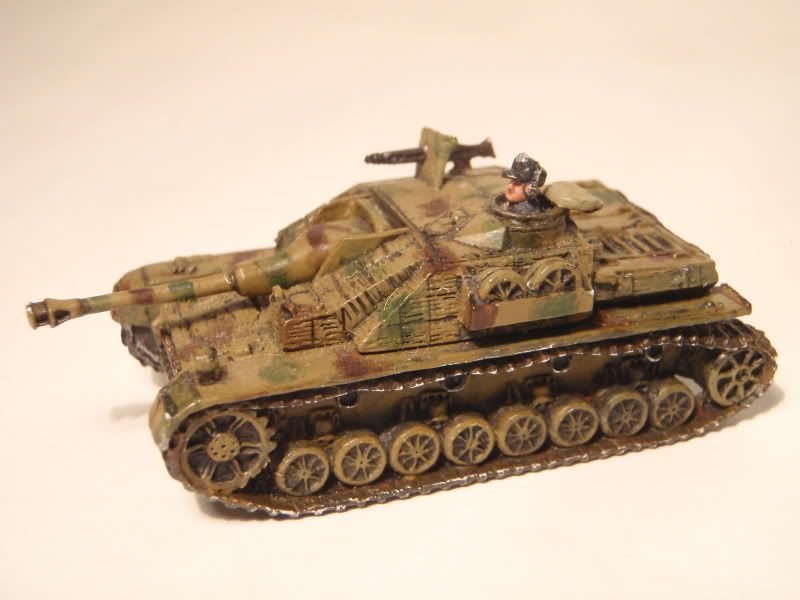
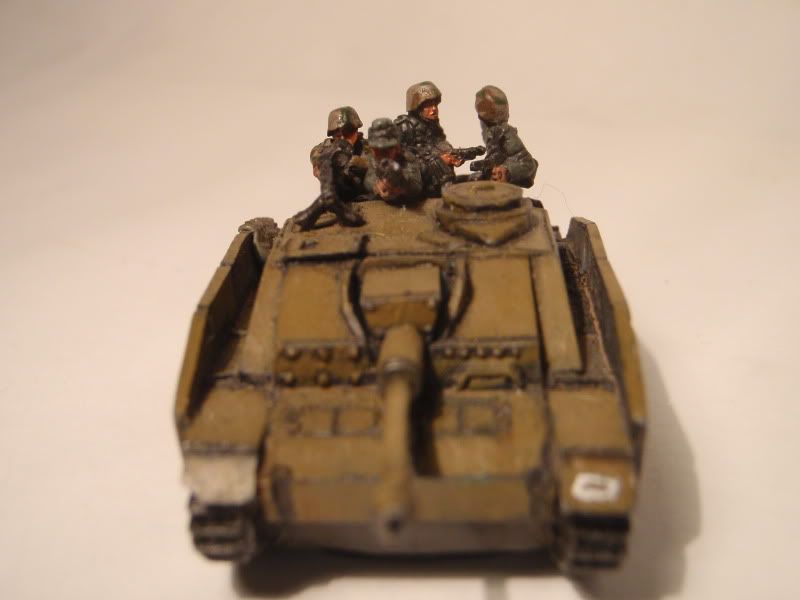
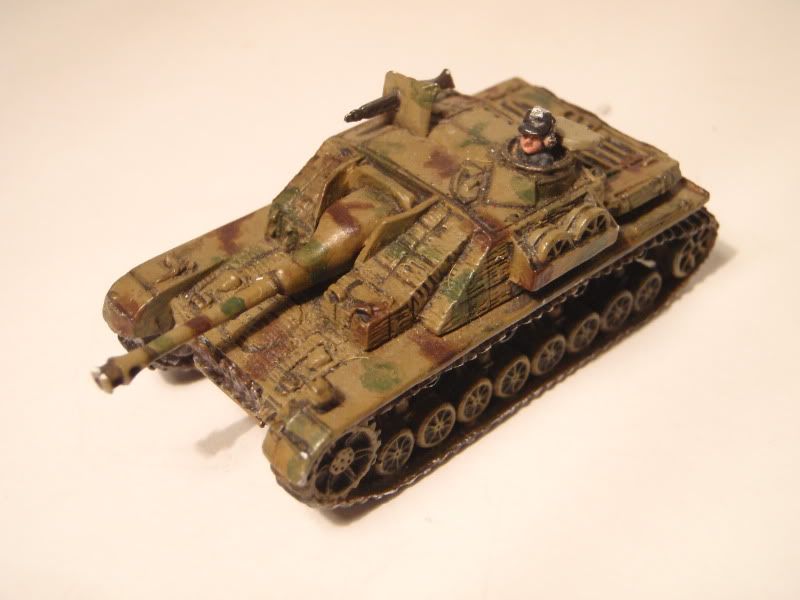
The Battlefront model for the Stug IV has zimmerit as well as schurzen, though i opted to leave the skirts off, as so many of my StuGs are one-piece models without the option.
Tuesday, December 28, 2010
StuG IV
The Battlefront model for the Stug IV has zimmerit as well as schurzen, though i opted to leave the skirts off, as so many of my StuGs are one-piece models without the option.
Monday, December 20, 2010
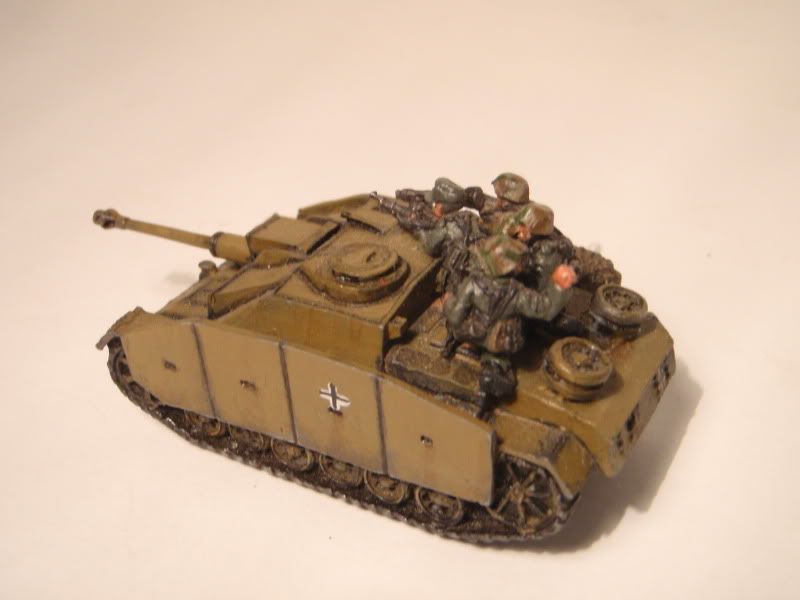
StuG III G with Riders
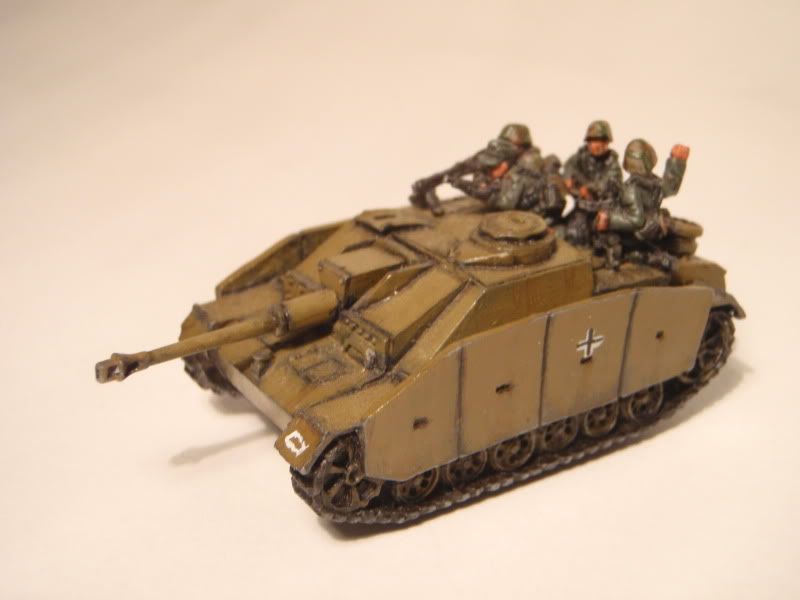
As I peruse the Flames of War rulebooks and army list books, I find myself drawn to the models of the Stug III with the Begleit riders on the back. While I am not intending to run an Ostfront StuG list, I love the look of the model with tank riders on it. I experimented with some extra figures that came in my Festungkompanie box, and have come to some results i am pleased with.
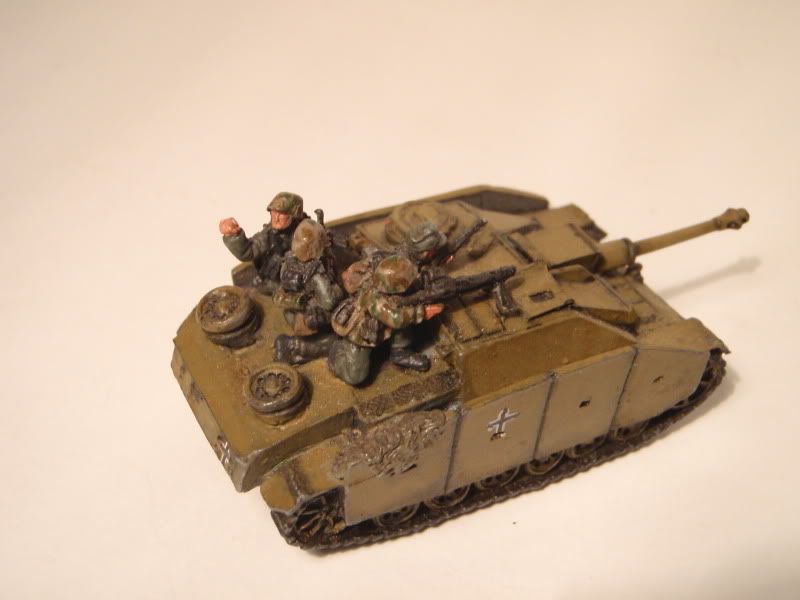
The overall scheme of the vehicle is plain dunkelgelb. This is mainly so that the figures do not blend into the ubiquitous 3–tone camouflage. I use some of the same paint colors for my splinter pattern as i do for the tanks, and they would be too difficult to see on the model. Also, it turns out that using a variety of kneeling poses from the grenadier platoons makes a pleasing group of tank riders.
The model I used for the StuG is one of the Open Fire set tanks i acquires in quantity, and while I was painting it, the rear upper schurzen piece chipped off, as it was a bit thin and brittle. I was able to glue it back in place, and to hold it and hide it, I made a camouflage net out of green stuff, seen below.
Though I am more than satisfied with the results of this project, I don't think I will do that many more StuGs with riders, as I like using this as a command tank. The riders do a great job of differentiating it from the rest of its platoon.
Thanks for reading!
Wednesday, December 15, 2010
Hummel Battery, part 2
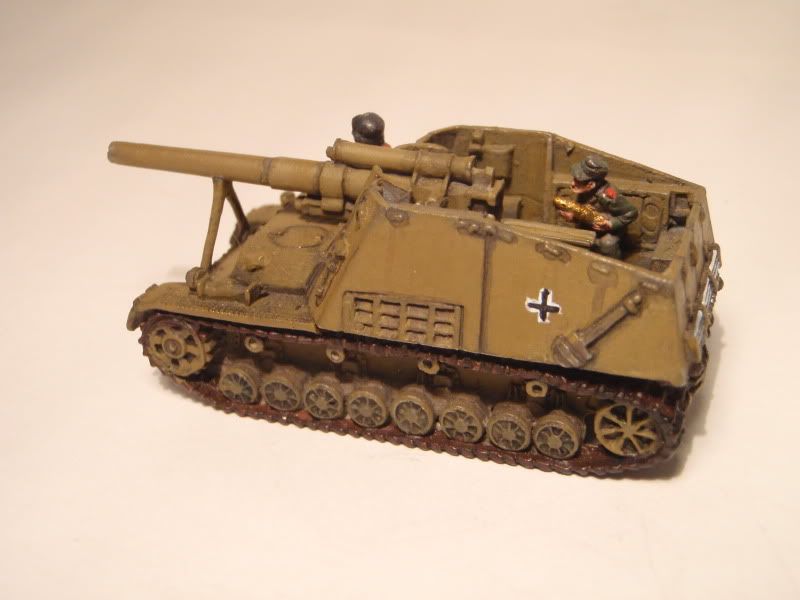
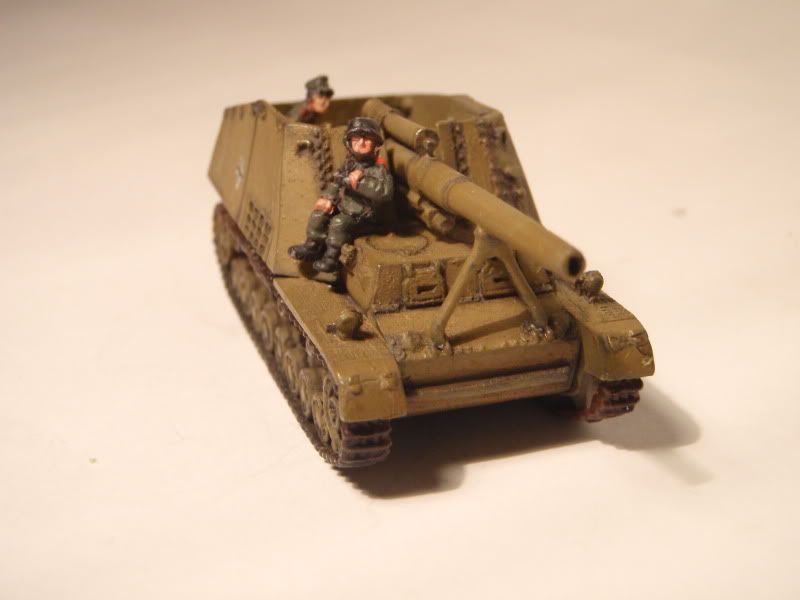
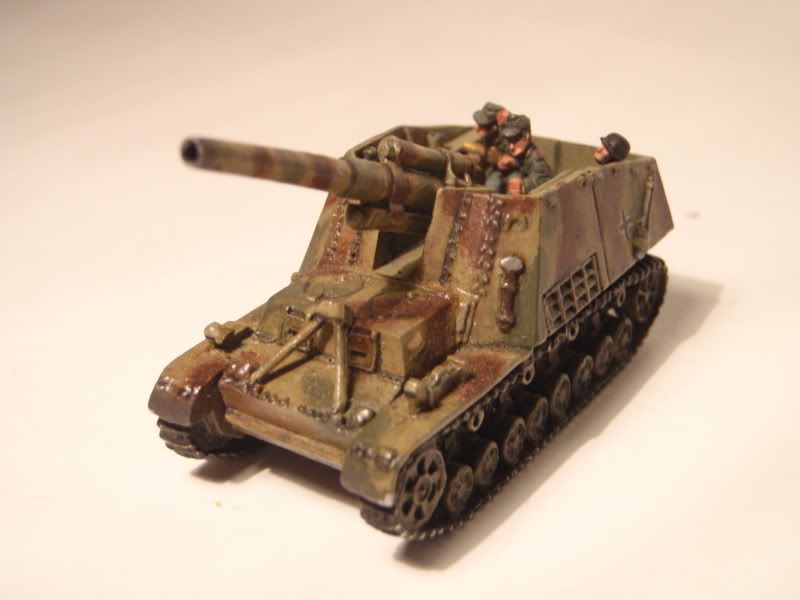
For the second vehicle in my sturmartillerie gun section, I opted to go with a flat dunkelgelb paint scheme. I will be painting all the vehicles individually to reflect individual choices with field-applied paint.... ok, so maybe I just get a little squirrely painting the same thing over and over.
On the second vehicle, I went for the on-the-move look, with the barrel of the gun locked in place. Note that seen clearly here, I prefer not to paint my tracks metallic. Most images (and even actual vehicles) that i've seen show tracks either covered in earth or lightly to heavily rusted. Moreover, at this scale, metallic paint stands out a bit too much for my taste, and distracts from rather than adds to a paint scheme, adding focal points where i don't want them.
Sunday, December 12, 2010
StuG Platoon
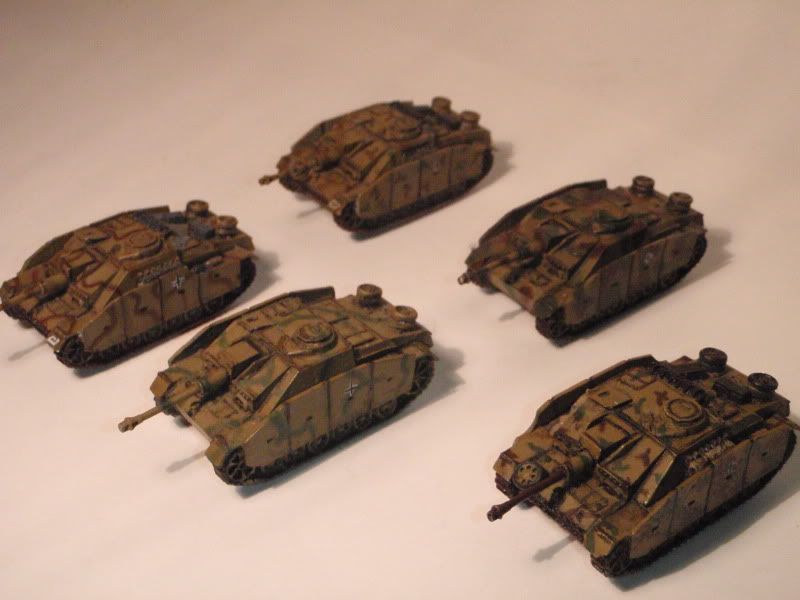
Seeking to build a more armored option for my German force, I acquired a box of StuG III Gs originally from the "Open Fire" starter Set. Not quite as customizable as the individual blister packed StuGs, they still make a fine squad all painted up. My only real complaint on these particular tanks is that as they are basically single piece resins, the side skirts can be brittle, and the majority of my vehicles have corners missing from at least one segment of schurzen.
I again opted for variety rather than uniformity in the platoon, so the tanks all have individual camouflage patterns.
| StuG III G Platoon |
Friday, December 10, 2010
Hummel Battery part 1
One of the things i like best about the tiny Flames of War models is the opportunity to work on a variety of exotic armored vehicles without having to purchase expensive large scale kits. Before I found this model range, I would have to devote quite a bit of money for each kit. Now I am free to sample the myriad AFV designs of the Second World War.
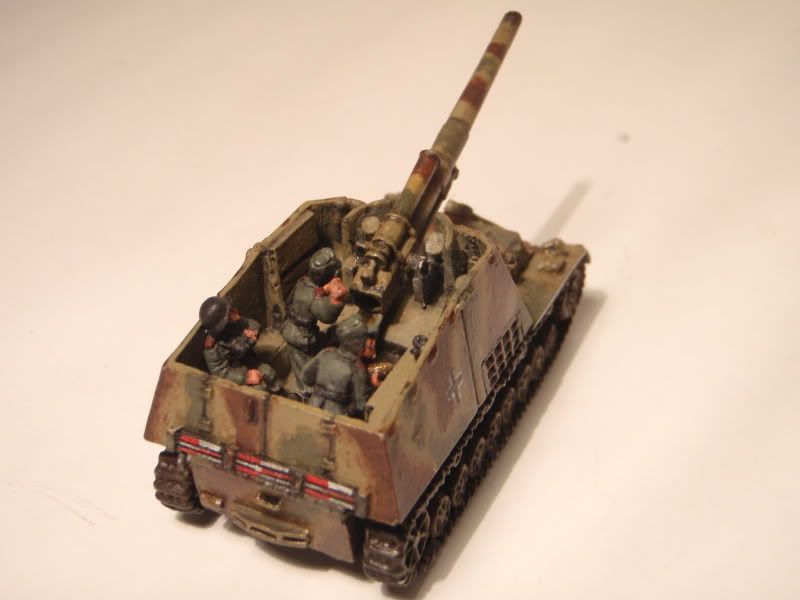
Continuing on with my LW German army, I've decided to provide artillery support through the use of sturmartillerie, in particular the Hummel. These large SPGs have always been a favorite of mine, and the open crew compartment gives some fun modelling challenges.
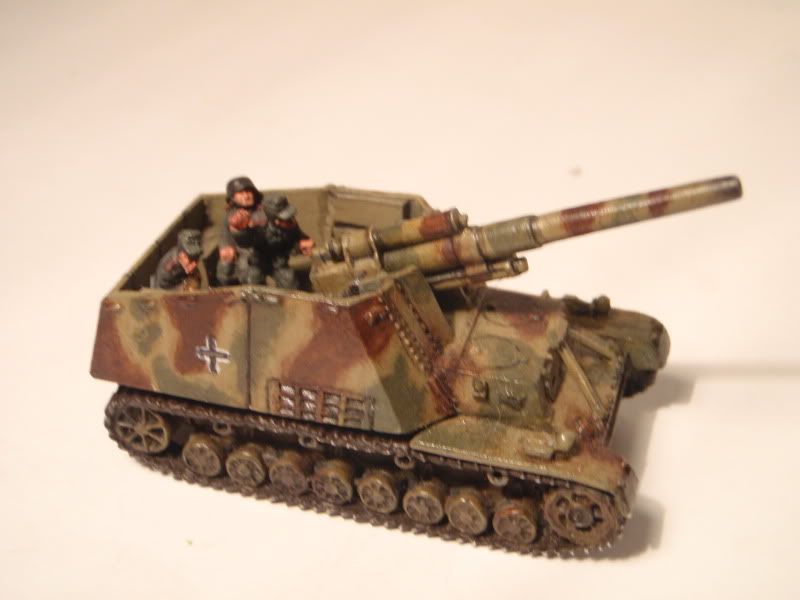
The first of my battery is painted up in typical 3 color camouflage, and I chose this one to be firing, with its gun lock folded down onto the forward hull.
Friday, December 3, 2010
Opel Blitz
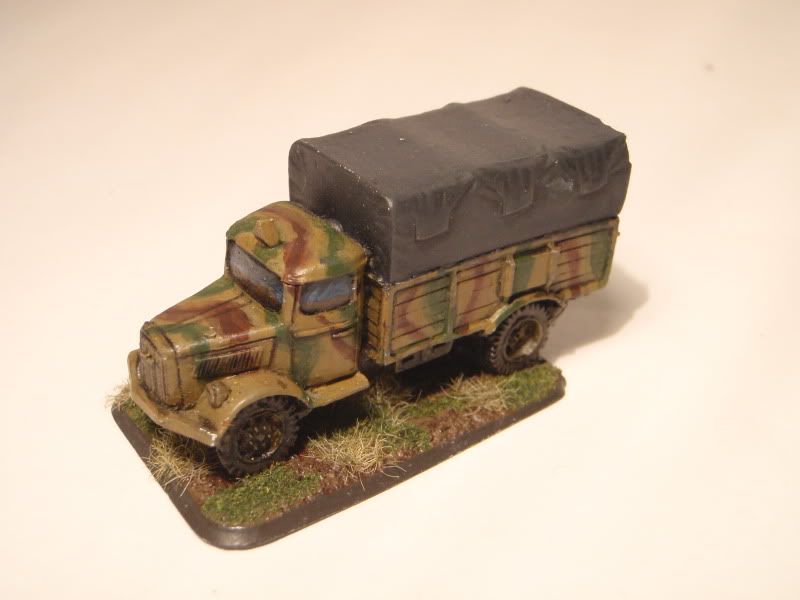
I pained up an Opel Blitz cargo/transport truck as a tester model. Wanted to see if I liked them, and if I would continue on to mount my growing force of infantry in them. Admittedly, the models are unnecessary for actual gameplay on the table as Panzergrenadiers, but for flavor and for the fun of a good truck model I was compelled to paint one.
Another reason to go with the truck was to test out a new painting technique. Flames of War's offical website had a tutorial on how to paint good window glass, showing vague reflections of horizon and sky instead of just doing black. The rest of the paint job was done as the Pz.III.
| Just needs a fedora-clad hero dragging behind it. |
Wednesday, December 1, 2010
Panzer III M: airbrushing without the airbrush
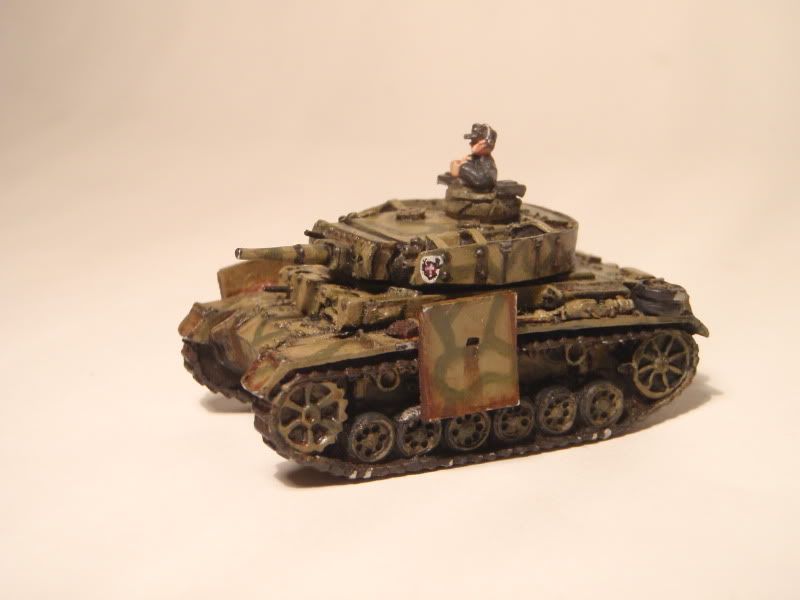
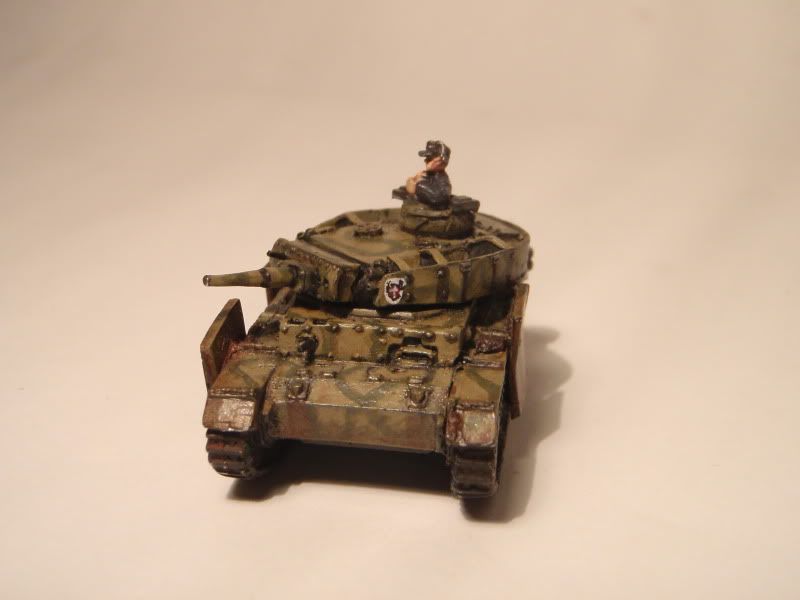
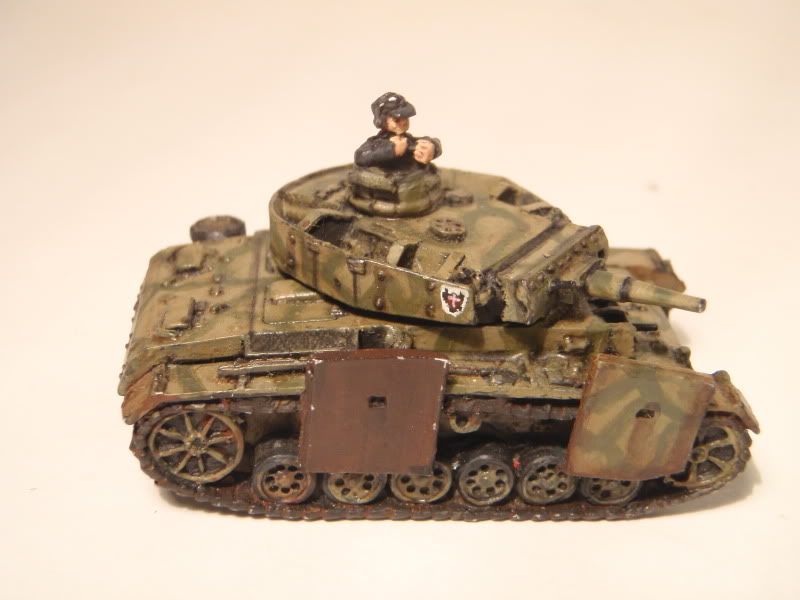
A lucky score at a used miniatures bin at my FLGS leaves me in possession of a Panzer III. While not in my planned army list, I could not resist the opportunity. The model came primed black, with the side skirts attached. I've removed some, partially for the "on campaign" look, and partially done to add some interest to the model. After doing some research, I've settled on a paint scheme based on a vehicle at the great battle of Kursk.
The green stripes of the pattern were applied over the finished dunkelgelb tank, using a similar series of extremely thinned layers. The base was mixed with the final highlight color of the khaki, and worked toward a darker and more opaque green.
By limiting the pallet to a simpler 2 color camo, I was able to keep brown tones as accents applied as weathering, both dirt and rust. These give a great contrast to the overall greenish vehicle.
I am pleased with the results.
Subscribe to:
Posts (Atom)