Friday, December 3, 2010

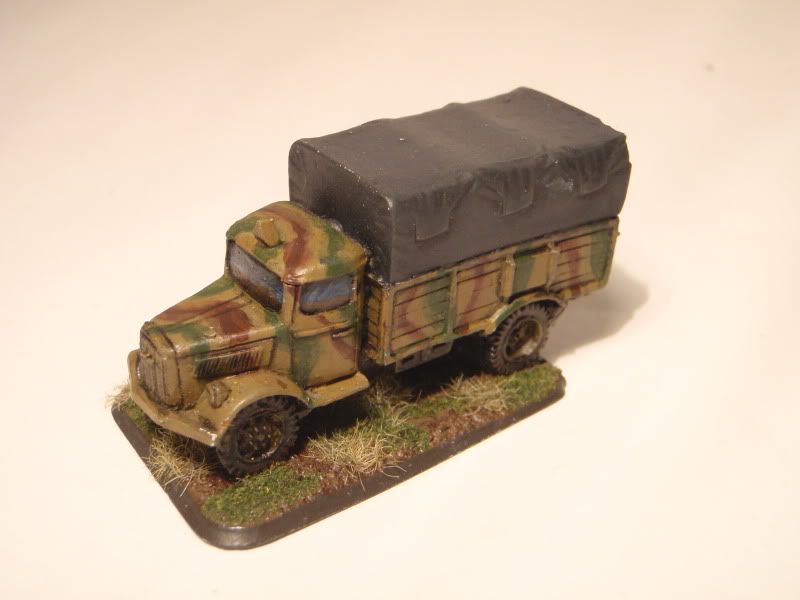
Opel Blitz

I pained up an Opel Blitz cargo/transport truck as a tester model. Wanted to see if I liked them, and if I would continue on to mount my growing force of infantry in them. Admittedly, the models are unnecessary for actual gameplay on the table as Panzergrenadiers, but for flavor and for the fun of a good truck model I was compelled to paint one.

Another reason to go with the truck was to test out a new painting technique. Flames of War's offical website had a tutorial on how to paint good window glass, showing vague reflections of horizon and sky instead of just doing black. The rest of the paint job was done as the Pz.III.

Just needs a fedora-clad hero dragging behind it.

Wednesday, December 1, 2010

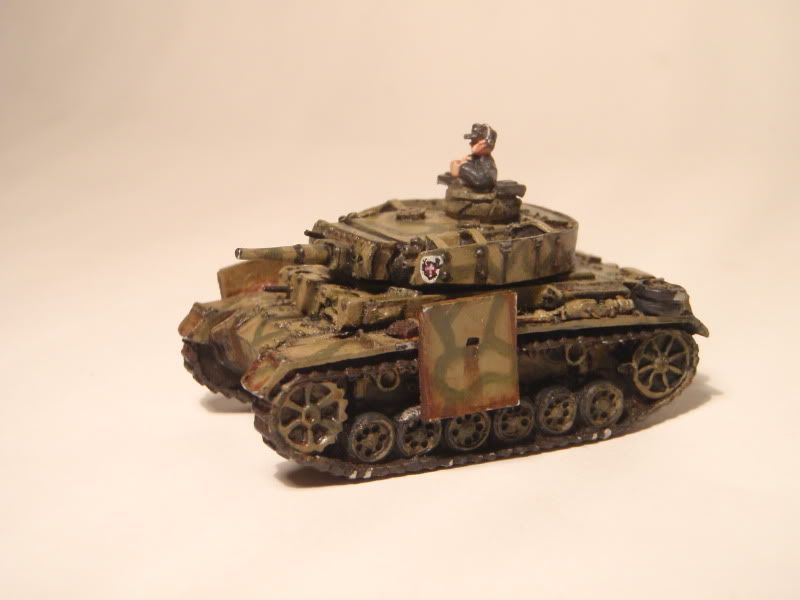
Panzer III M: airbrushing without the airbrush

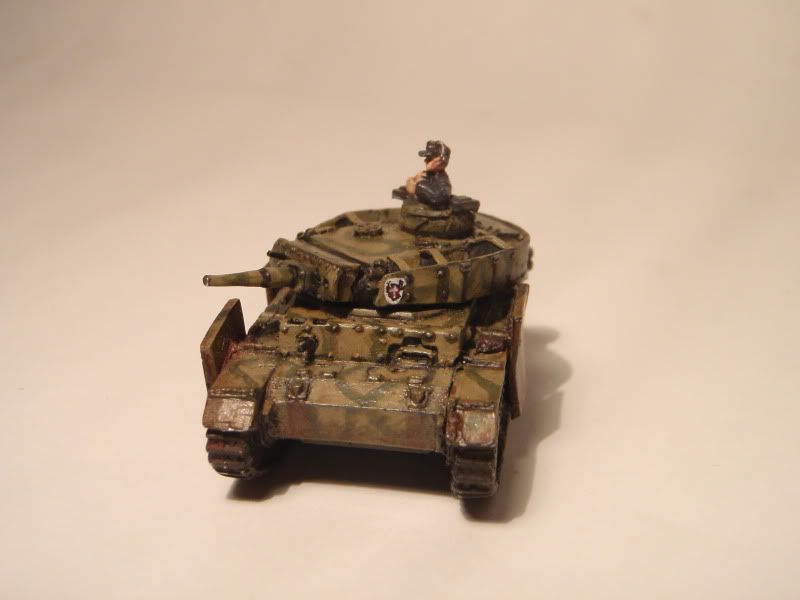
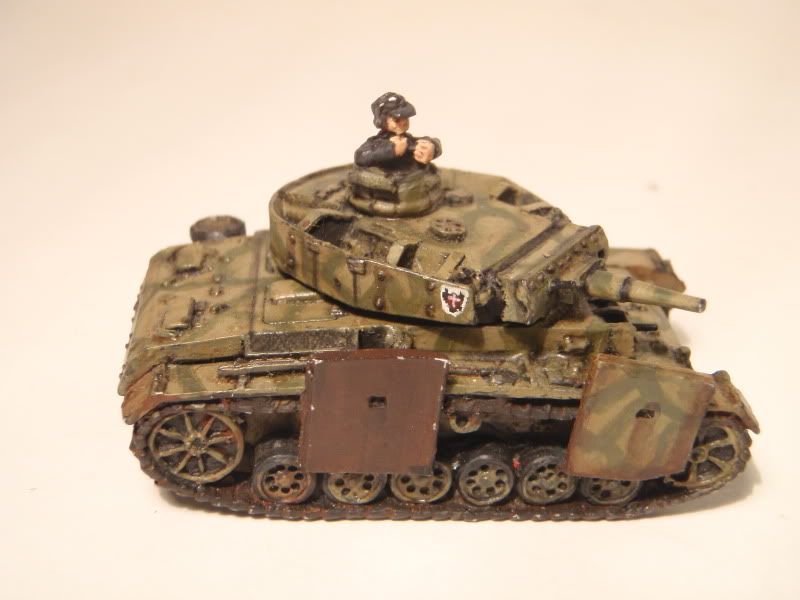
A lucky score at a used miniatures bin at my FLGS leaves me in possession of a Panzer III. While not in my planned army list, I could not resist the opportunity. The model came primed black, with the side skirts attached. I've removed some, partially for the "on campaign" look, and partially done to add some interest to the model. After doing some research, I've settled on a paint scheme based on a vehicle at the great battle of Kursk.

I have to be honest. I have airbrush envy. The convention in nearly all modeling guides, magazines, and online galleries is that panzer camouflage is best applied with an airbrush. Since I own no such device, it has been a goal of mine to replicate the tool's effects in the intricate and blended pattern. Starting a few years ago with my Warhammer 40k army, I've been working on the pre shading techniques normally applied via airbrush. Using very thinned paint, I am able to apply a very thin wash in gradual layers, blending the edges. I begin at the centre of a panel, and work toward the edge. I leave the edges dark. Starting with a dark brown base, I highlighted toward a dark yellow blended of Khaki and Khaki Grey.

The green stripes of the pattern were applied over the finished dunkelgelb tank, using a similar series of extremely thinned layers. The base was mixed with the final highlight color of the khaki, and worked toward a darker and more opaque green. 

By limiting the pallet to a simpler 2 color camo, I was able to keep brown tones as accents applied as weathering, both dirt and rust. These give a great contrast to the overall greenish vehicle.

I am pleased with the results. 


Tuesday, November 2, 2010

Flames of War II: the Reckoning

Despite initial setbacks and frustrations, there is something uniquely fun about the new scale of figure. When I saw a great deal on a Festungkompanie, I immediately snatched it up to expand my new German force.

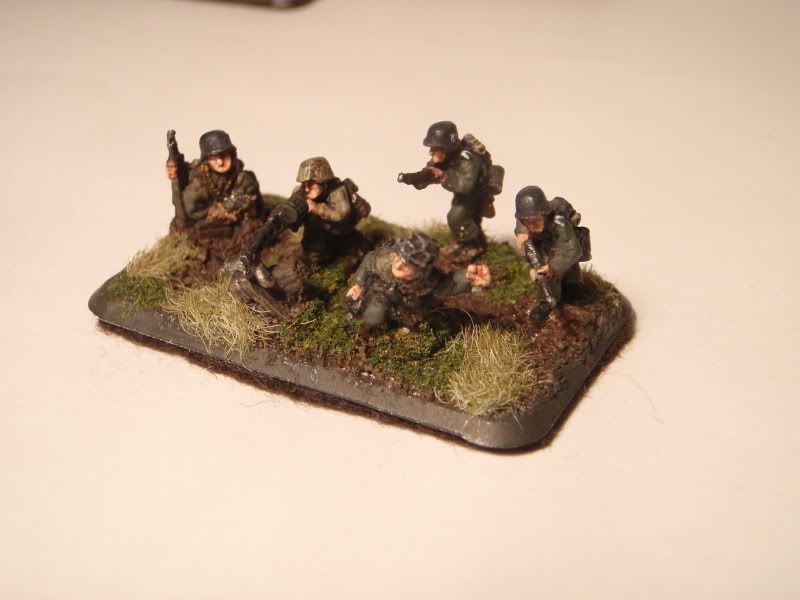
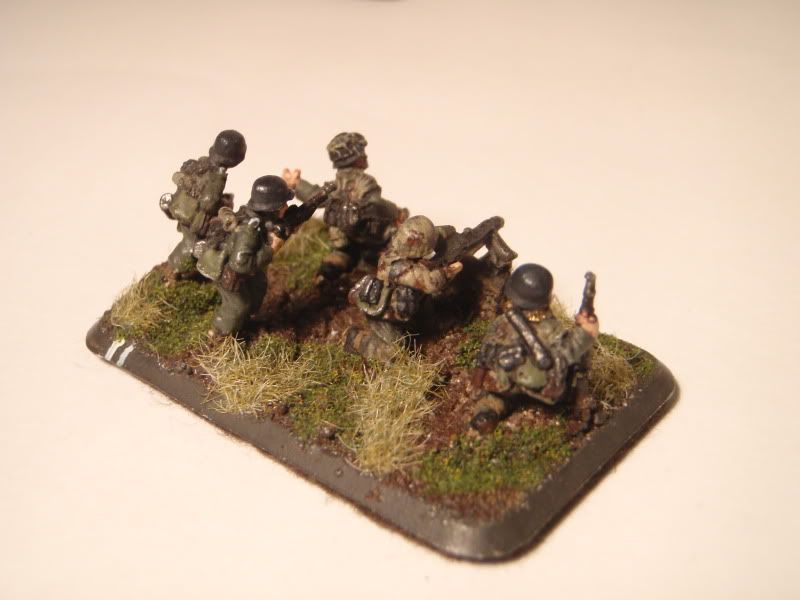
THe box came with more than 3 platoons of Grenadiers in Late War configuration with camo smocks, helmet covers, and MG42s for each section. The sculpt allows for use as Grenadiers, Panzergrenadiers, (or  more elite and less scrupulous units...) I painted mine in Heer uniforms, using the Splinter Pattern for the smocks and helmet covers.


After playing my first game, I decided to line the bottoms of my squad bases using felt squares cut to size. This allows them to stand in place even on the slopes of hills. To help keep track of platoons on the table and in storage, I've added small roman numerals to the backs of the bases to denote which platoon they belong to.


Wednesday, October 13, 2010

Sparks of War: a first taste of Flames of War

Though I initially had no intent to start another game system, I had always eyeballed the Flames of War tank blisters at my FLGS's. Many moons ago in college, i had picked up a single Tiger 1E tank (if you're going to paint only one tank, it might as well be the Tiger), and played around with paint jobs, but never got it to my satisfaction.

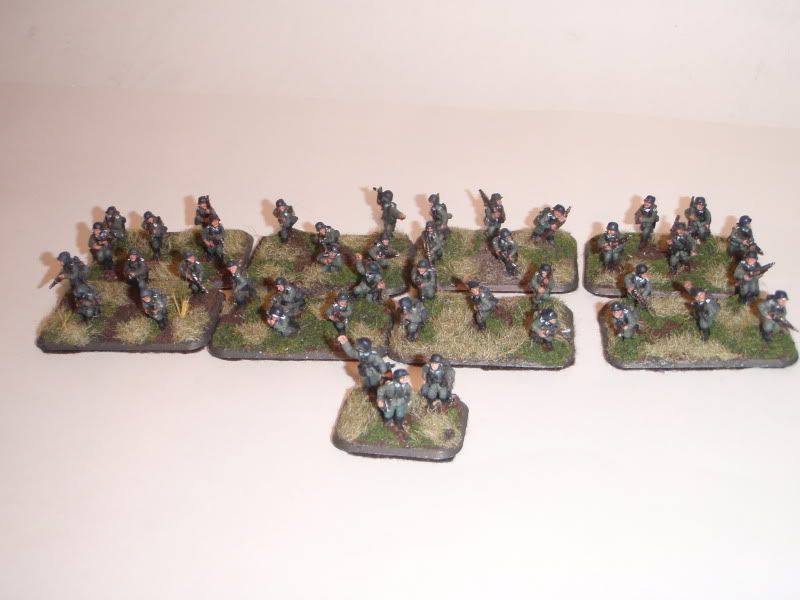
Recently, my friend and former employer was digging his way out from beneath his lead mountain, and asked if I'd be interested in painting up his German midwar Grenadier platoon. Of course I could not resist the opportunity to try a new figure range, so i gleefully accepted.

As my first attempt at a new and much smaller scale, going from my usual 28mm and 25mm figures down to the tiny 15mm men, I found myself feeling furstrated and ham handed. Though I had nearly 8 years under my belt painting the larger sizes, I was reduced to roughly the same amount of control that I had as a beginner in the hobby. My brush felt big and my strokes were heavy. I believe i finished my first stand of infantry as much by force as i did by finesse.

As is visible in the photo, I'm also learning about photographing the new scale.

Sunday, August 31, 2008

Perry ACW Plastics, part 3

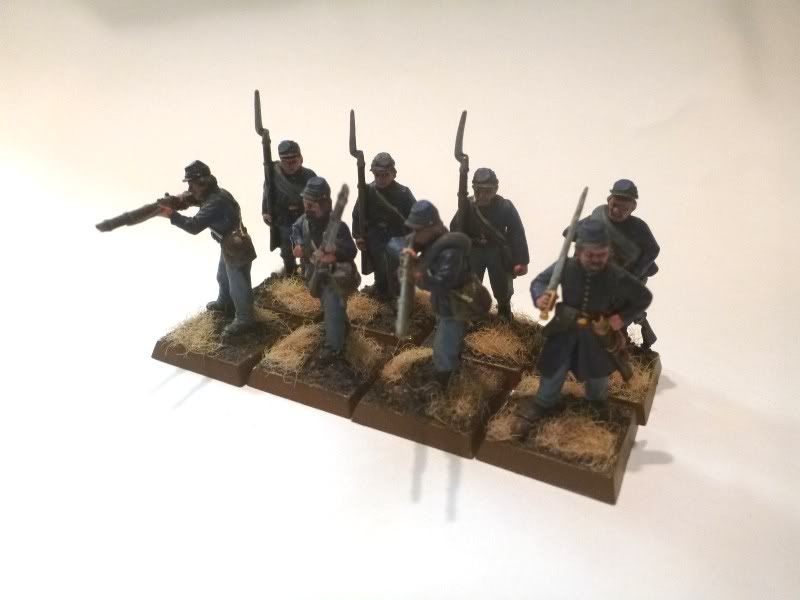
I've completed my first small section of my Perry American Civil War infantry. The plan developing in my head right now is to paint half the box for each side of the conflict, so as to make a matched set for small skirmish gaming (and potentially as posses in Legends of the Old West...).
I chose the golden grass instead of green for two reasons; it gives a good contrast to the very blue figures, and it kind of works for trampled crops. When I get enough of these all painted up, i'll add standing wheat to the very front rank.

Thursday, July 10, 2008

Perry ACW Plastics, part 2

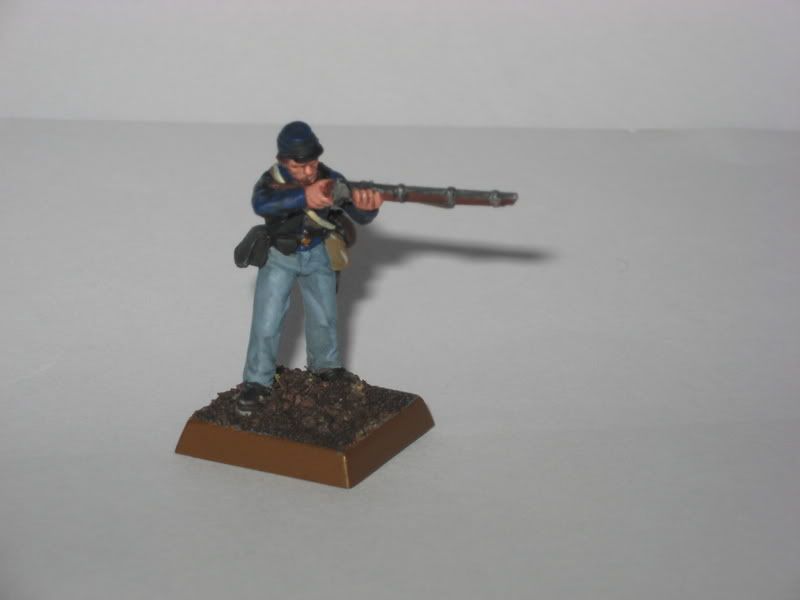
I have completed my test figure for the bulk of the infantry that came in the box. These have a good amount of customization available, with choice of hats and arms. Some models come as a nearly one piece marching pose, while others give the option for skirmishing, firing line, or reloading poses. I did the first one in the classic toy soldier pose of standing with shouldered rifle, aiming downrange. Again, the detail is better than what i'm used to in plastic. I love the way the Perry brothers sculpt faces; so much expression.
Perry Plastic ACW Union Infantry
For now the base is simple earth, as i have not figured out how to implement the rest. My pipe dream is to base them so that they appear to be marching through a corn or wheat field, with intact crops on the front rank.

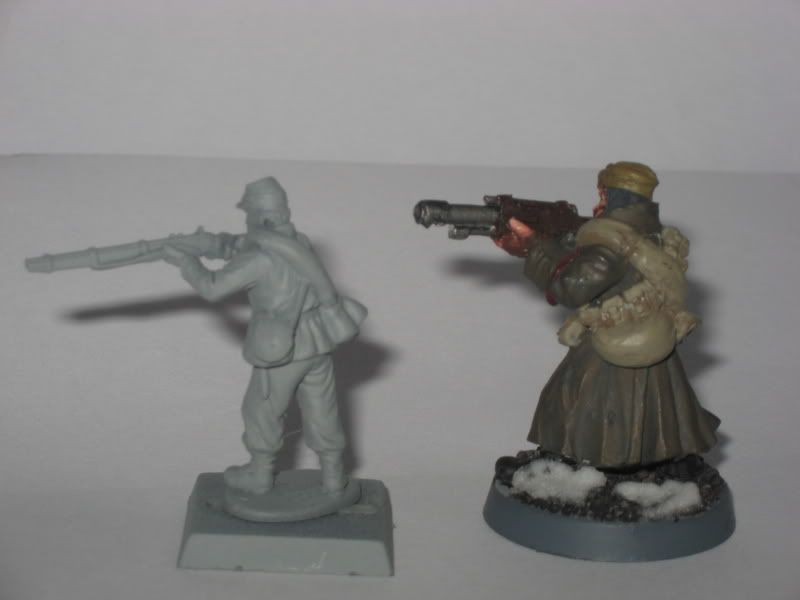
And here is a comparative size shot next to a classic Valhallan figure from GW's metal ranges of yesteryear. Being my first miniatures almost 9 years ago now, theirs is what I consider a standard size.
Perry ACW plastic figure next to Games Workshop Imperial Guard metal

Thursday, July 3, 2008

Perry ACW Plastics, part 1

I've just received my shipment of the new Plastic ACW figures from Perry Miniatures, and am really excited to get working on these. While the American Civil War is not necessarily my strongest suit, I wanted to give these fine figures a try.

I am also interested in the new direction that the perry Brothers are taking. I am a fan of their lead work, and consider theirs among the very best available. I was naturally curious as to how their work would pan out when done in plastic, and also excited at the cost effective armies that may come as a result of their dabbling.

I've worked on a few riflemen and one officer. IMHO, the officer painted up a bit like Matthew Broderick form Glory... (and that Rorschach fellow ought to be put away for all his offensive imagery!)

Related Posts Plugin for WordPress, Blogger...